 photoartflight
Raindrops On Fall Leaves
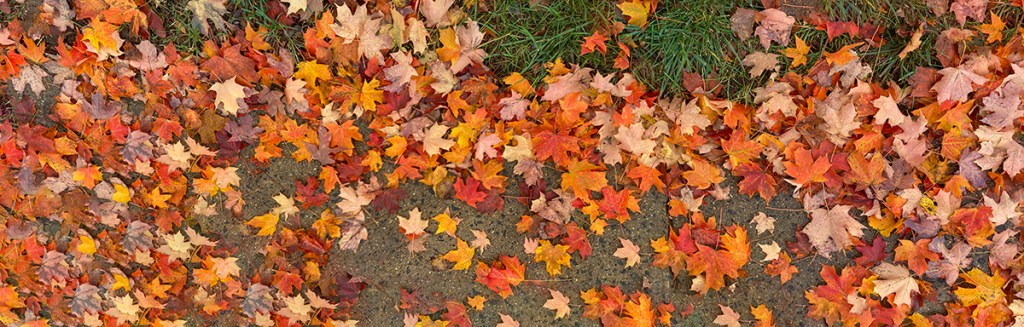
Posted on October 14, 2020

We went for a walk in our community and wanted to photograph some of the colorful leaves that have finally turned colorful. The images here are multi-image panorama images shot with my iPhone 11 Pro with the 6mm lens. Equivalent Full frame camera focal length would be approximately 52mm. The featured image was 3 vertical images blended in Photoshop for the final image. I also usually use the 16×9 image format on my iPhone which gives me a wider or taller image to work with.
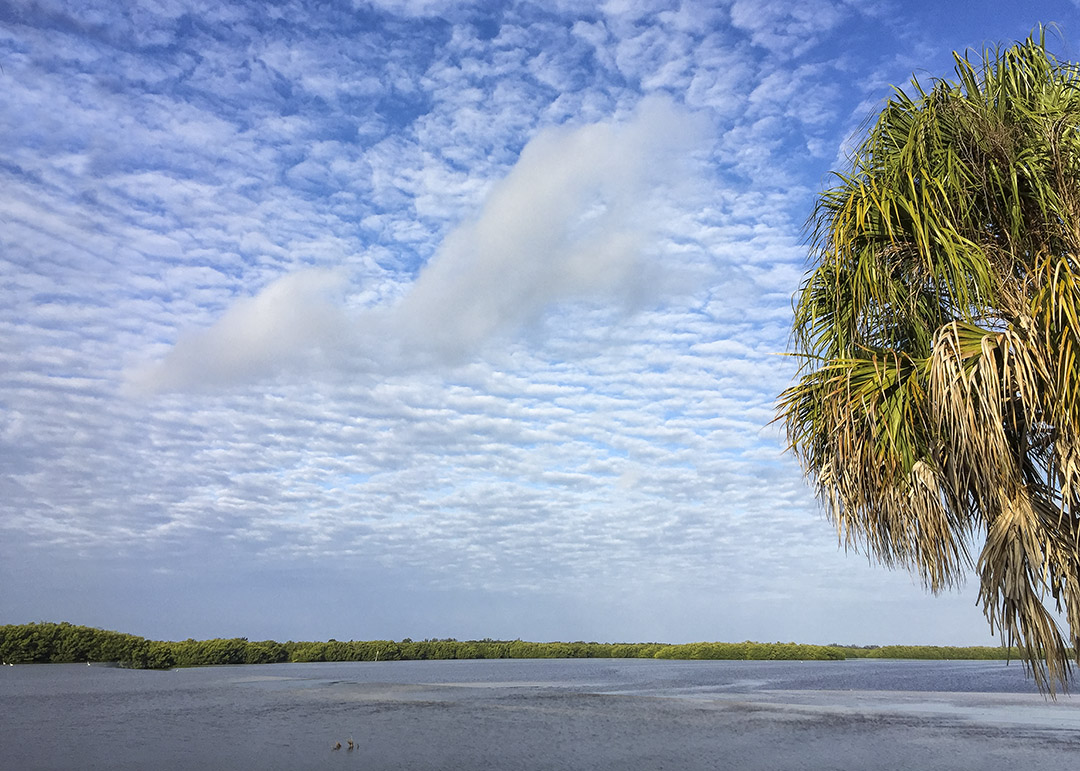
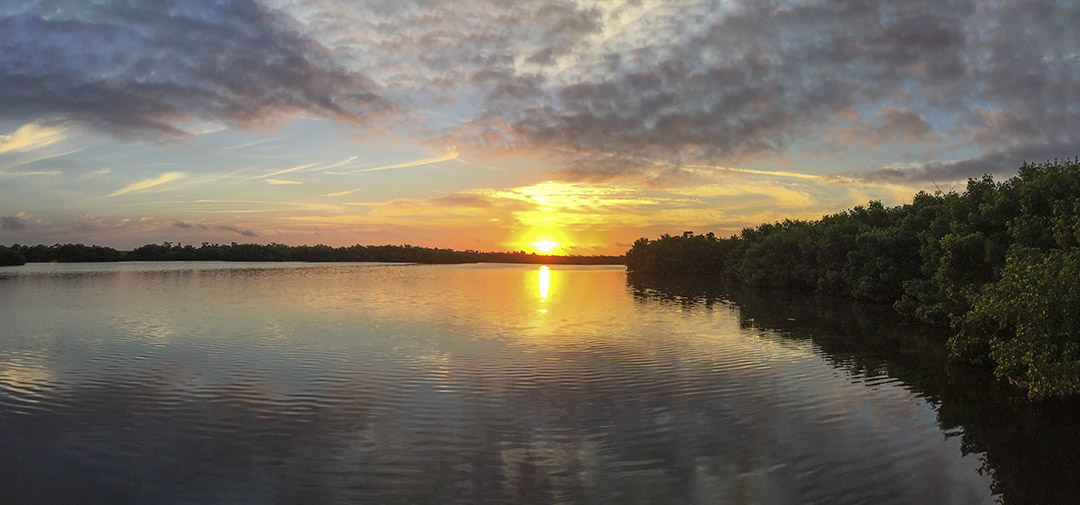
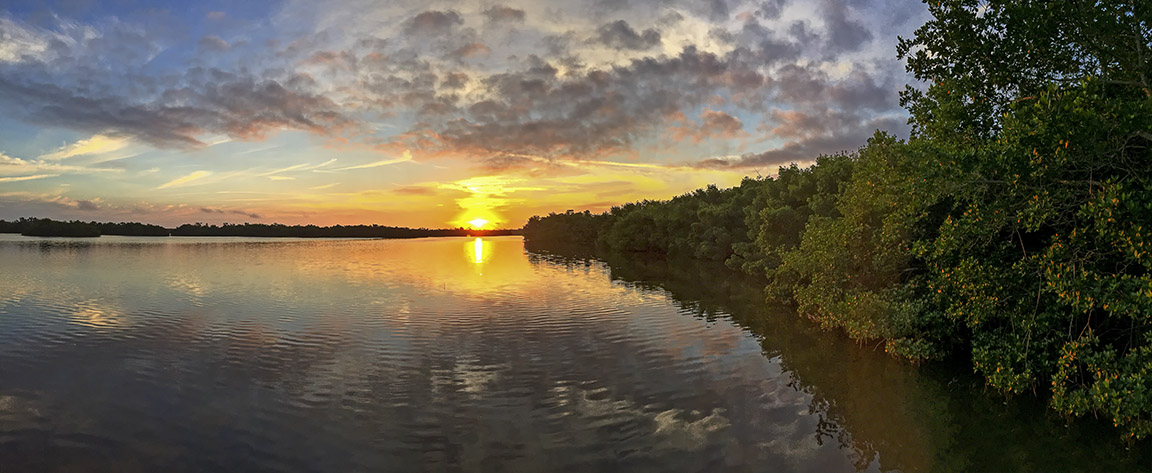
iPhone Cloudscapes
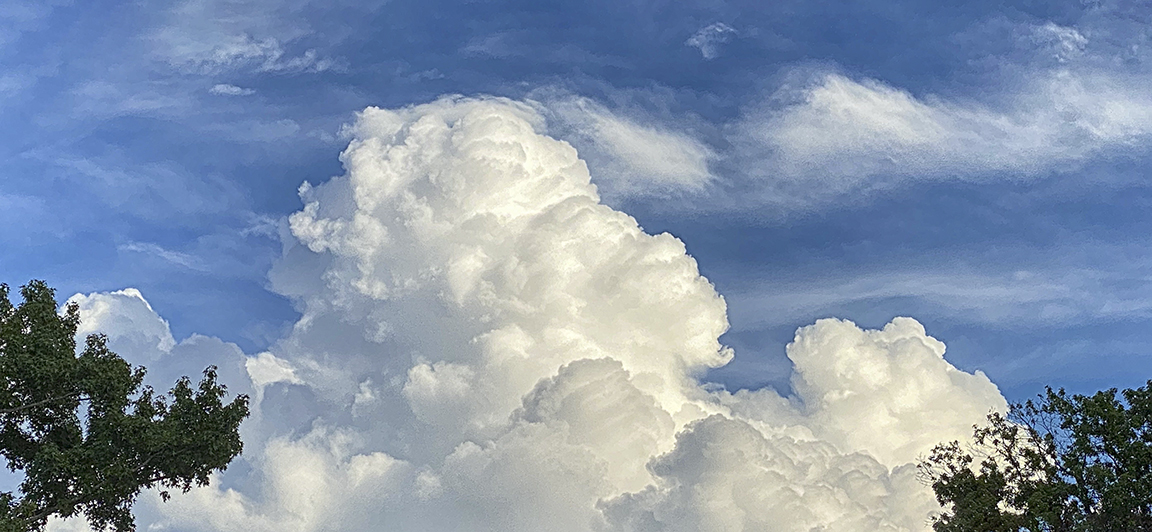
Posted on August 26, 2020

While taking a walk in our community, we noticed very low huge cloud formations. They were quite impressive, so I shot a series of images with my iPhone 11 Pro. Most were panoramas shot with multiple images to be assembled in Photoshop for the final image. I do not usually use the pano feature in the iPhone because it distorts the left & right ends of the image giving a “bowing distortion” in the middle. Most images were shot with the 6mm lens with digital zoom added in the iPhone. I never really used the digital zoom feature much before, but it actually worked out quite well, especially for clouds.
The featured image is a single shot with the 6mm lens with 318% Digital Zoom added on the phone. I was photographing from a distance because if I got closer the trees blocked more of the bottom of the clouds and I only could photograph the small top cloud section.

Cloud Panorama, iPhone 11 Pro, 4.3mm lens, 195% Digital Zoom Added, 3 Image Blend in Photoshop

Cloud Panorama, iPhone 11 Pro, 6mm lens, 168% Digital Zoom Added, 4 image Panorama, Blended in Photoshop

Cloud Panorama, iPhone 11 Pro, 6mm lens with 260% Digital Zoom added, 3 image Panorama, Blended in Photoshop

Cloud Panorama, iPhone 11 Pro, 6mm lens with 318% Digital Zoom added, 3 image Panorama, Blended in Photoshop
Cloud Panorama, iPhone 11 Pro, 6mm lens with 213% Digital Zoom added, 5 image Panorama, Blended in Photoshop
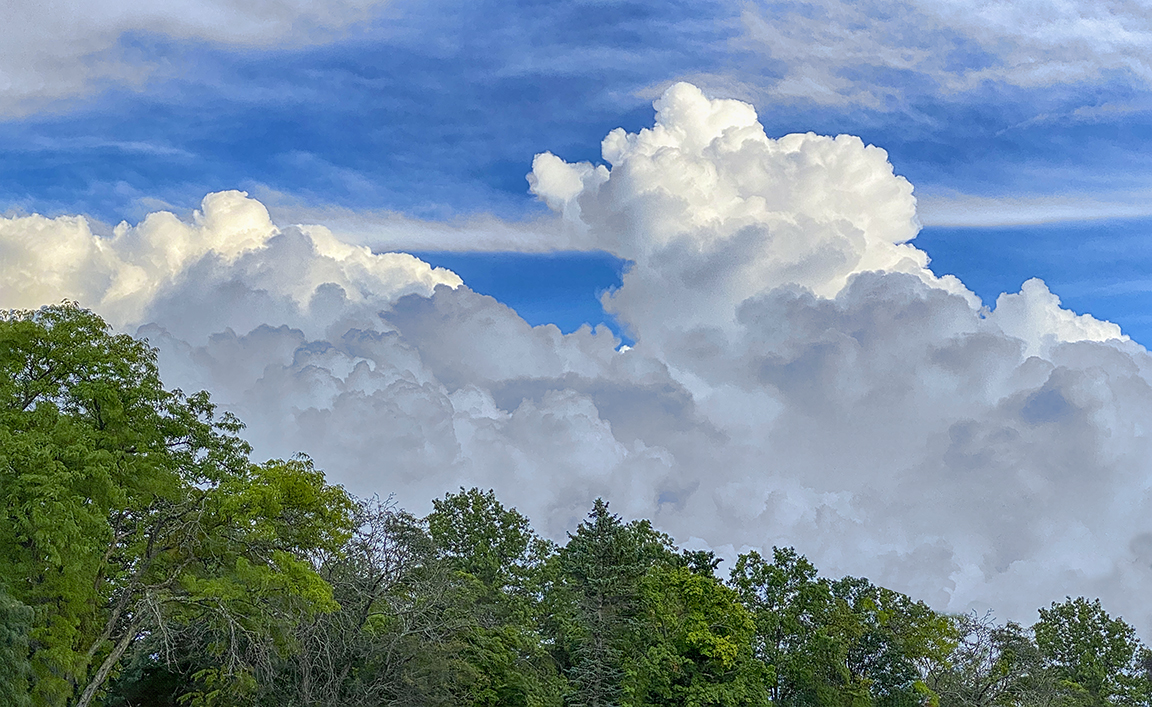
Cloud Panorama, iPhone 11 Pro, 6mm lens with 214% Digital Zoom added, 5 image Panorama, Blended in Photoshop
Night Photos with iPhone 11Pro
Posted on June 5, 2020

We were taking an evening walk in our community to get a few more steps in before settling in for the evening. It was a pleasant evening and the sidewalks were well lit. As we were going by the Meeting House, I decided to try a few night images with my iPhone 11Pro. It is supposed to be pretty good in low light, but have not really tried it at night. Here it was actually dark and I was surprised how good the images were straight out of the iPhone. It seemed to automatically somewhat balance nicely the highlights & darkness. Especially since there was a wide mix of darkness, spotlights and ambient lights along the sidewalk. I have tried shooting Raw files on the iPhone 11 Pro, but did not see that much difference so I just shoot jpegs with it. But I do have my Photoshop setup to open jpegs as raw files so I can pull even more detail and have more adjustments from the jpeg file before I actually open them in Photoshop. I have not seen a significant difference on the jpeg files in image quality doing this and have printed these kind of files quite large. It goes against my normal work flow of shooting Raw files on all my other cameras. I was using the iPhone 11 Pro’s 4.3mm lens (Full Frame FOV equivalent ~26mm). The featured image is also 2 vertical 16×9 images blended, side by side to get a little bit wider view. When I am photographing with the iPhone I usually always use the 16×9 format. The image below is basically from the same spot but I just turned around from photographing the featured image. I was pleasantly surprised at the images because the exposures were 1/30 sec. on the Meeting House and 1/8 sec. for the image below. The exposure actually seemed much much longer and you could see some blurry movement during the beginning of capture on the phone’s screen. But I guess the phone was doing a lot of processing & adjusting of the image as it was saving the final file.

180 degree Opposite View from where I was standing
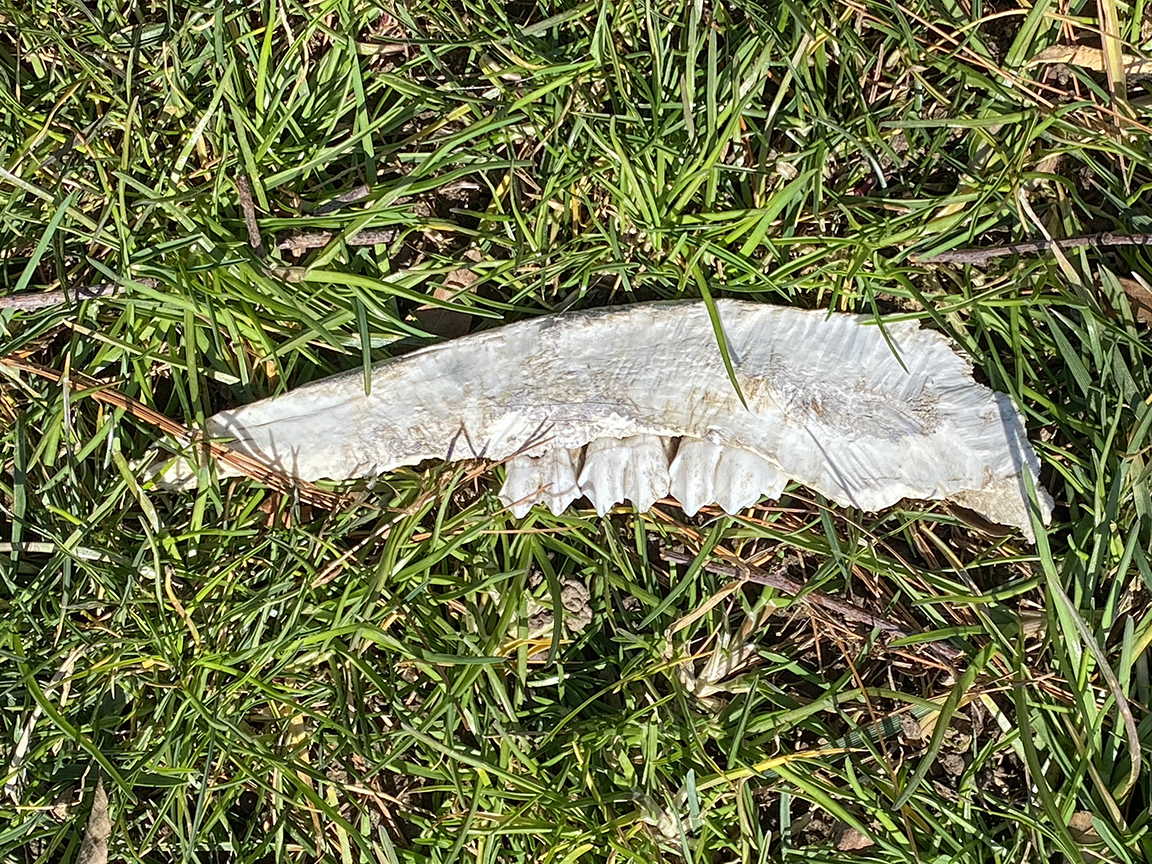
You Never Know What You Will Find In Your Yard
Posted on April 26, 2020

I was surprised to see these bones under a tree in the corner of my yard. There is a wooded area on the other side of my sidewalk where we used to see a lot of turkeys, deer & foxes. But it is chain linked fenced from the larger woods beyond. The featured image is also a 2 image iPhone panorama.
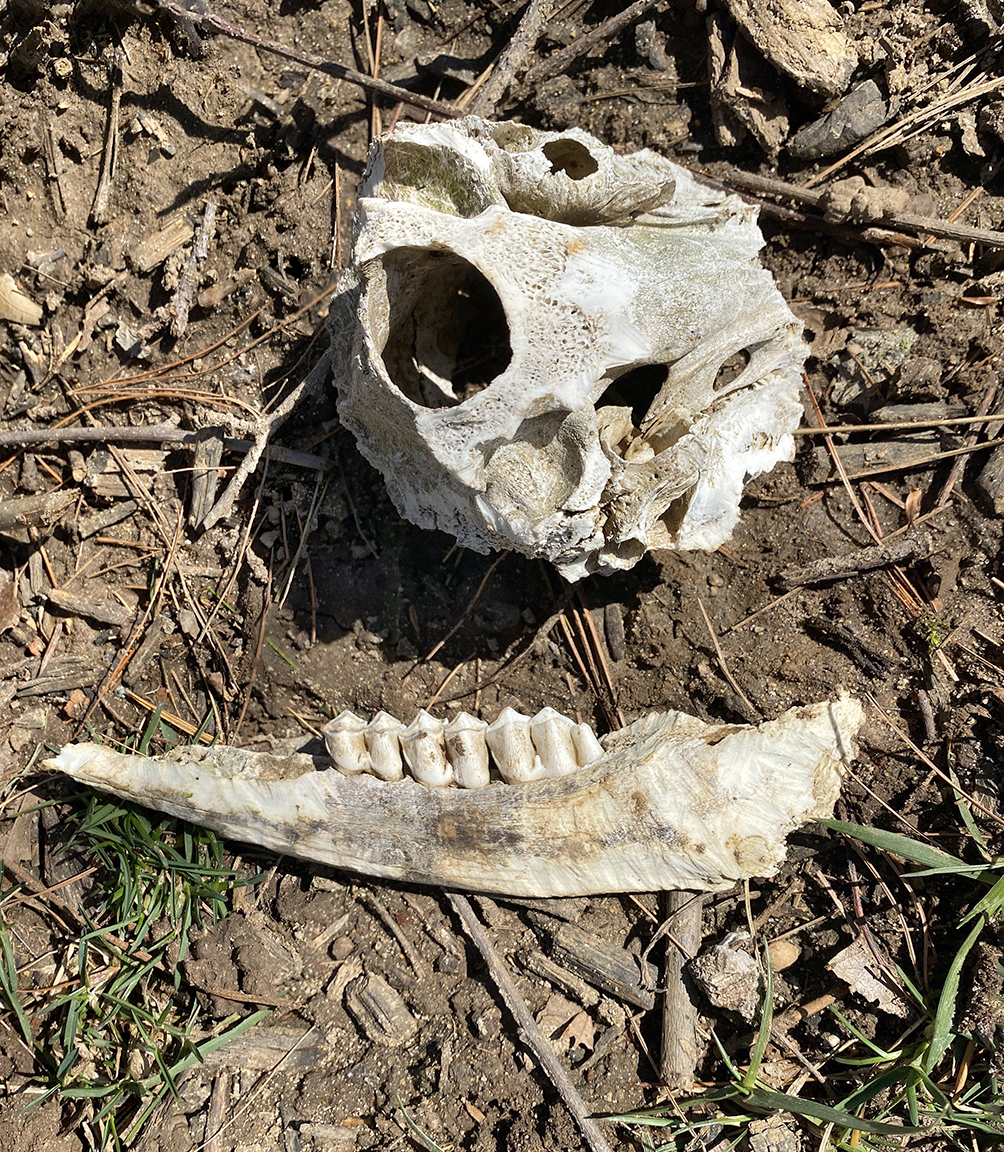
2 image panorama, assembled in Photoshop, iPhone 11 Pro
7 Image iPhone Panorama
Posted on April 6, 2020

Another panorama from our trip to Florida in February. For this panorama I chose to shoot with the 1.5mm lens on my iPhone 11 Pro. This would be an equivalent field of view of 13mm on a full frame camera. I shot 2 rows of images, top row 4 images and bottom row had 3 images. Somehow I miscounted on the bottom row, but it worked out anyway. I selected the files and adjusted the phone jpegs in Adobe Camera Raw before opening them into one layered file in Photoshop. I have my Adobe Camera Raw setup to open jpegs as raw files with settings. I tried setting the iPhone to shoot HEIC raw files, but that just slowed down the camera and did not see much of a difference in quality only a much larger file size. The panorama images below are multiple images in one row, combined and blended in Photoshop.
Another Multi-Image version of the same view. This time a one row, multi-image blend shot with the 1.5mm lens. (Each Image in Series Full Frame Equivalent 13mm)
2 image iPhone panorama, shot with 4.3mm lens. (Each Image in Series – Full Frame Equivalent 26mm)
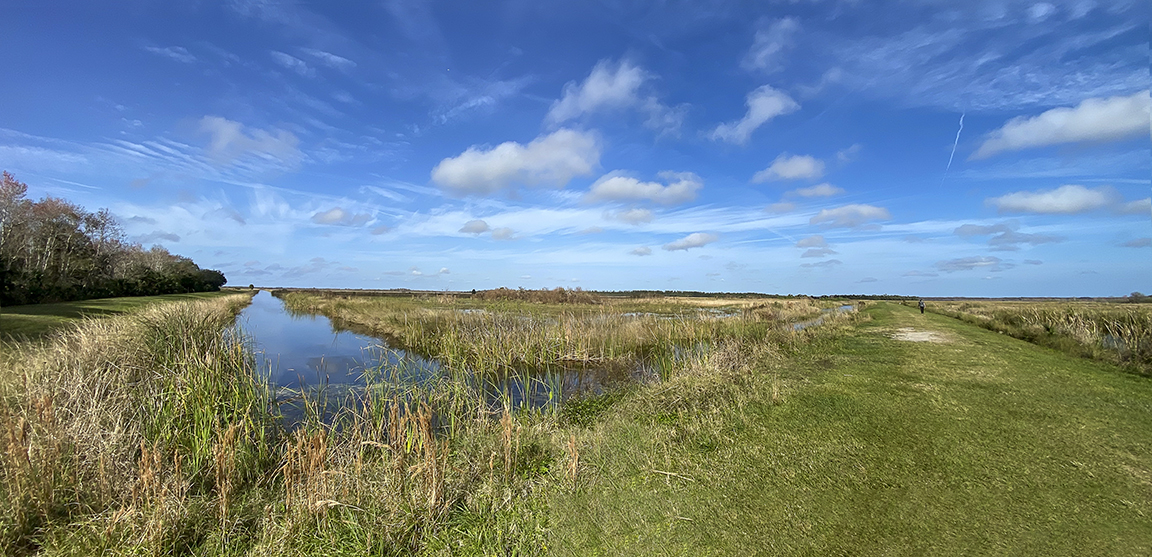
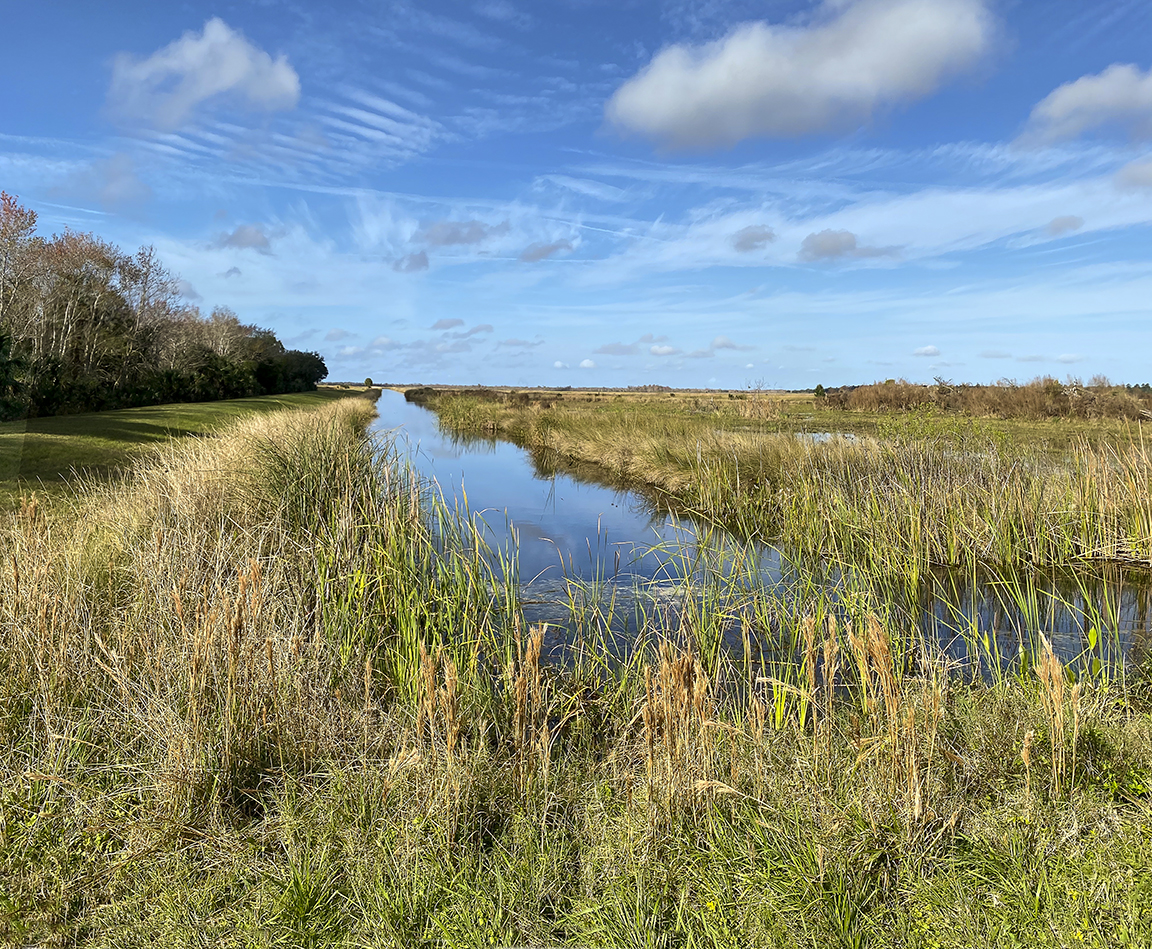
Another Lake Woodruff NWR Landscape
Posted on February 26, 2020

Here is another 2 image iPhone Landscape panorama from our visit to Lake Woodruff NWR in Florida. The 2 images were brought into Photoshop on 2 separate layers, then I let Photoshop align and blend them into one final image. In this image if you look closely you will see 9 Black Vultures on the path. The images were shot with the 4.3mm lens (full frame FOV equivalent would be 26mm). In previous visits years ago the vultures would sometimes follow you around on the paths. When this first happened it was a little unnerving to have a large bunch Vultures follow you for a quite while. As we walked they were making a hooting noise. At least this time they flew away if we walked close.
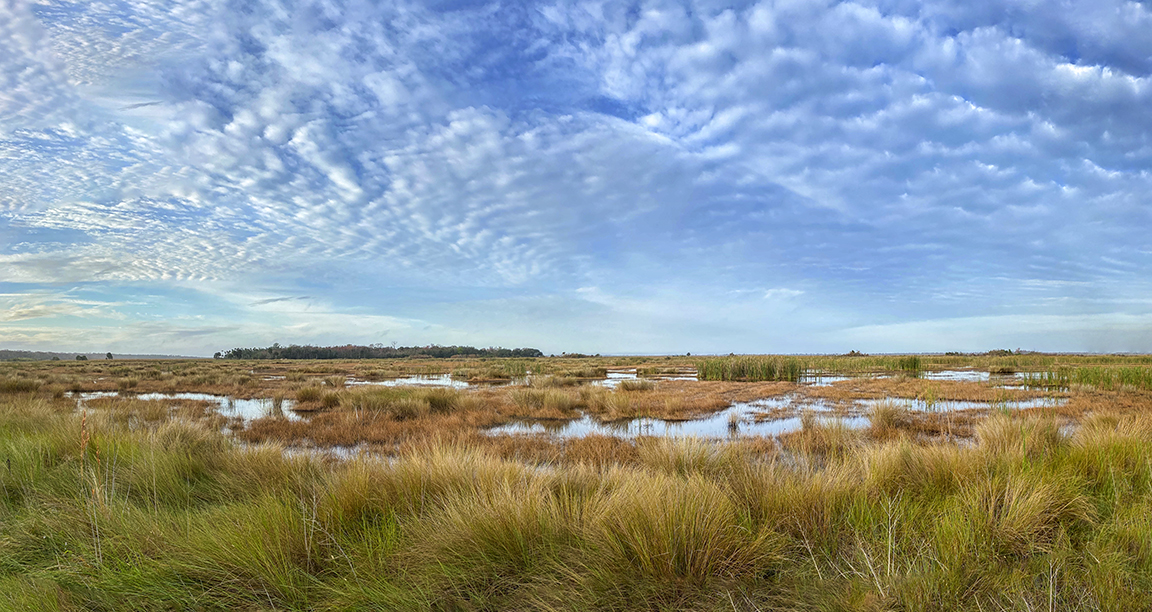
6 Image iPhone Panorama
Posted on February 16, 2020

On our trip to Lake Woodruff NWR in Florida I relied on my iPhone 11 Pro for my wide angle or panorama images. I am really liking the quality of the images I get from it for my panoramas. It was a lot easier to walk the trails without carrying 2 larger cameras. Especially in the warm Florida heat. The above featured image was taken with the 1.5mm lens (Full Frame Camera Field of View equivalent would be 13mm). I do not use the panorama feature much on the iPhone 11 Pro because of distortion in the iPhone panorama image on the ends of the image and some warping in the middle of the image. I prefer to shoot a series of regular individual images and then assemble my panorama in Photoshop which reduces the strange “warping” in the center and on the far ends. Plus I get very large files for printing.
8 image iPhone Panorama, 4.3mm lens (Full frame FOV 26mm)

3 image iPhone 11 Pro Panorama, 1.5mm Lens (Full Frame FOV 13mm)
Below are examples of Panorama Warping when using the Panorama feature on the iPhone 11 Pro. The wider the lens you select, the more distortion in the file. The ends are farther away so you get a “bowing look” in the middle. And the ends “fall” back away giving a bending look. Plus when shooting individual images for the panorama or stacked panorama, I get a very large detailed file for printing.
14 Image iPhone Lake Woodruff National Wildlife Refuge Landscape Panorama
Posted on February 14, 2020

For this landscape I used the 1.5mm lens on the iPhone 11 Pro and shot 14 images. (Full Frame Camera Field of View equivalent is 13mm). I brought the files into Adobe Camera Raw to adjust the files and pull out detail and balance my settings. Than I open them into one layered Photoshop file with each image in a layer. Next in Photoshop I align and blend Automatically the 14 images into one final blended image. I still have layered sections and save the layered file just in case I need to touch up something. Then I flatten the image for the final image.
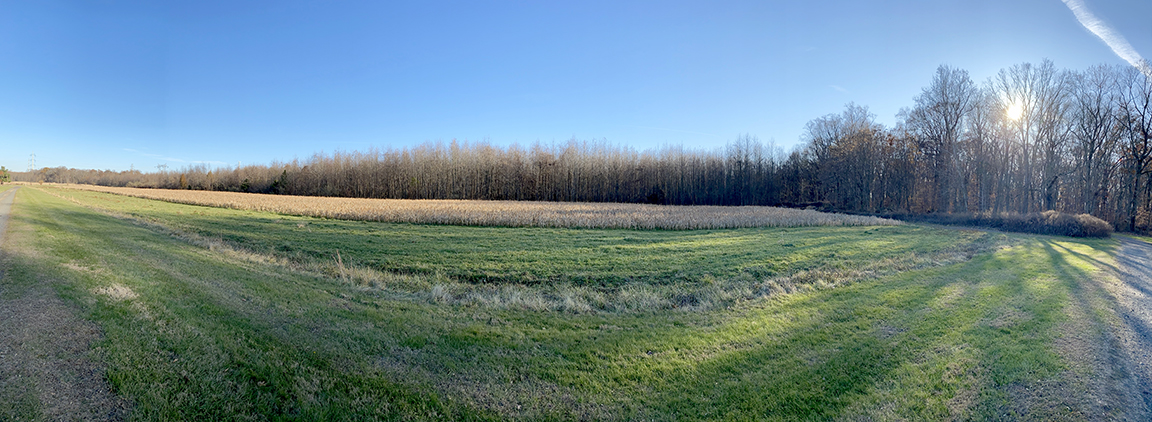
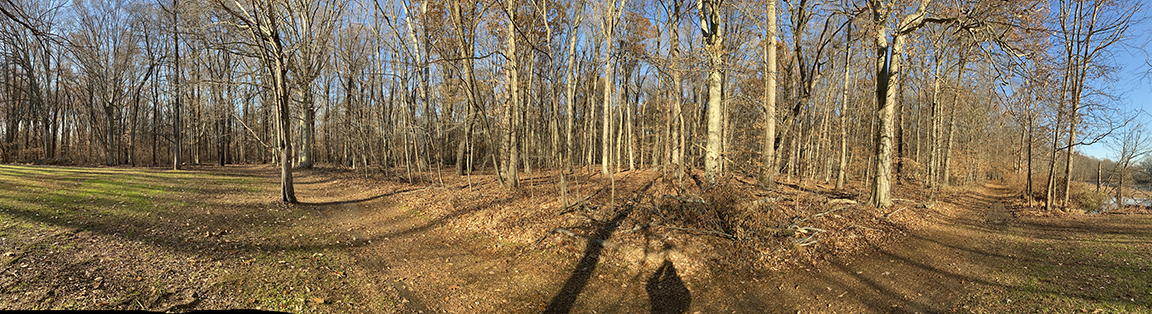
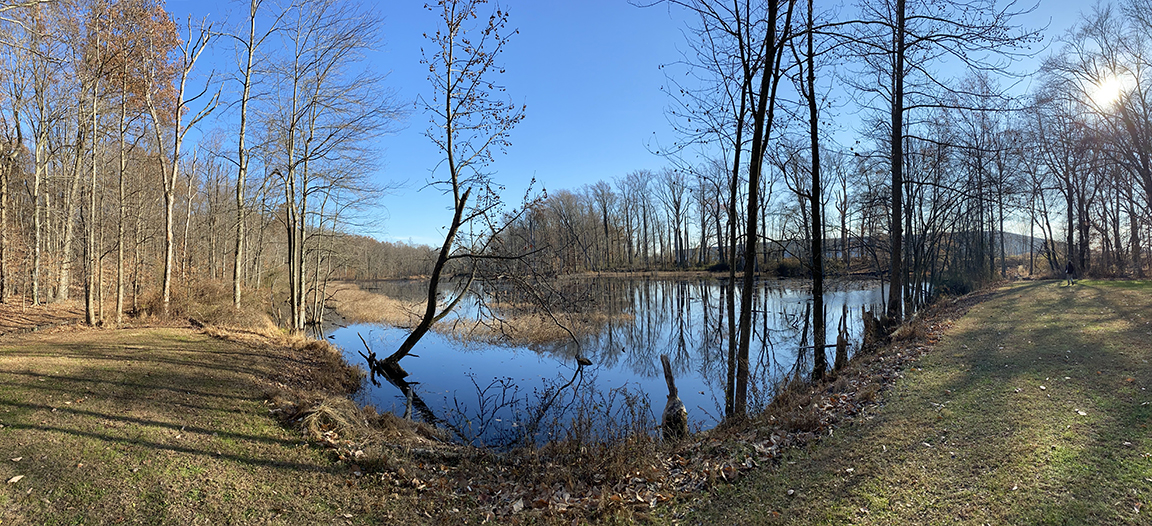
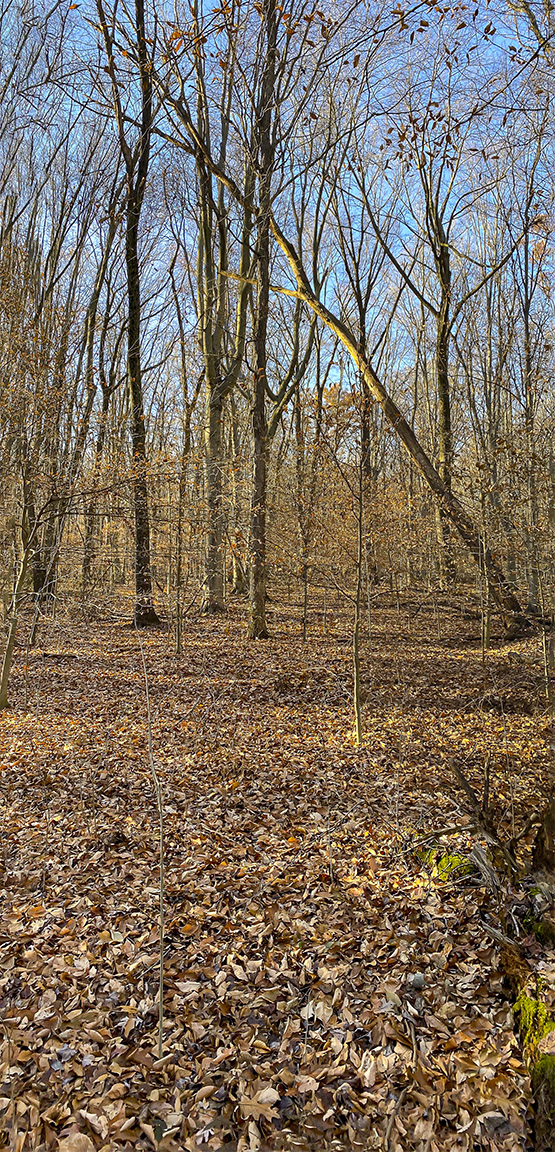
Fall Walk In The Woods
Posted on November 28, 2019
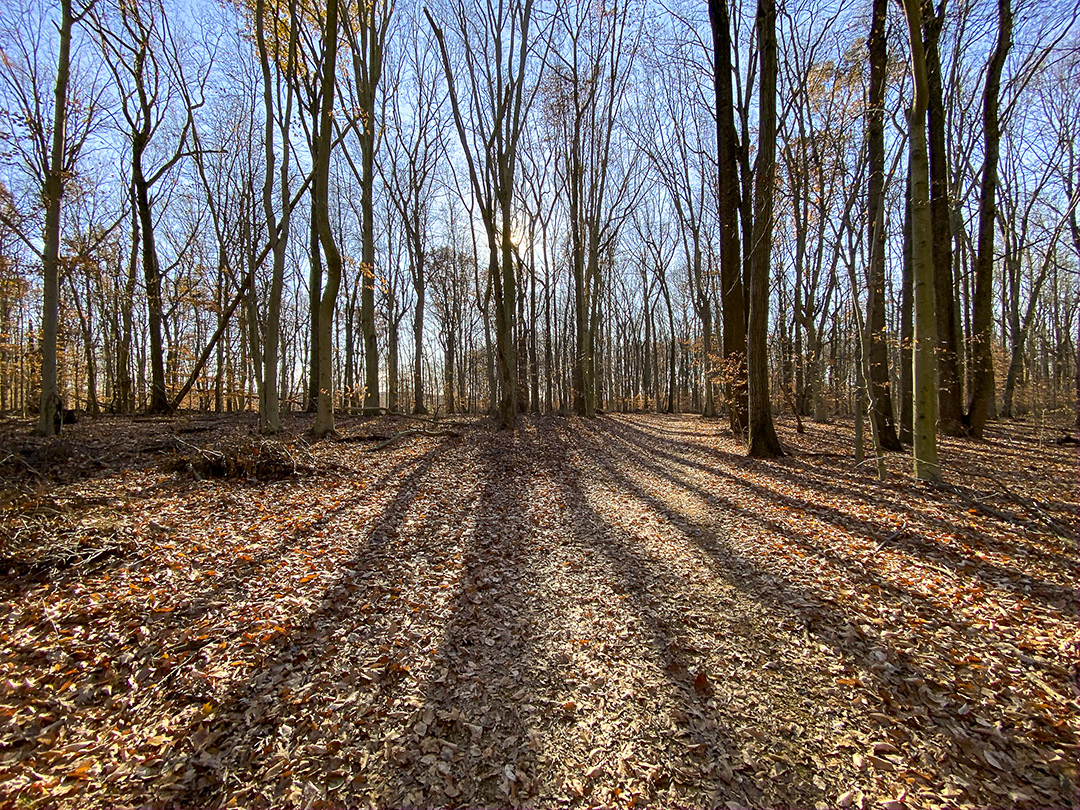
We took a walk through the woods at a local park just to get some fresh air. I only had my iPhone 11 Pro with me since I was not thinking anything would be interesting to photograph. The sun was low and most of the leaves were off the trees, but the shadows of the trees were amazing. The iPhone did a nice job photographing in a variety of lighting conditions. After getting use to the new iPhone for a while now, I tend not to use the pano mode as much, preferring to shoot multiple images to assemble my own wider or panorama views. Even with the 1.5mm lens selected (Full Frame Equivalent 13mm), I want more width without more height. On this walk I had enabled the phone to shoot HEIC Raw files instead of jpeg files. This way I supposedly had true Raw Data to work with in Adobe Bridge before opening in Photoshop instead of enabling Adobe Camera Raw to open jpegs as Raw files with settings. Also for certain scenes I like using the 16:9 capture mode setting for longer scenes without using the 4:3 usual capture. The 16:9 does not work with the 1.5mm lens.

1.5mm lens

1.5mm lens

16:9 format – 4.3 lens

2 image panorama – 4.3mm lens

4.3mm lens 16:9 Format

2 image panorama – 1.5mm lens – assembled in Photoshop

2 image vertical panorama – 4.3 format
4.3mm (26mm Full Frame Equivalent) 16:9 Camera Format
i Phone Panoramas
Posted on November 25, 2019
I use 2 different methods when using my iPhone for panoramas (or for images just requiring a slightly wider view like the featured image). The examples here are with my older iPhone 6 when I was in Florida in the Spring. The iPhone 6 had a 4.2mm lens which is equivalent to a Full Frame camera lens Field of View of 29mm. Many times you get a “curve” on the horizon and a distinct “Curve” and distortion on the ends when using the panorama feature on the iPhone 6. It really stands out if you are on a road that is straight left & right of your position and you are basically shooting a pano looking down the road to the left moving the phone down the road on the right. You get a distinct “bowing” look to the image as in the last photo in this post. Sometimes you can say it is an interesting effect, but not really ideal for the image. How close the objects are in the center has another set of problems because the far left & right are farther away and with a wide lens on the iPhone distortion looks more prominent. Because of this sometimes I take 2 (or more) individual images with my iPhone and use Photoshop to blend them for a panorama (or just a slightly wider view than the standard 1 image). I do this instead of the Pano mode in the iPhone which tends to distort the horizon line. The featured image is just a little wider so the tree on the right is more in the image. With the new iPhone 11 Pro, I have 3 lenses so I can shoot much wider than the older iPhone with the 1.5mm lens (Full Frame Camera Equivalent is ~13mm). In the examples below I also used the “Warp” feature in Photoshop (Edit>Transform>Warp) to straighten out the horizon somewhat which also can get a slight curve to the horizon in the image. I also have my system setup to open jpegs from the iPhone in Adobe Camera Raw to have even more options in adjusting my files before I even open them in Photoshop. Doing it this way, I can adjust the settings of the jpeg file, sort of treating it like a faux “Raw” file. It seems to really work well with my new iPhone 11 Pro. But these examples are from the older iPhone 6.

2 Horizontal Images, stacked vertically for more clouds

iPhone 6 – 2 image pano Stack for a little more clouds
iPhone 6 – 2 image sunrise Pano for more width (Horizon Line Corrected somewhat in Photoshop)
iPhone 6 – 2 image sunrise panorama, with more overlapping of images, assembled in Photoshop. This give a little more on the left & right sides. Sometimes you lessen the “curve” arc of the pano mode by shooting 2 single images and blending them then using the “Pano” feature.

Panorama made with iPhone 6 showing “warping curve” distortion of railing on deck platform by just using the Pano feature on the phone. (Horizon line here was Corrected Somewhat in Photoshop)

iPhone 6 Panorama shot @ Blackwater NWR Wildlife Drive – Showing distortion of road (on left and right) by just using the pano feature while standing on the road.
