 photoartflight
Studio Stacked Images
Posted on November 26, 2013

With it getting colder outside I was looking for images in the archives. One cold Winter Day last December, a friend came over to the studio for shooting some macro setup studio shots. When shooting closeup subjects, it is hard to get everything in focus, even at f/22 or f/32. Here are a series of stacked macro images shot with two different camera systems to show the depth of field you can get with Stacking images. For Short Stacks, you can try handholding, but for best results or Large Stacks, use a tripod and lock it down as best as you can. We were looking around the studio for subjects and came upon this deceased Robber Fly in a window. We positioned it on a Pussy Willow branch and printed out a slight gradated print for the background. We used a Speedotron Black Line power pack and dialed down the power for the f/stop we wanted to use. I used a Canon EOS 1D MkIV with a Canon 100mm f/2.8L Macro IS USM, 1/125 sec @ f/8 ISO 200 for some images. The other system I used was a Panasonic GH2 m43 camera body with an older Canon 200mm f/4 FD Macro lens @ 1/80 sec @ f/8 for the 4 image Short Stack and f/4 for the 51 image Large Stack. For stacked images, you start with the lens focused to your closest point and then shift focus farther back, shooting a series with a very slight focus shift as you go. The best way is to use a focusing rail to move your Camera & Lens at the same time instead of shifting focus on the lens, but these were shot by changing focus on the lens, which also works. Then I aligned the images in Photoshop. After Aligning, I Stacked the images in Photoshop. Depending on the number of layers in the stack, this can take a while to process. The stacked images here are a series of a Short Stack of 4 images, then a stack of 20 images and then a large stack of 51 images. Give it a try, especially on a cold Winter day.
Canon 200mm f/4 FD Macro lens @ 1/80 sec @ f/8 ISO 200 – 51 Image Large Stack 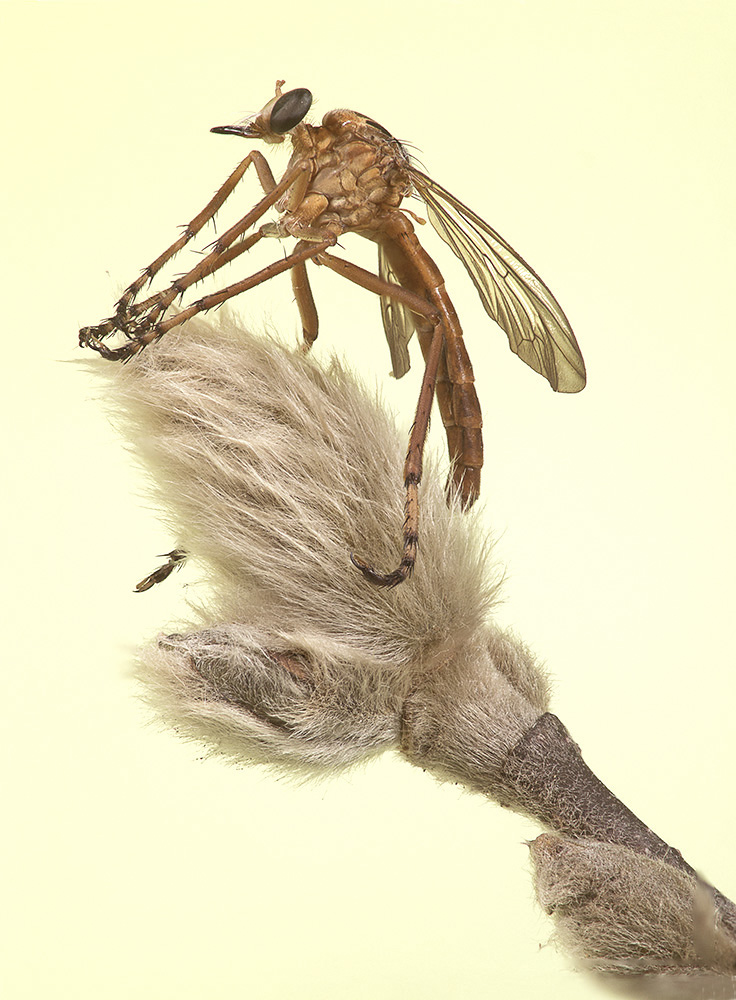
Canon 200mm f/4 FD Macro lens @ 1/80 sec @ f/8 ISO 200– 4 image Short Stack

Canon 400mm f/4 DO w/ 36mm extension tube @ 1/125 sec @ f/8 ISO 400 -Single Image, No Stack
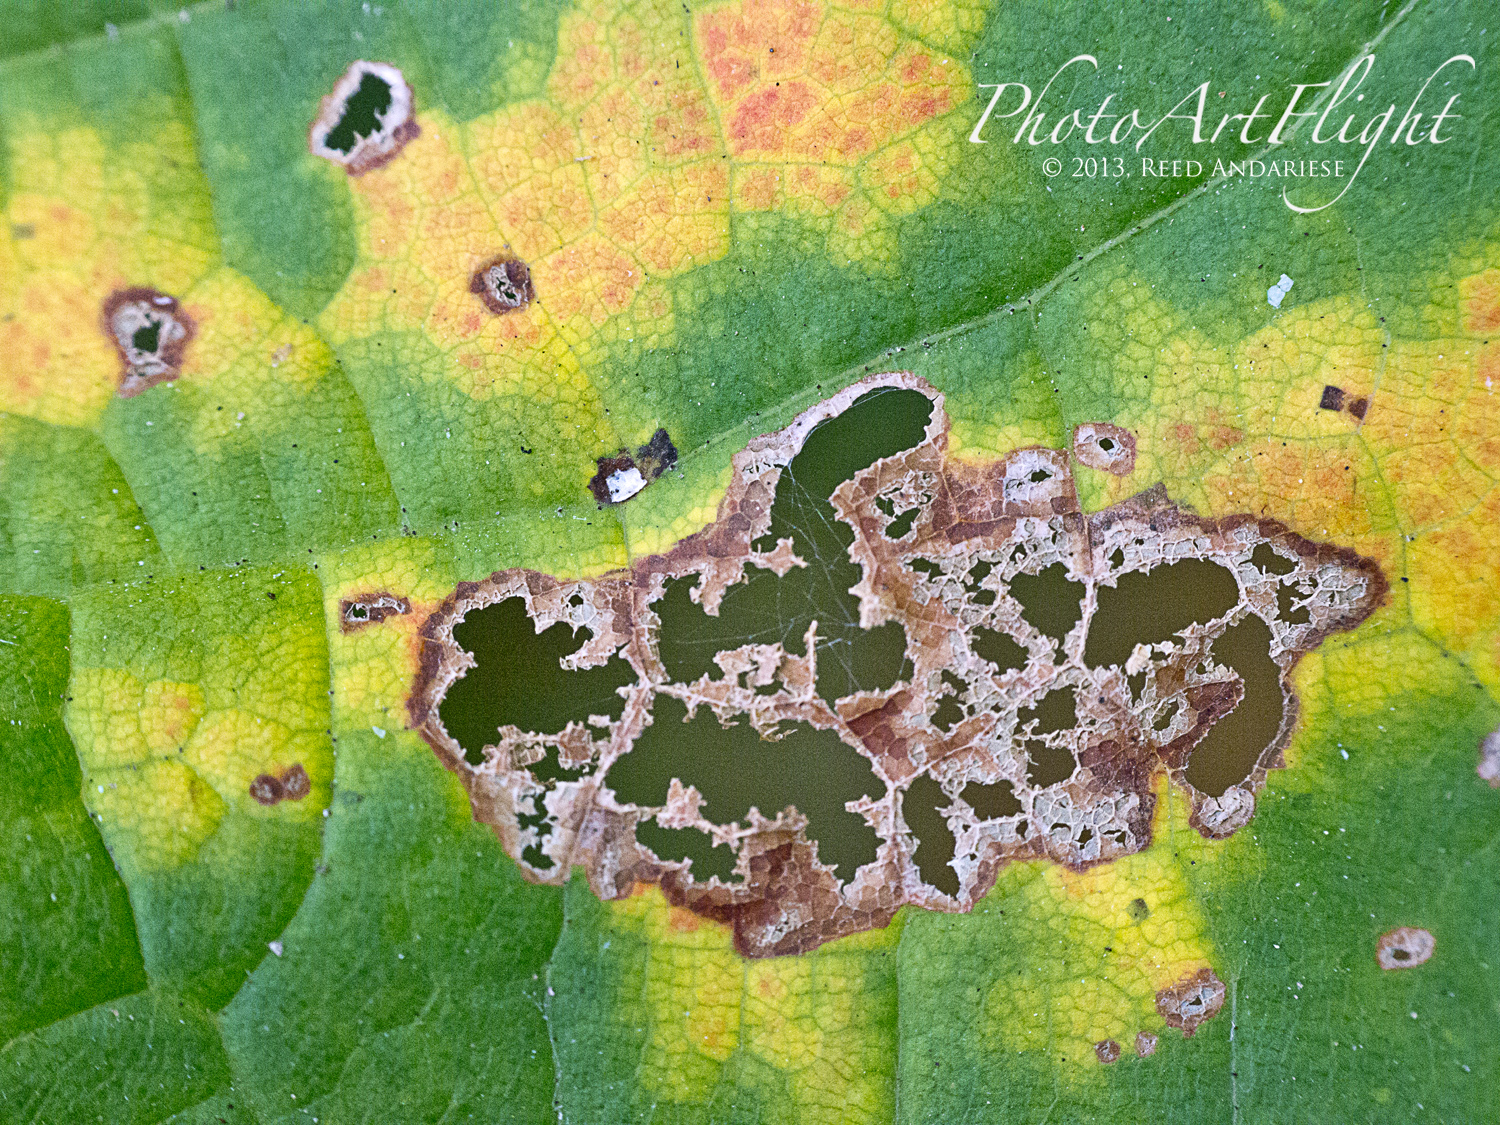
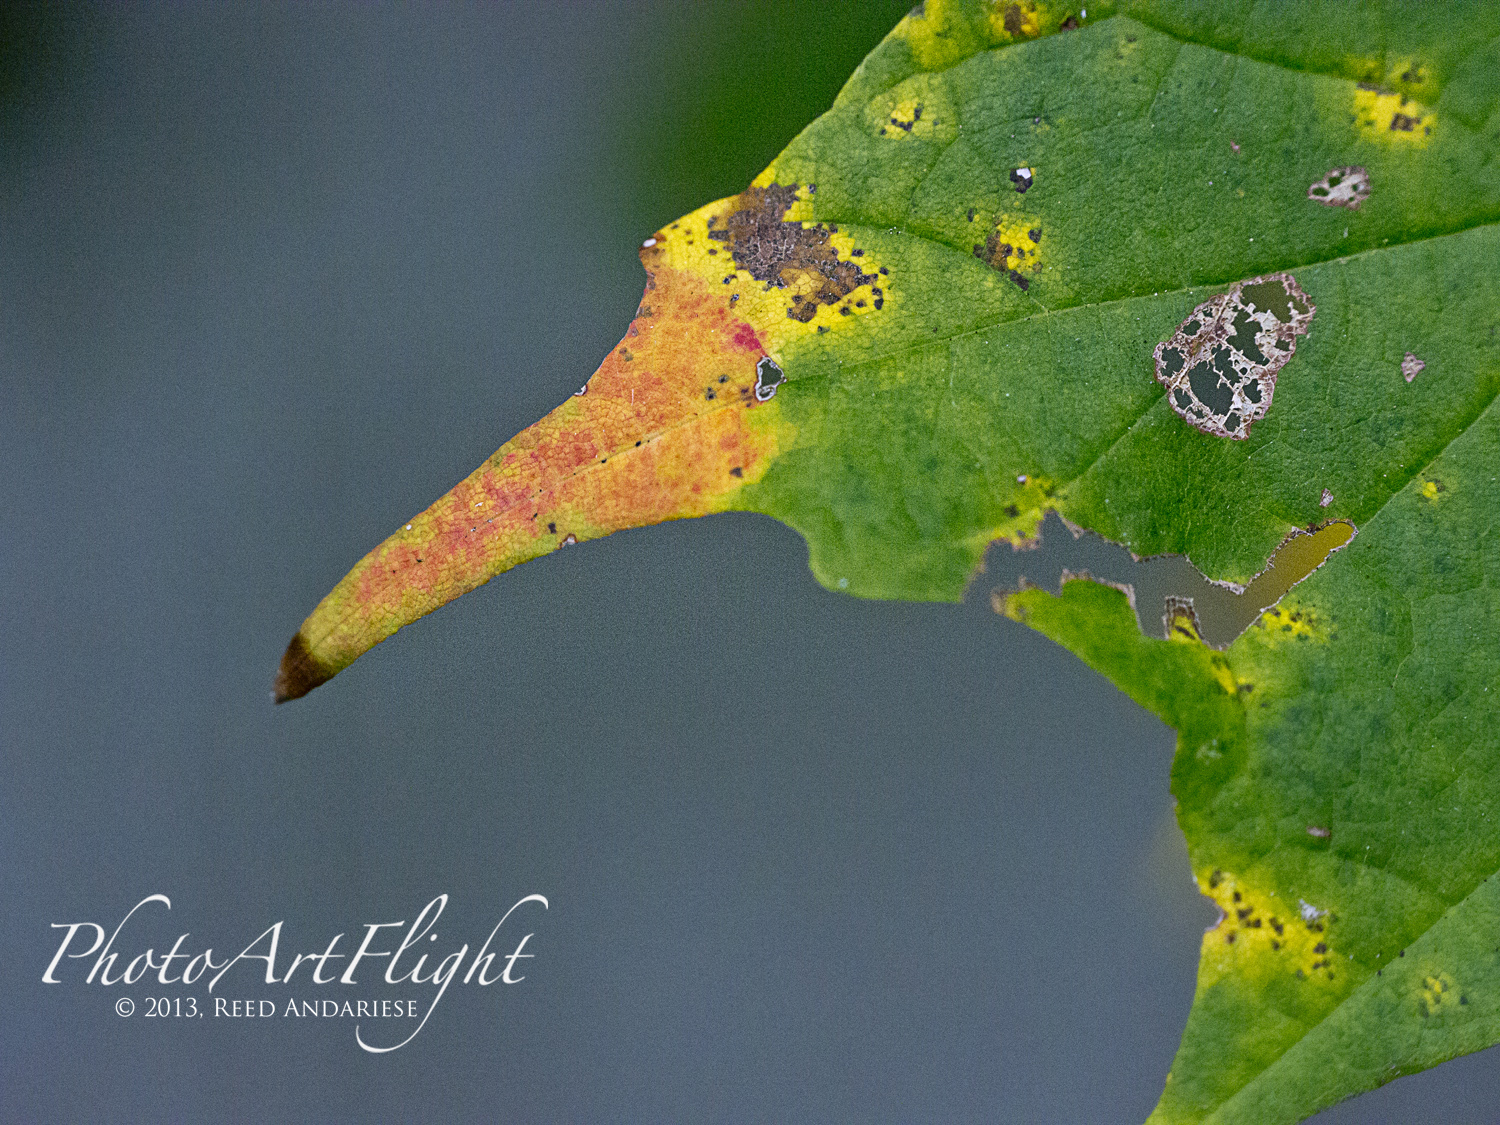
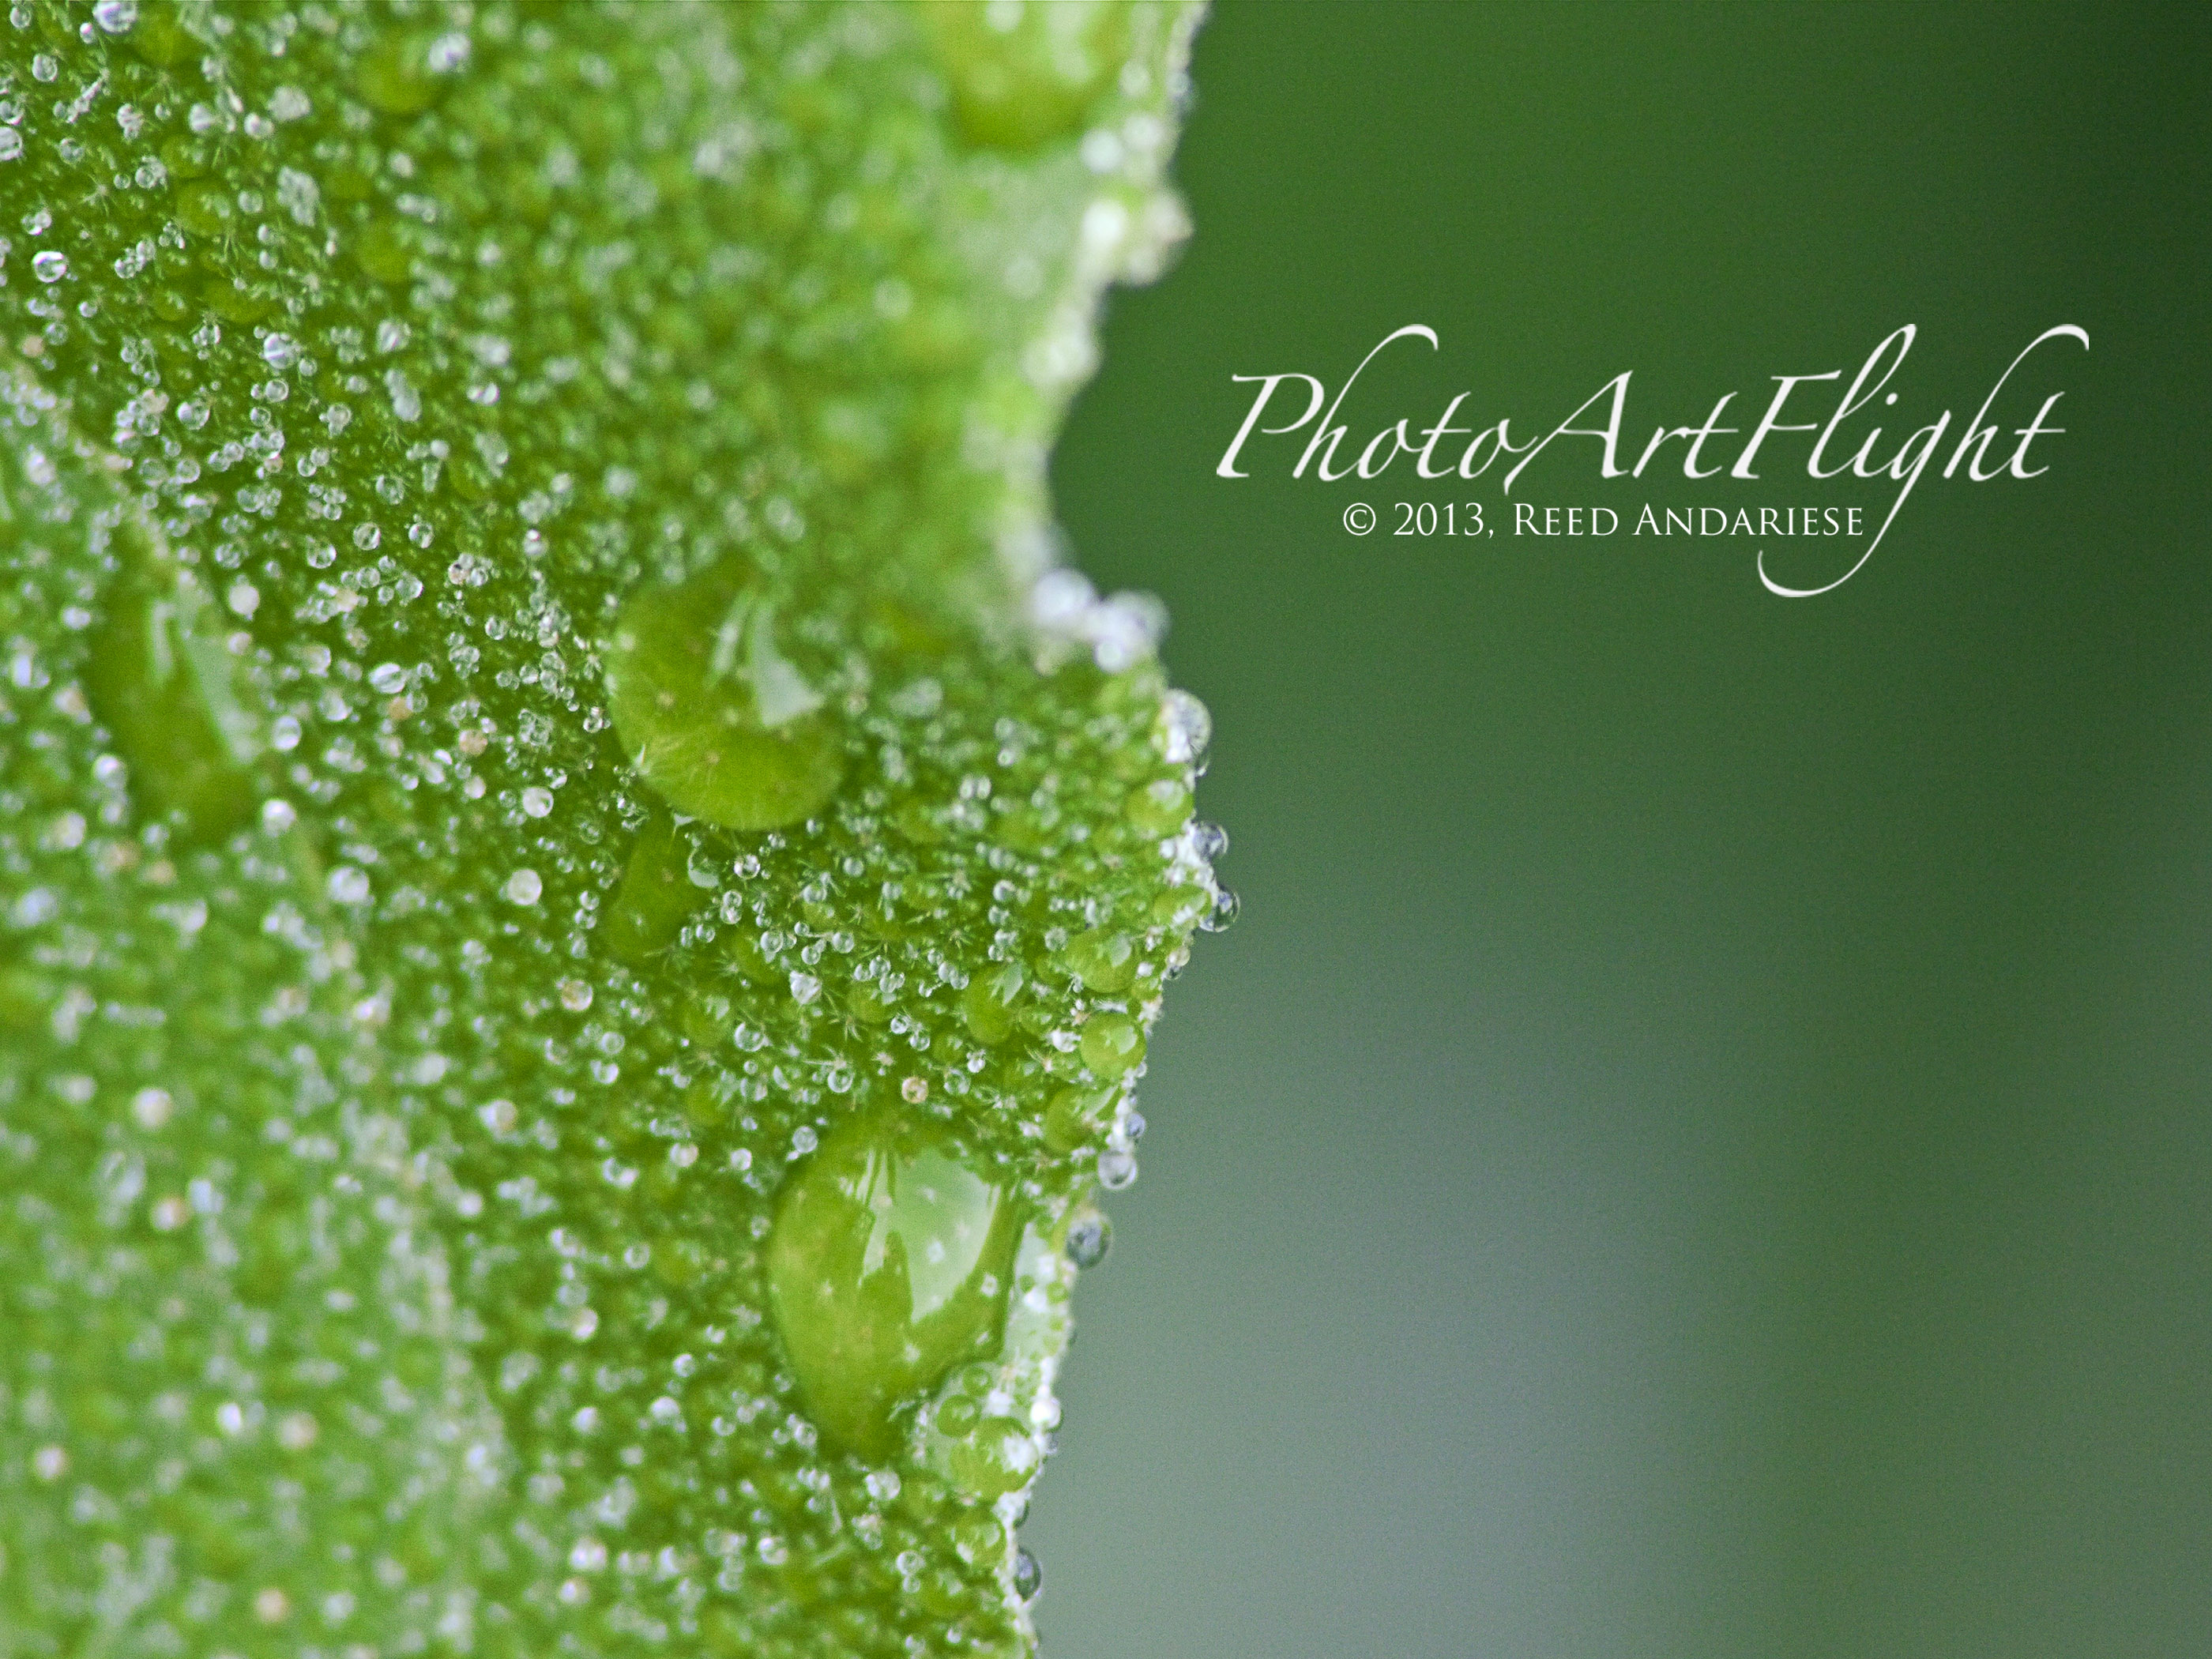
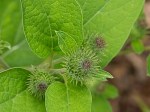
Leaf Abstract
Posted on October 19, 2013

With all the leaves starting to turn color, I thought I would try some extreme closeups of leaf details. I could use a standard macro, or a Canon MP-E 65mm 1-5X macro, but I decided to try something different. I mounted an old FD Canon manual focus 50mm f/1.8 lens with a m43 adapter on my Panasonic GH2. Then I added an achromatic closeup lens. An Achromatic lens or achromat is a lens that is designed to limit the effects of chromatic and spherical aberration, which limits distortion. It is basically like a closeup filter to get closer to your subject. You do not need extension tubes, You use them like a filter on the front of the lens. You can get very inexpensive ones, which are usually one piece of glass to very good ones with multiple pieces of glass. They range in price from $15 to thousands of dollars, but you can get good ones from Canon, Nikon or Raynox for a reasonable price. I have many different kinds that I have collected over the years, but used a set here with 3 different strengths, 6X, 12X & 24X. These just screw into an adjustable mount that clips onto the front of the lens. Just be careful to get as parallel to your subject as you can. The leaves were blowing in the wind, so I tried to capture the images in-between gusts. Here are a series of images using all three. So give it a try, they are handy to have in a pocket when you need them, without the weight and size of having a macro lens with you. Do they replace a macro lens? No, but come in handy, especially for some extreme closeups.


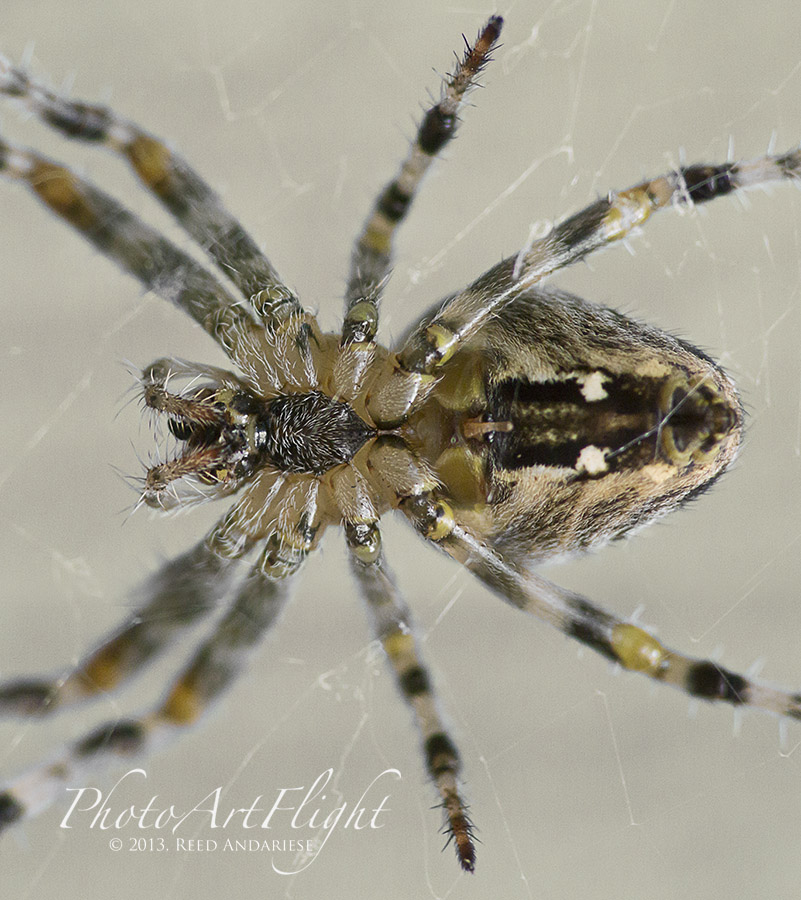
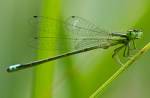
Spider & His Shadow
Posted on September 30, 2013

As I was working in the yard and cutting the lawn I spotted this Spider on the side of the house. When I was done he was still hanging around, so to speak. I tried shooting a few shots, but it was windy and it was in the shade. I upped the ISO to 1600, but I still needed more depth of field. I tried a 3 shot sequence to make a panorama and was about to give up. Then the sun broke through and cast his shadow. I liked that shot the best and was satisfied with what I got, so back to yard work. Keep trying different crops, lighting or other ways to capture your subject. Don’t settle for one quick shot. You will be surprised with what you come up with. Again this was taken with the Panasonic GH2 and the Canon FD 200mm f/4 macro with the FD to m43 lens adapter.
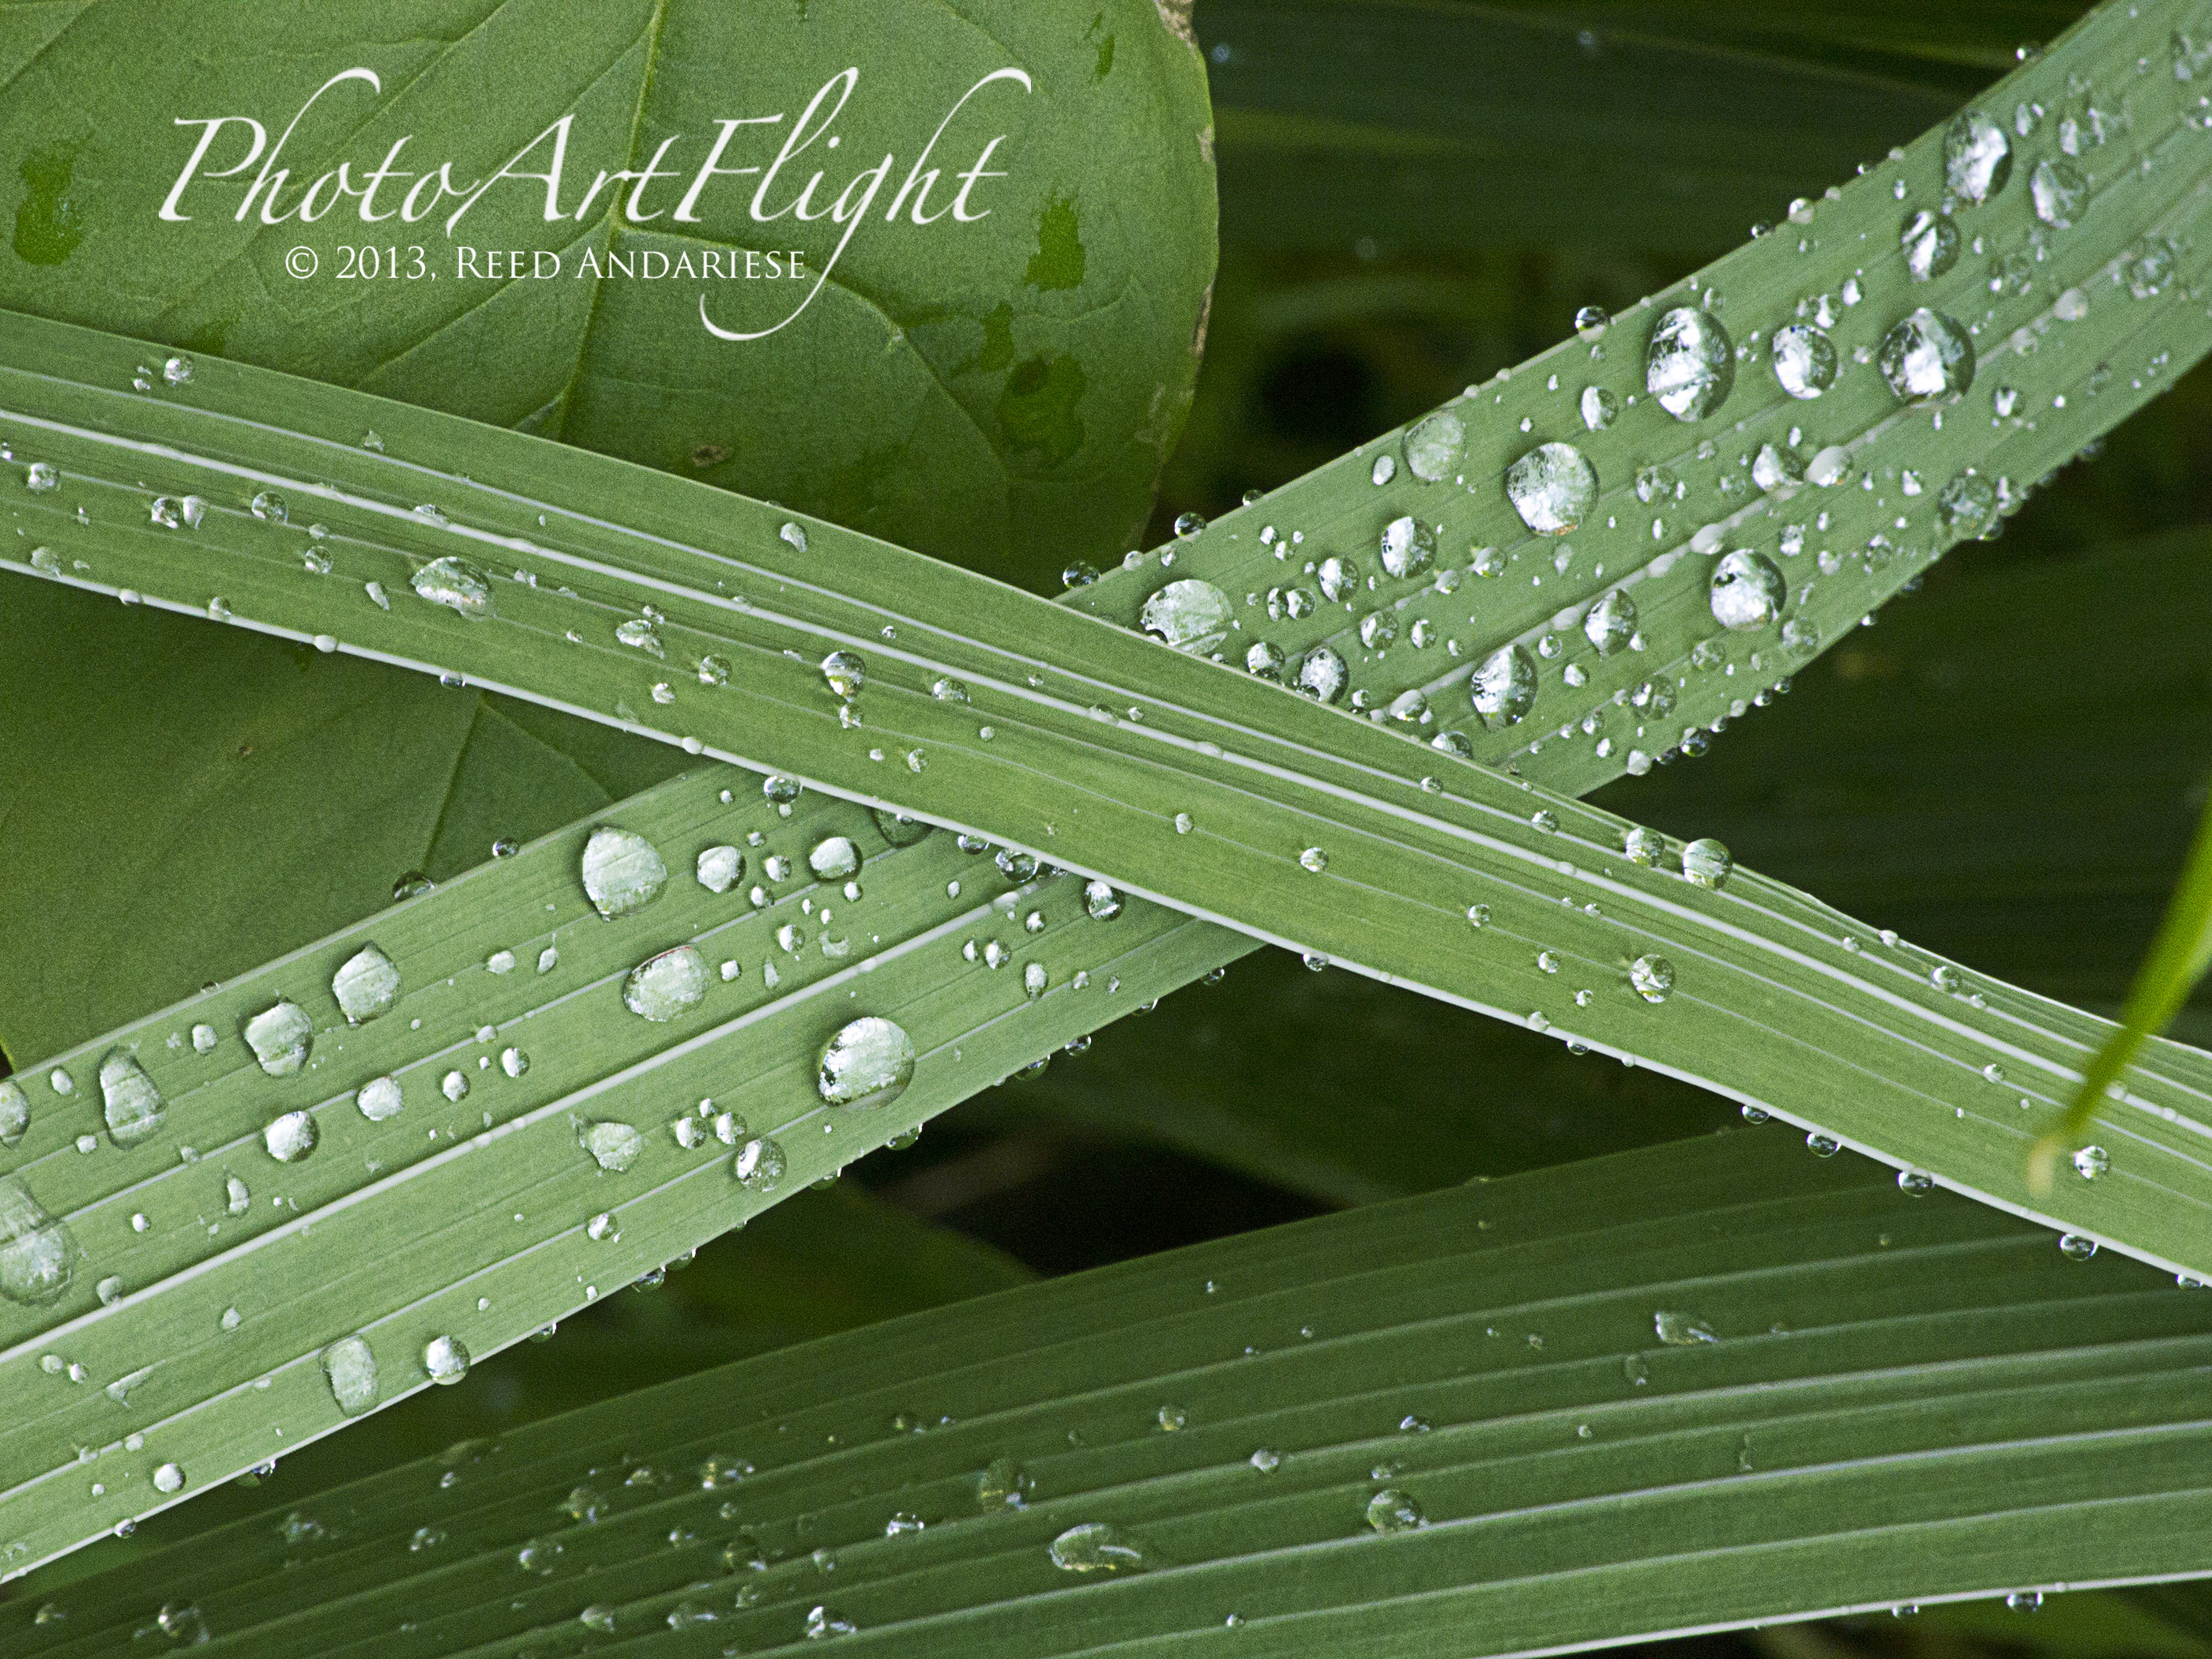
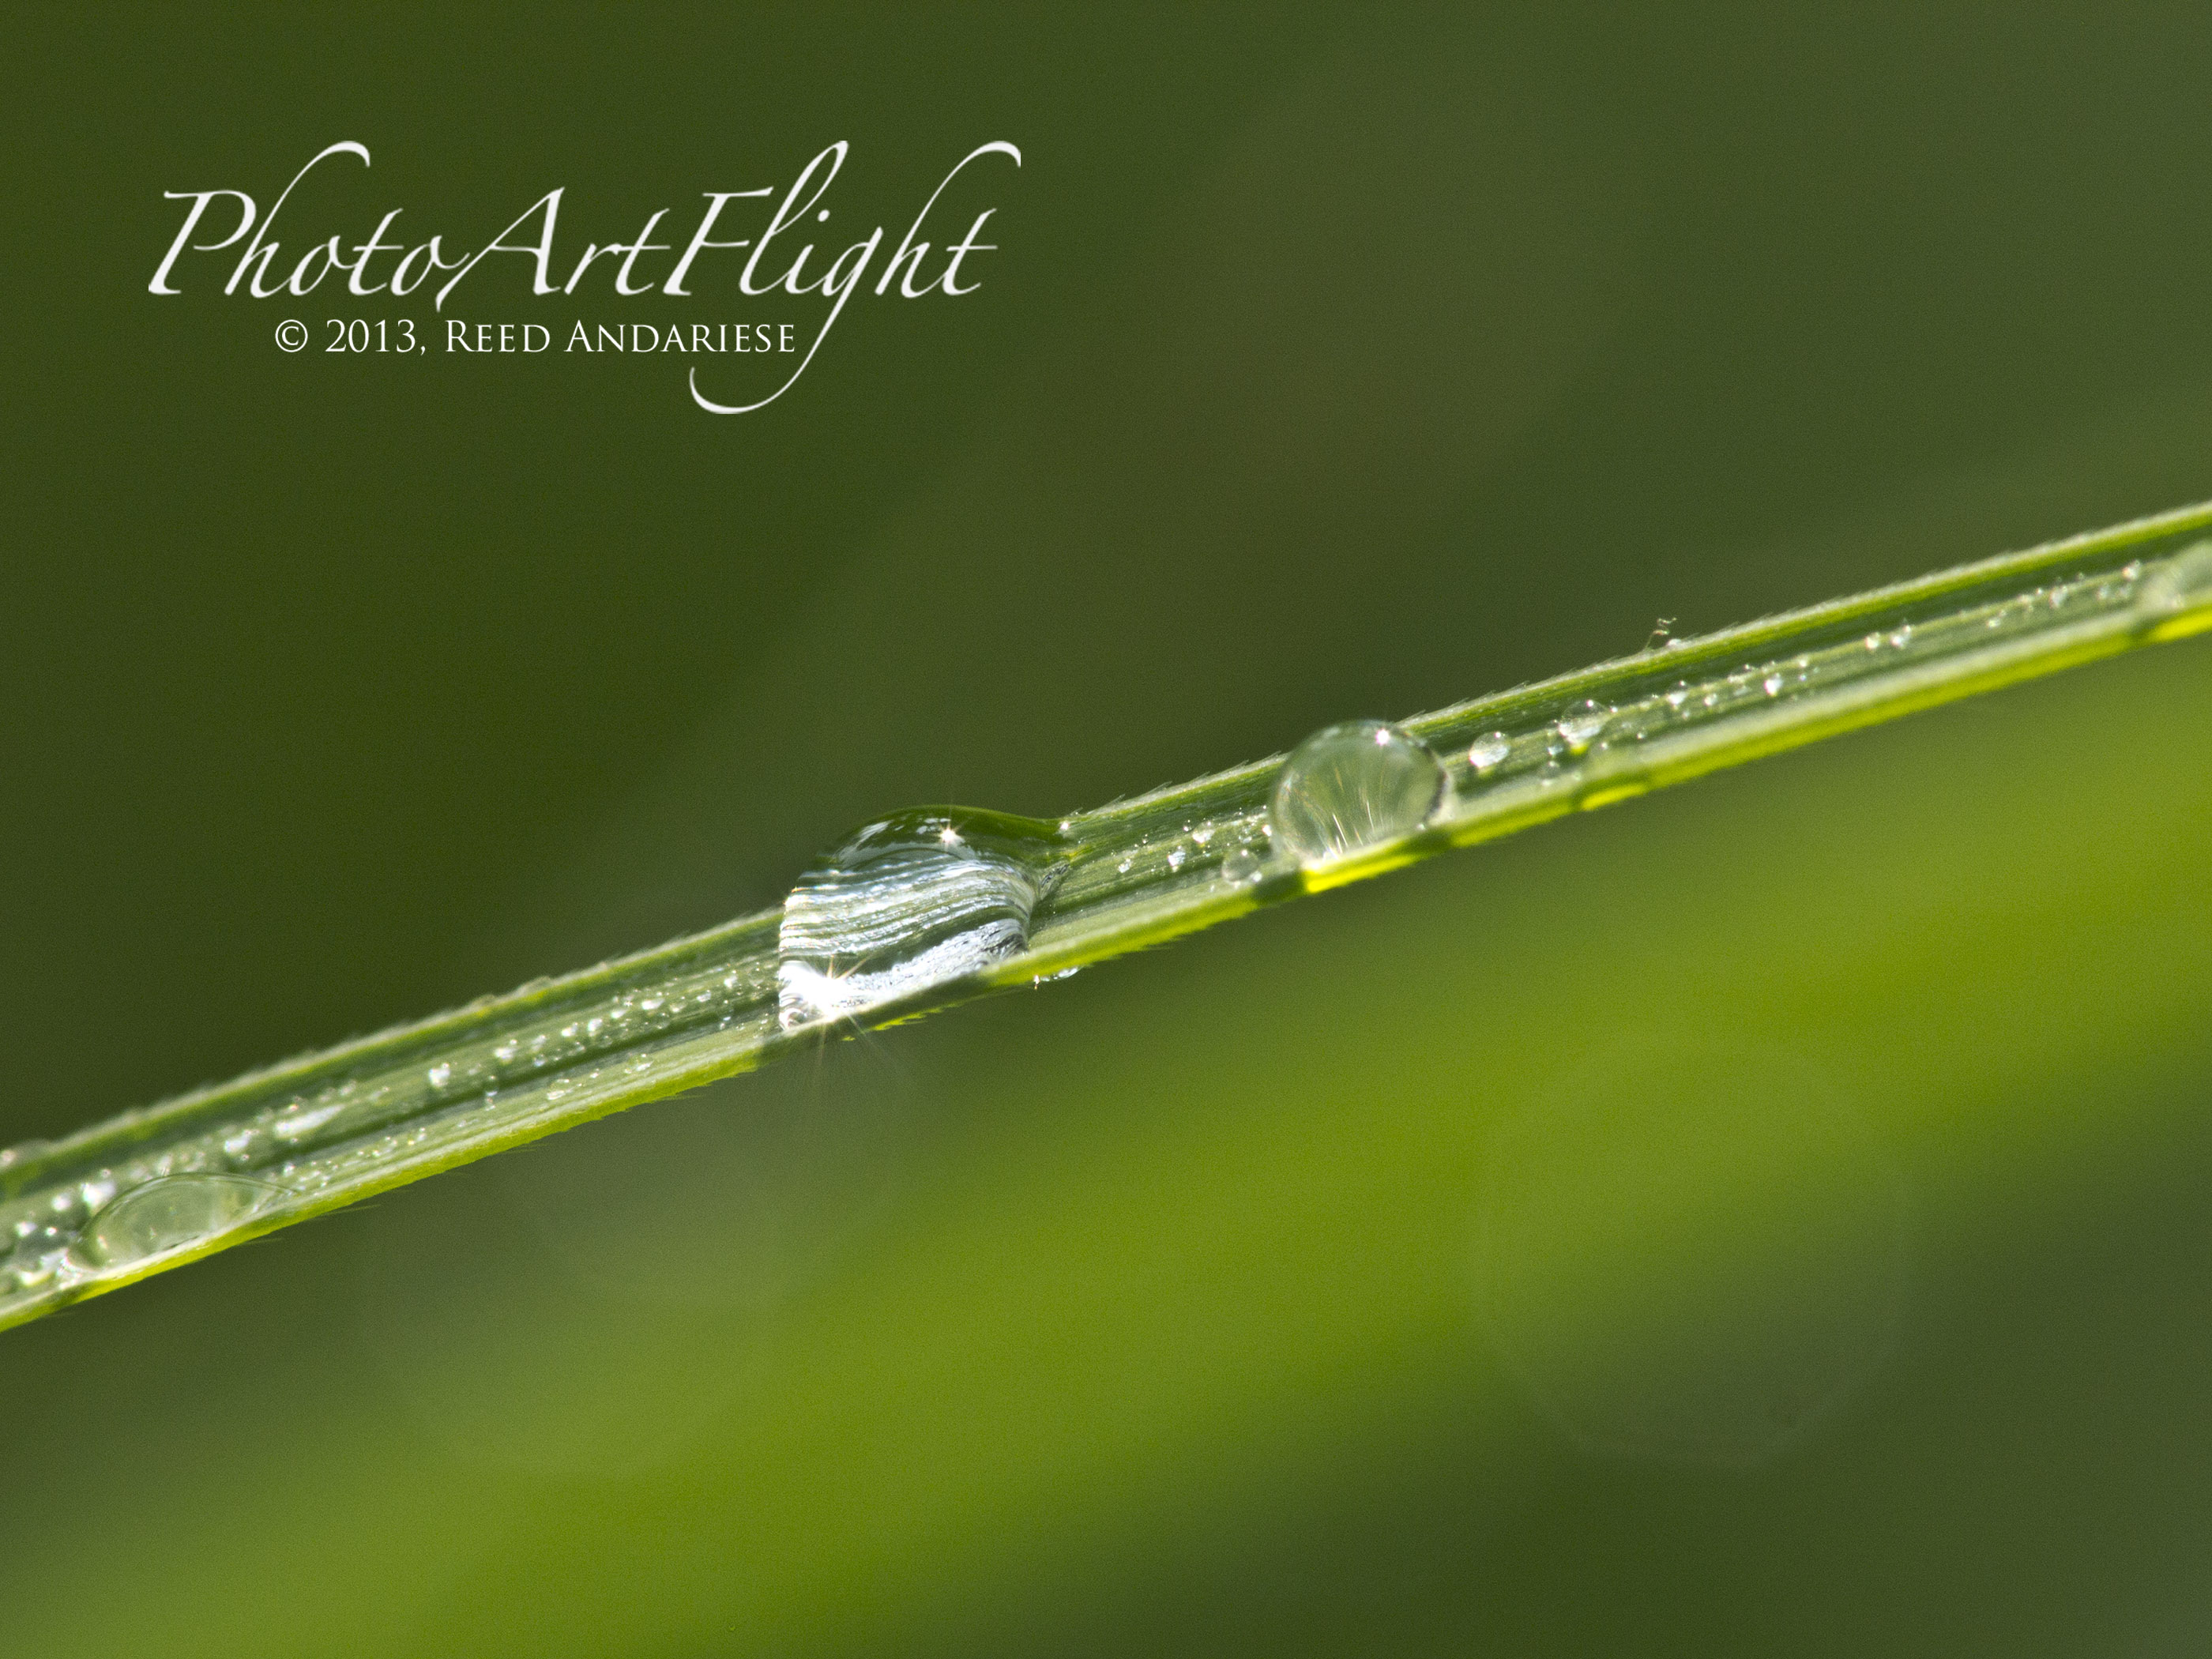
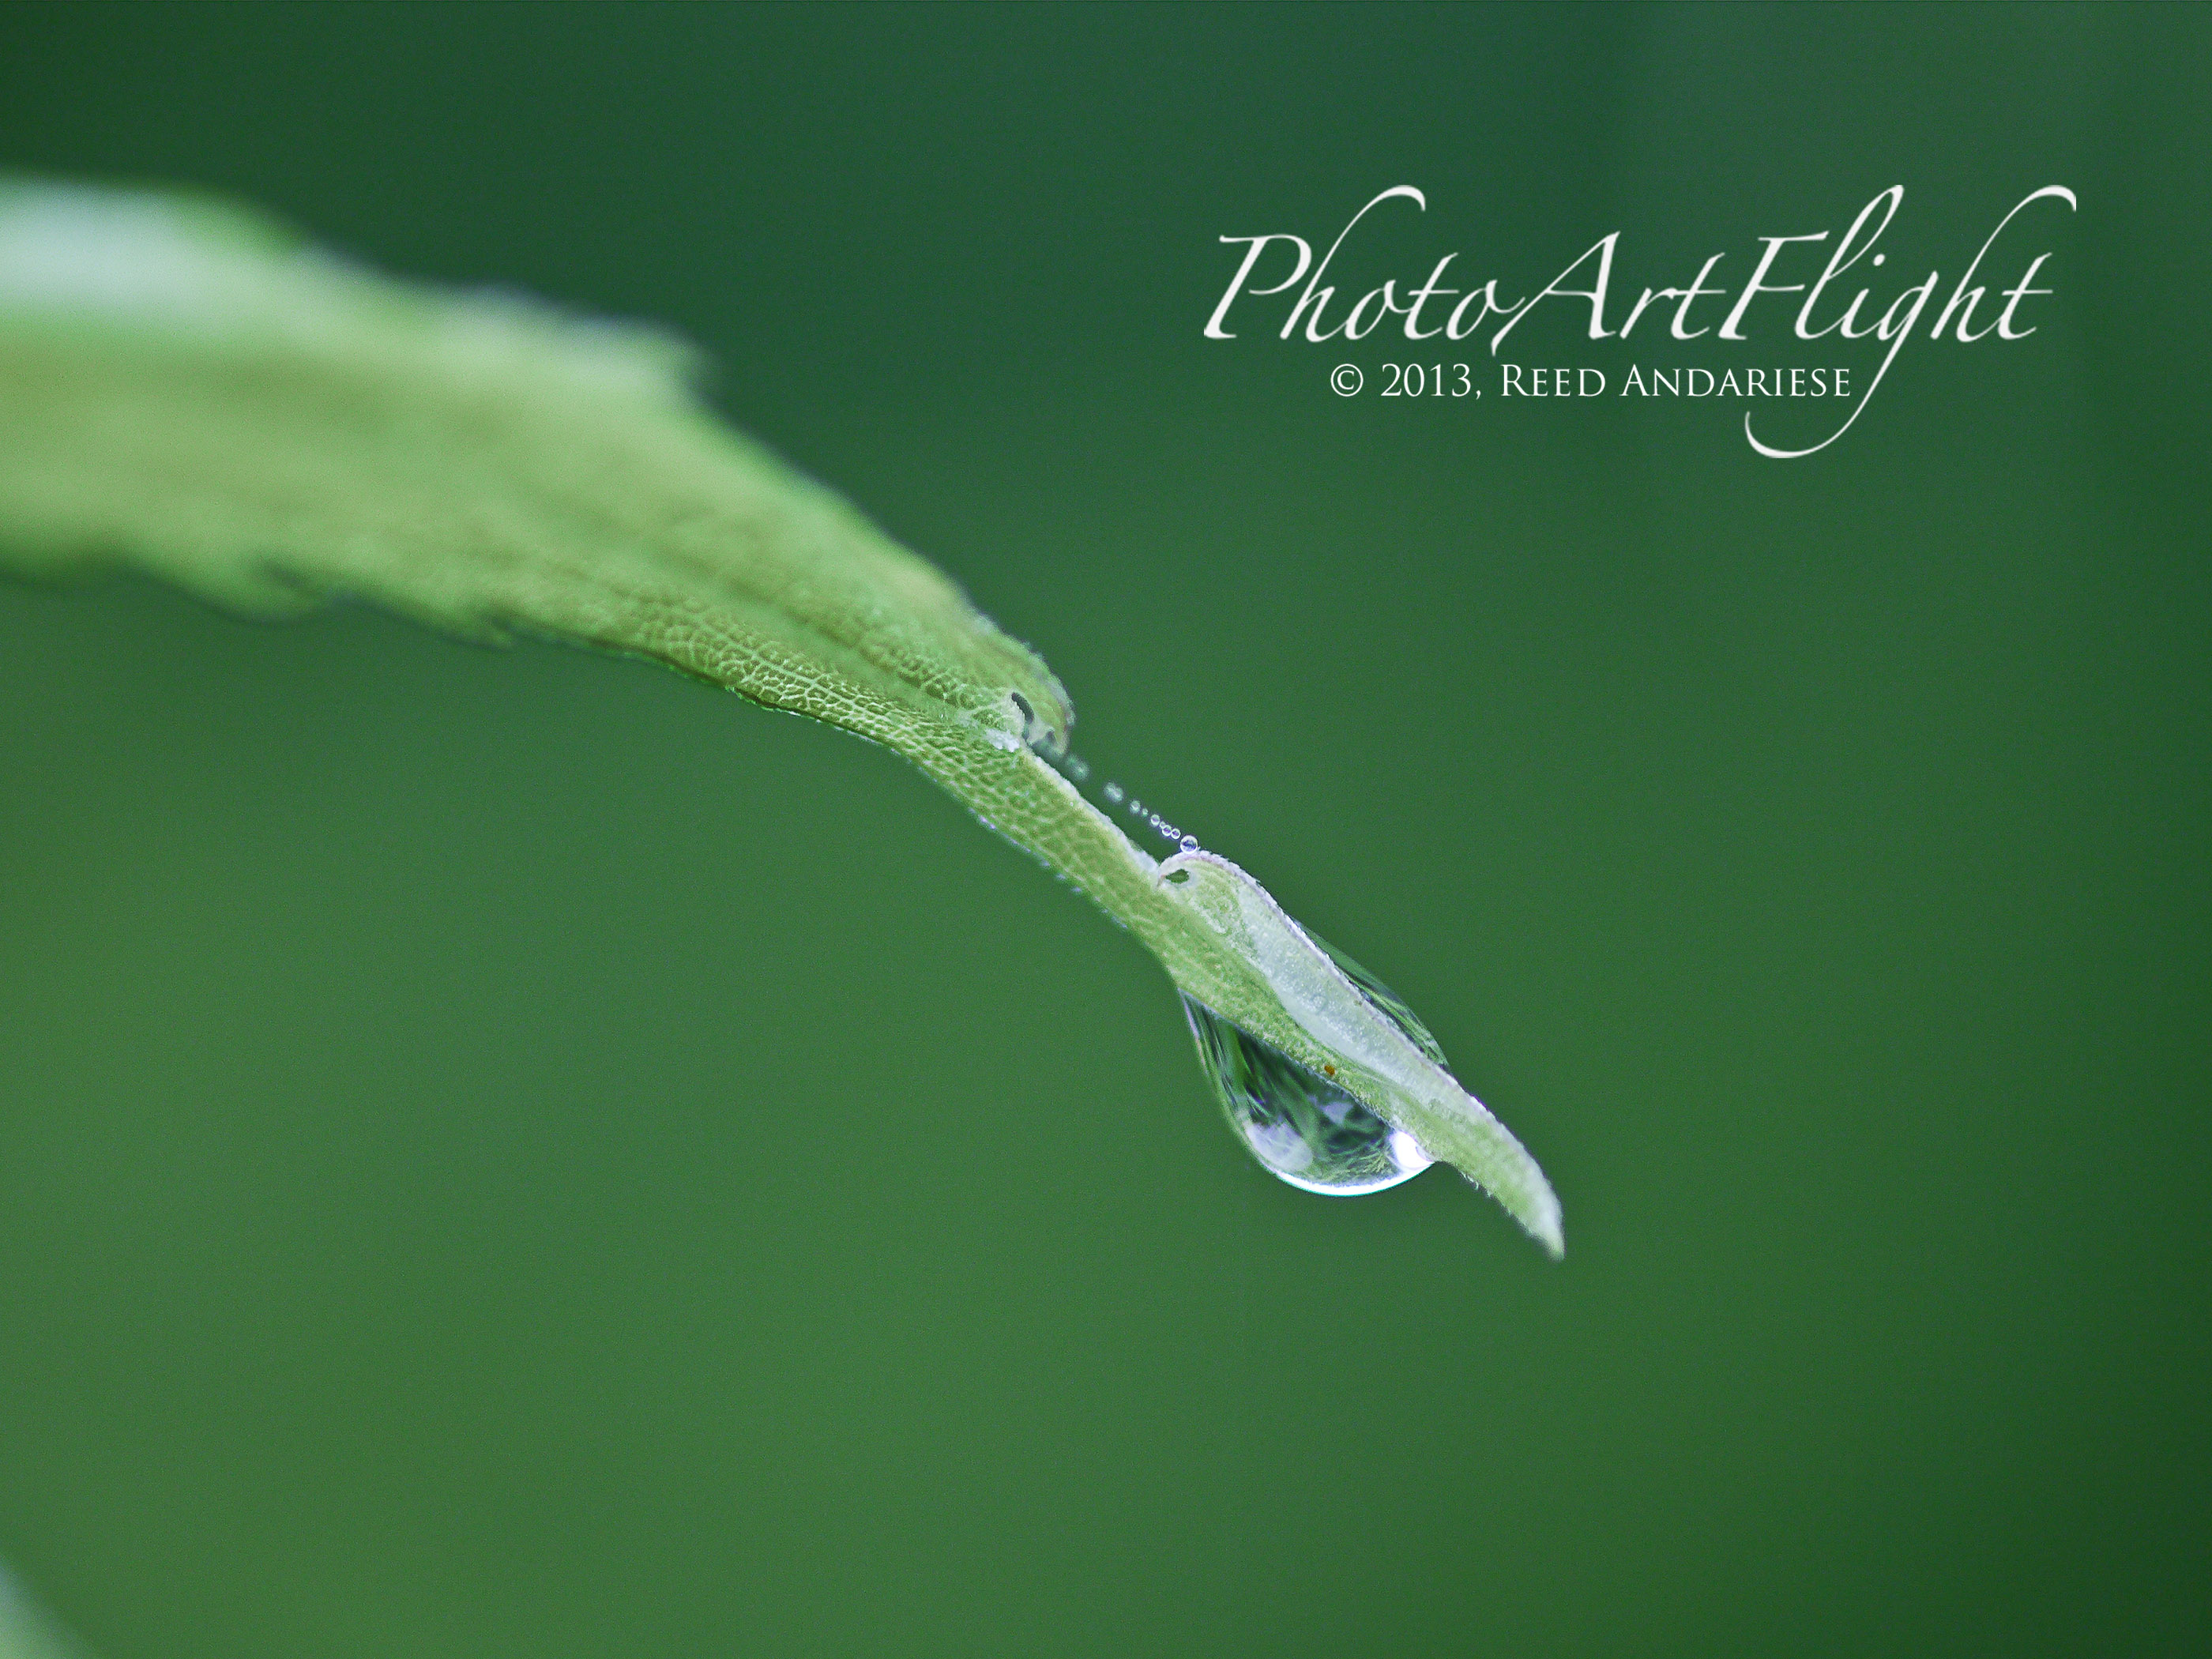
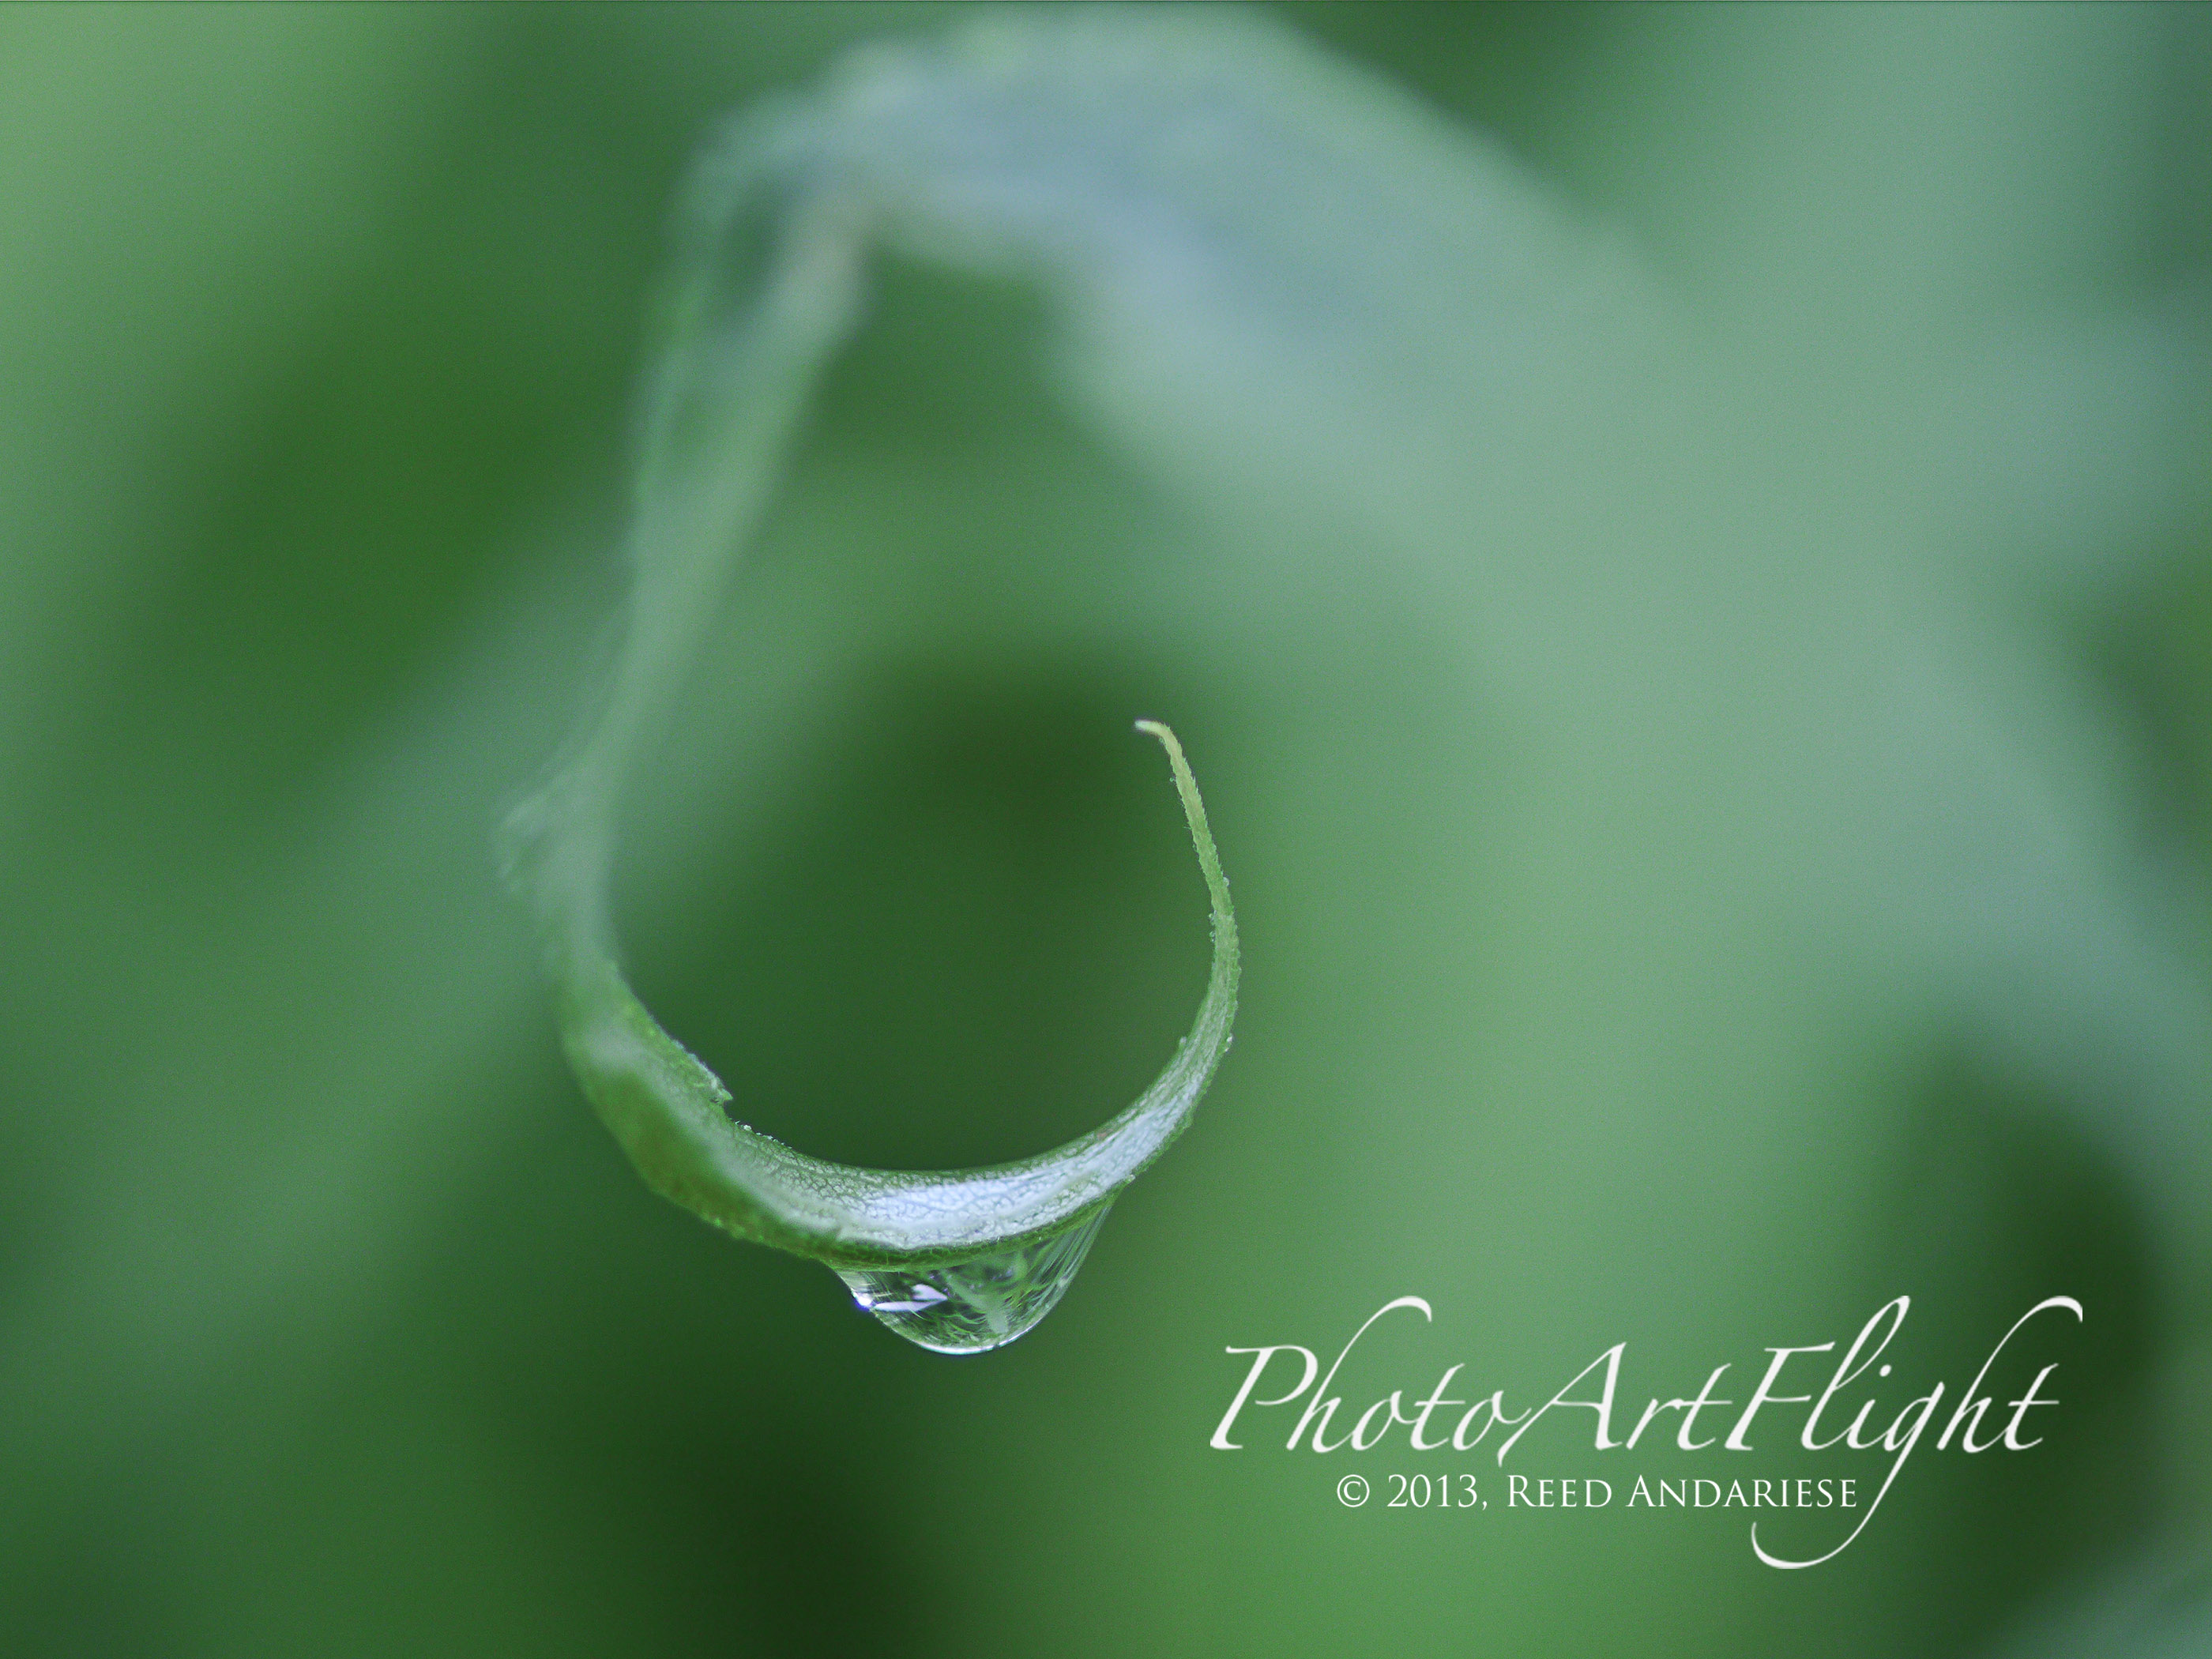
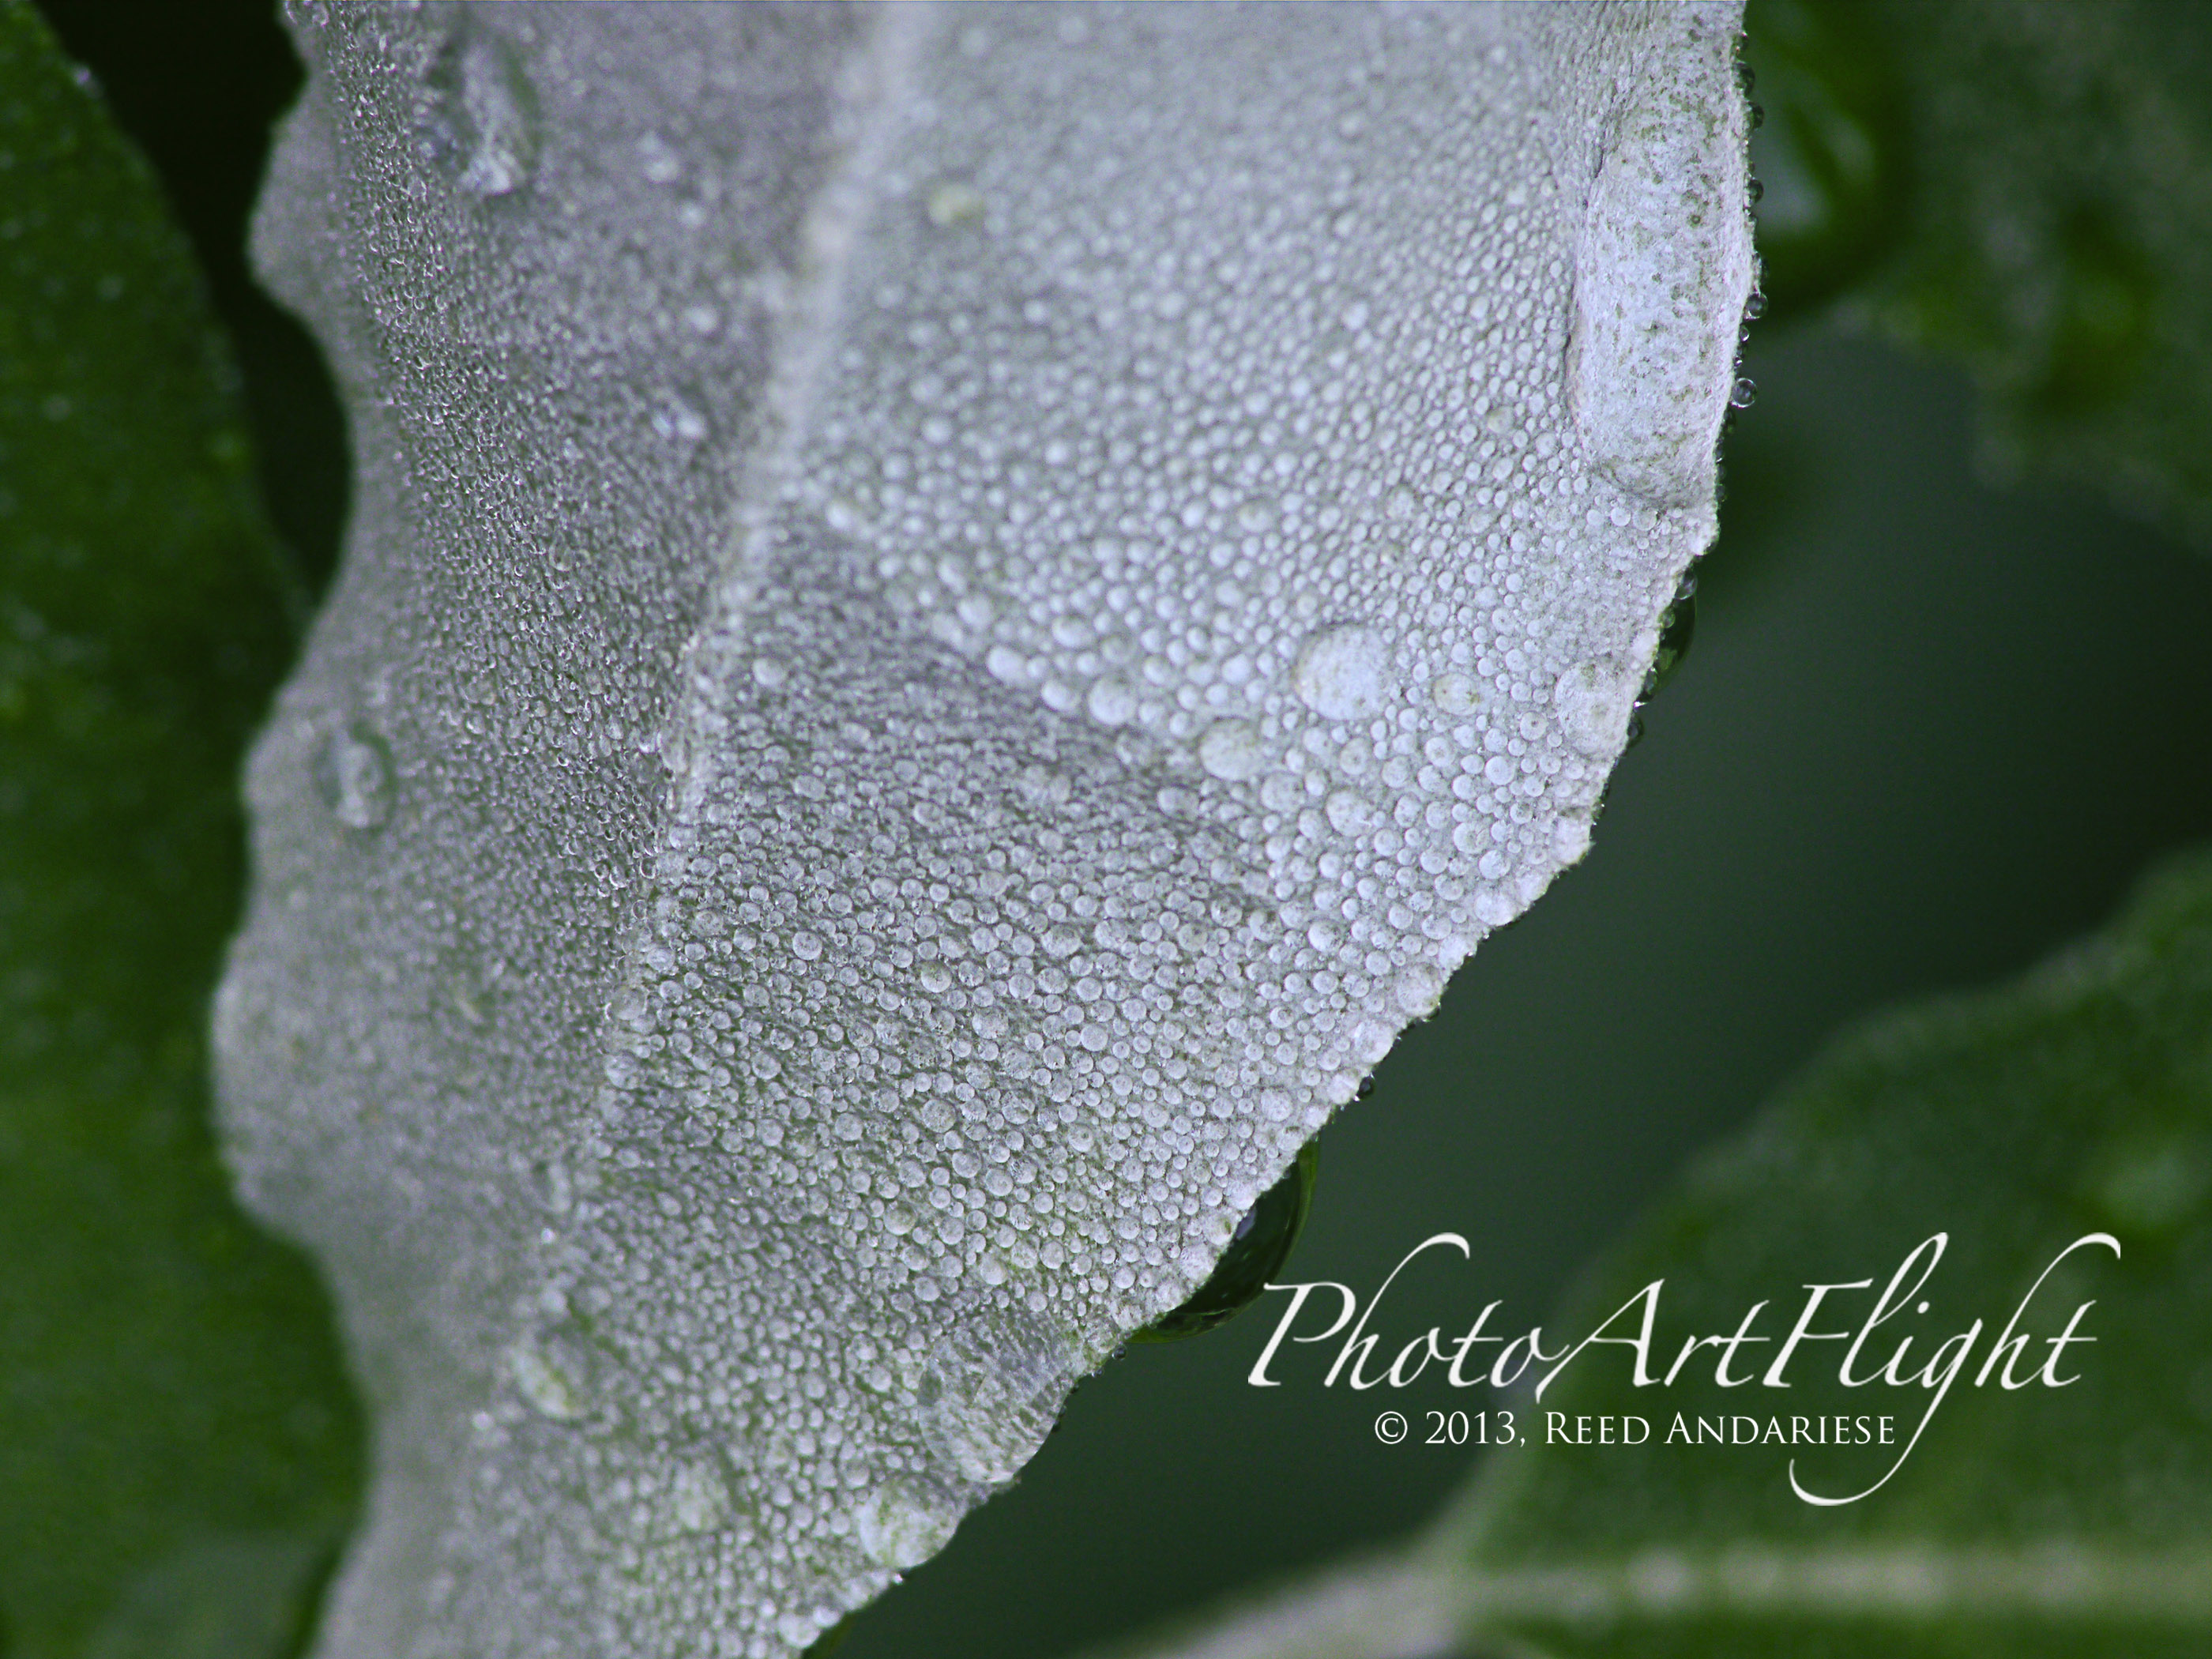
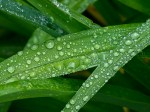
Water Droplets
Posted on September 29, 2013
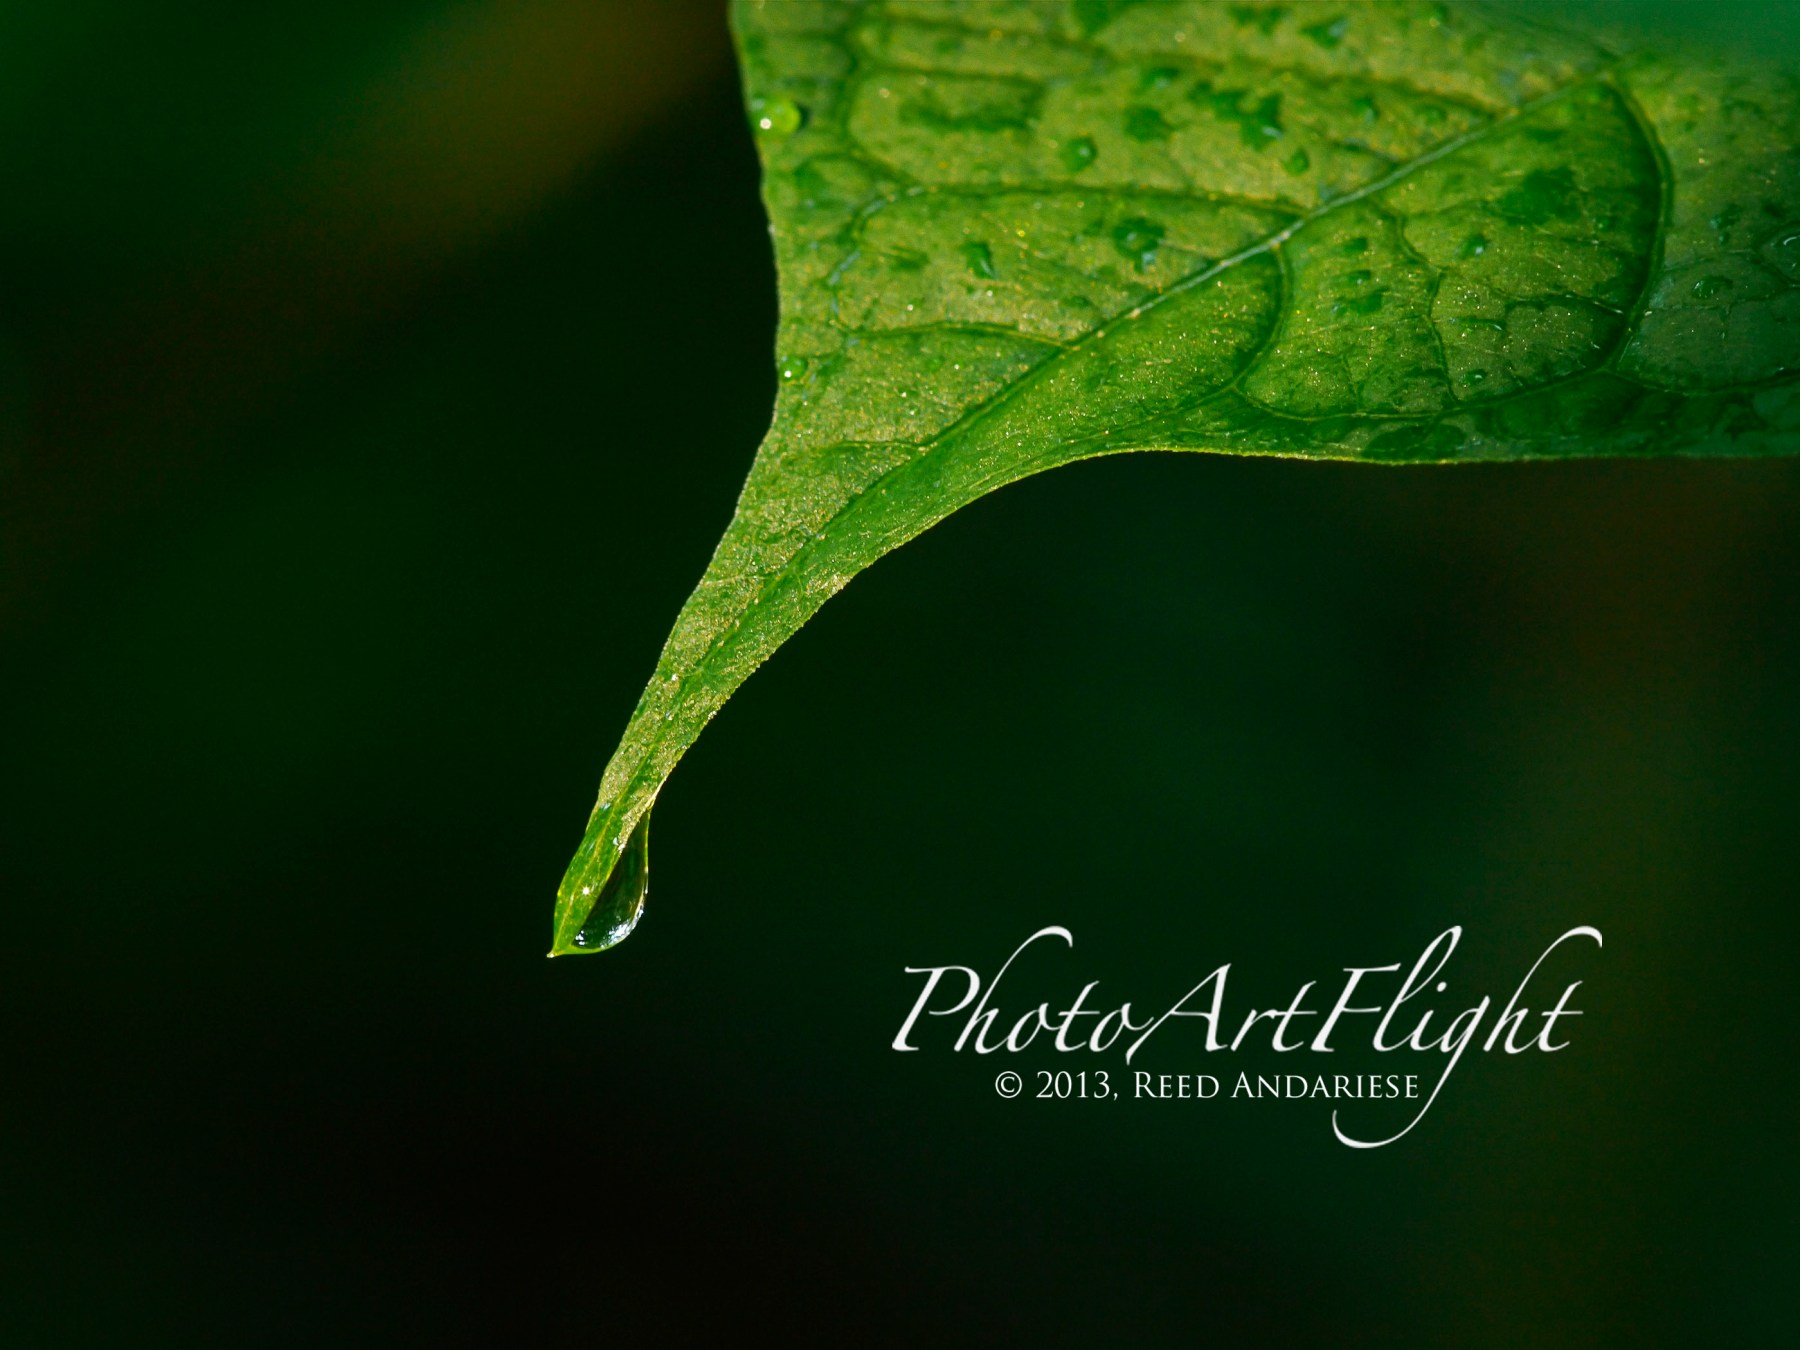
A lot of photographers do not like it when it rains, cuts down on their photography. I like a rain showers, when it ends or just drizzles a little, it gives you an opportunity to go and add water droplets to your photos. It adds interest and dimension to leaves and other subjects. It is like a Treasure hunt and you can do it in your own yard or a local park. When shooting wet leaves, sometimes it helps to use a polarizing filter to cut down on the glare if the sun comes out. Most of the photos shown here were shot using the Panasonic GH2 m43 camera with an older manual focus Canon FD 200mm f/4 macro lens. I like using this combination for macro. With this combo it is like using an f/4 400mm macro that goes to 2X without extension tubes. Your depth of field is also extended because it is a 200 mm lens, but with the 2X crop factor of m43 giving you 400mm. Plus you are not right on top of your subjects, gives you a nice working distance. You just press in the exposure compensation and the image in your viewfinder zooms in for critical focus. Then you just touch the shutter button and it zooms out for the full image on the viewfinder. Also as you stop down, the image remains bright in the electronic viewfinder, but you also see the full depth of field of the aperture you set. After you shoot your shot you also instantly see a preview of what you just shot for a second and will give you “blinkies” on a bright area that might have gotten blown out so you can instantly compensate and reshoot a darker exposure. So enjoy and go out and look after a rain shower to see what you can find.


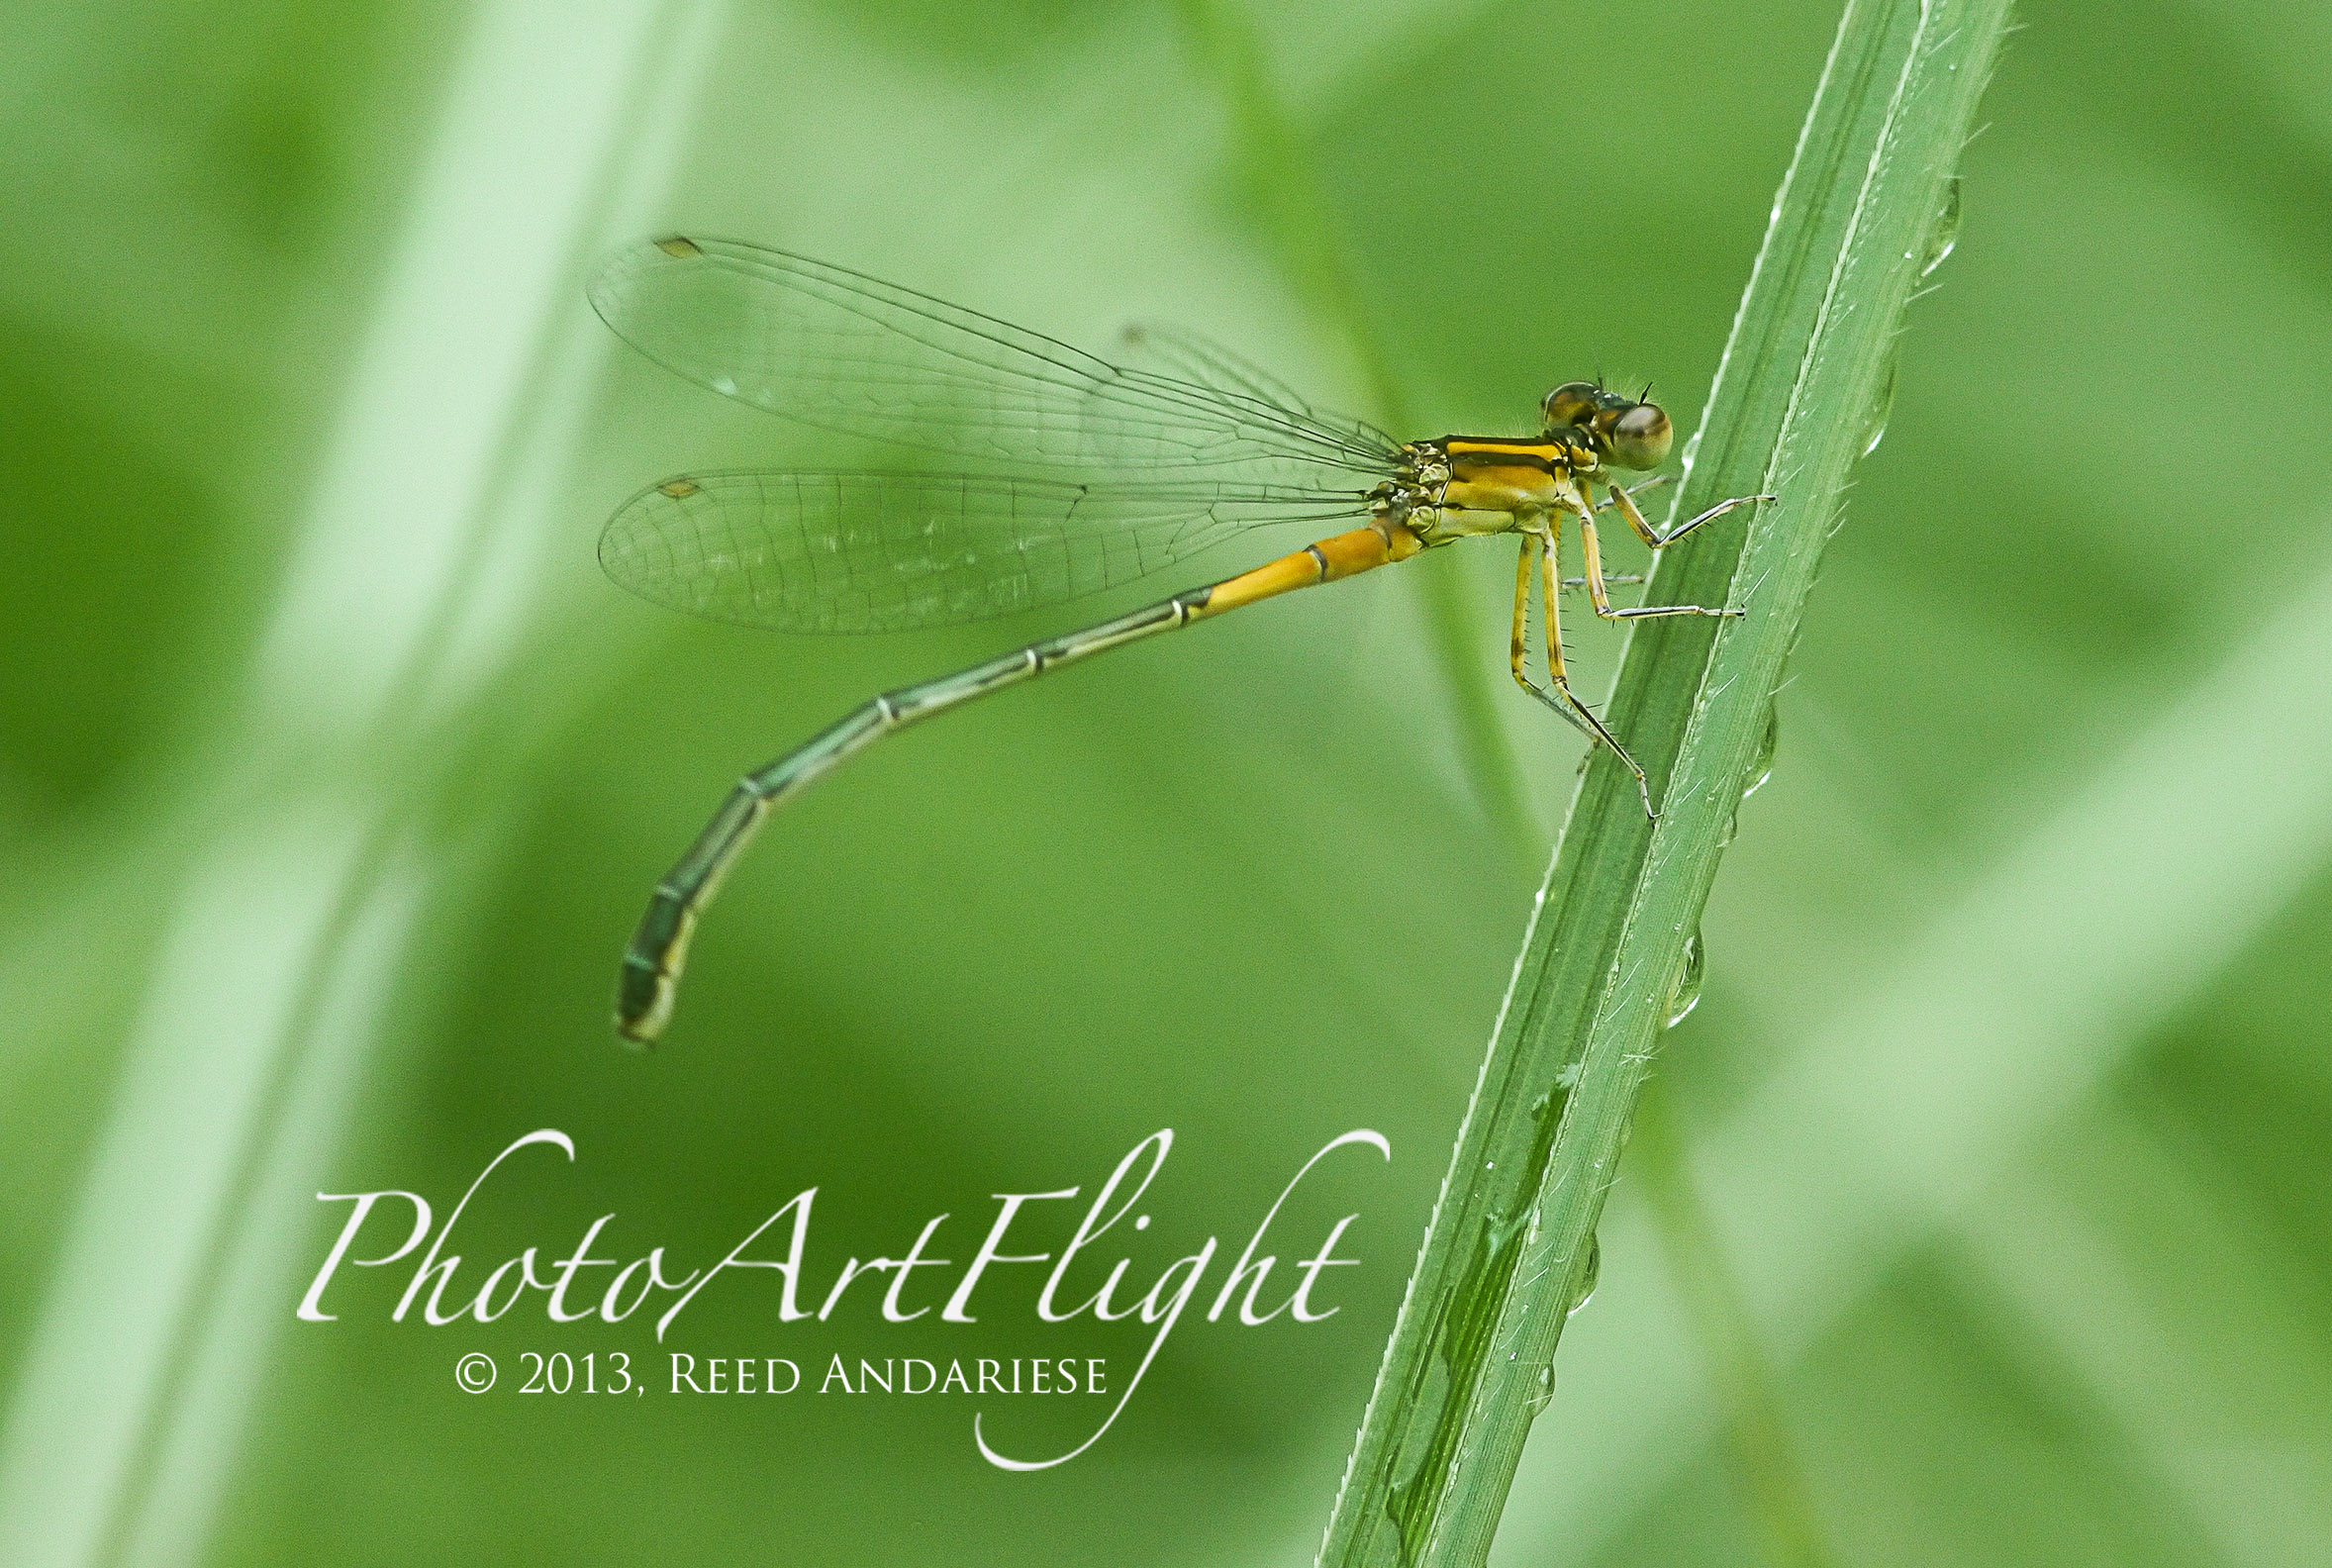


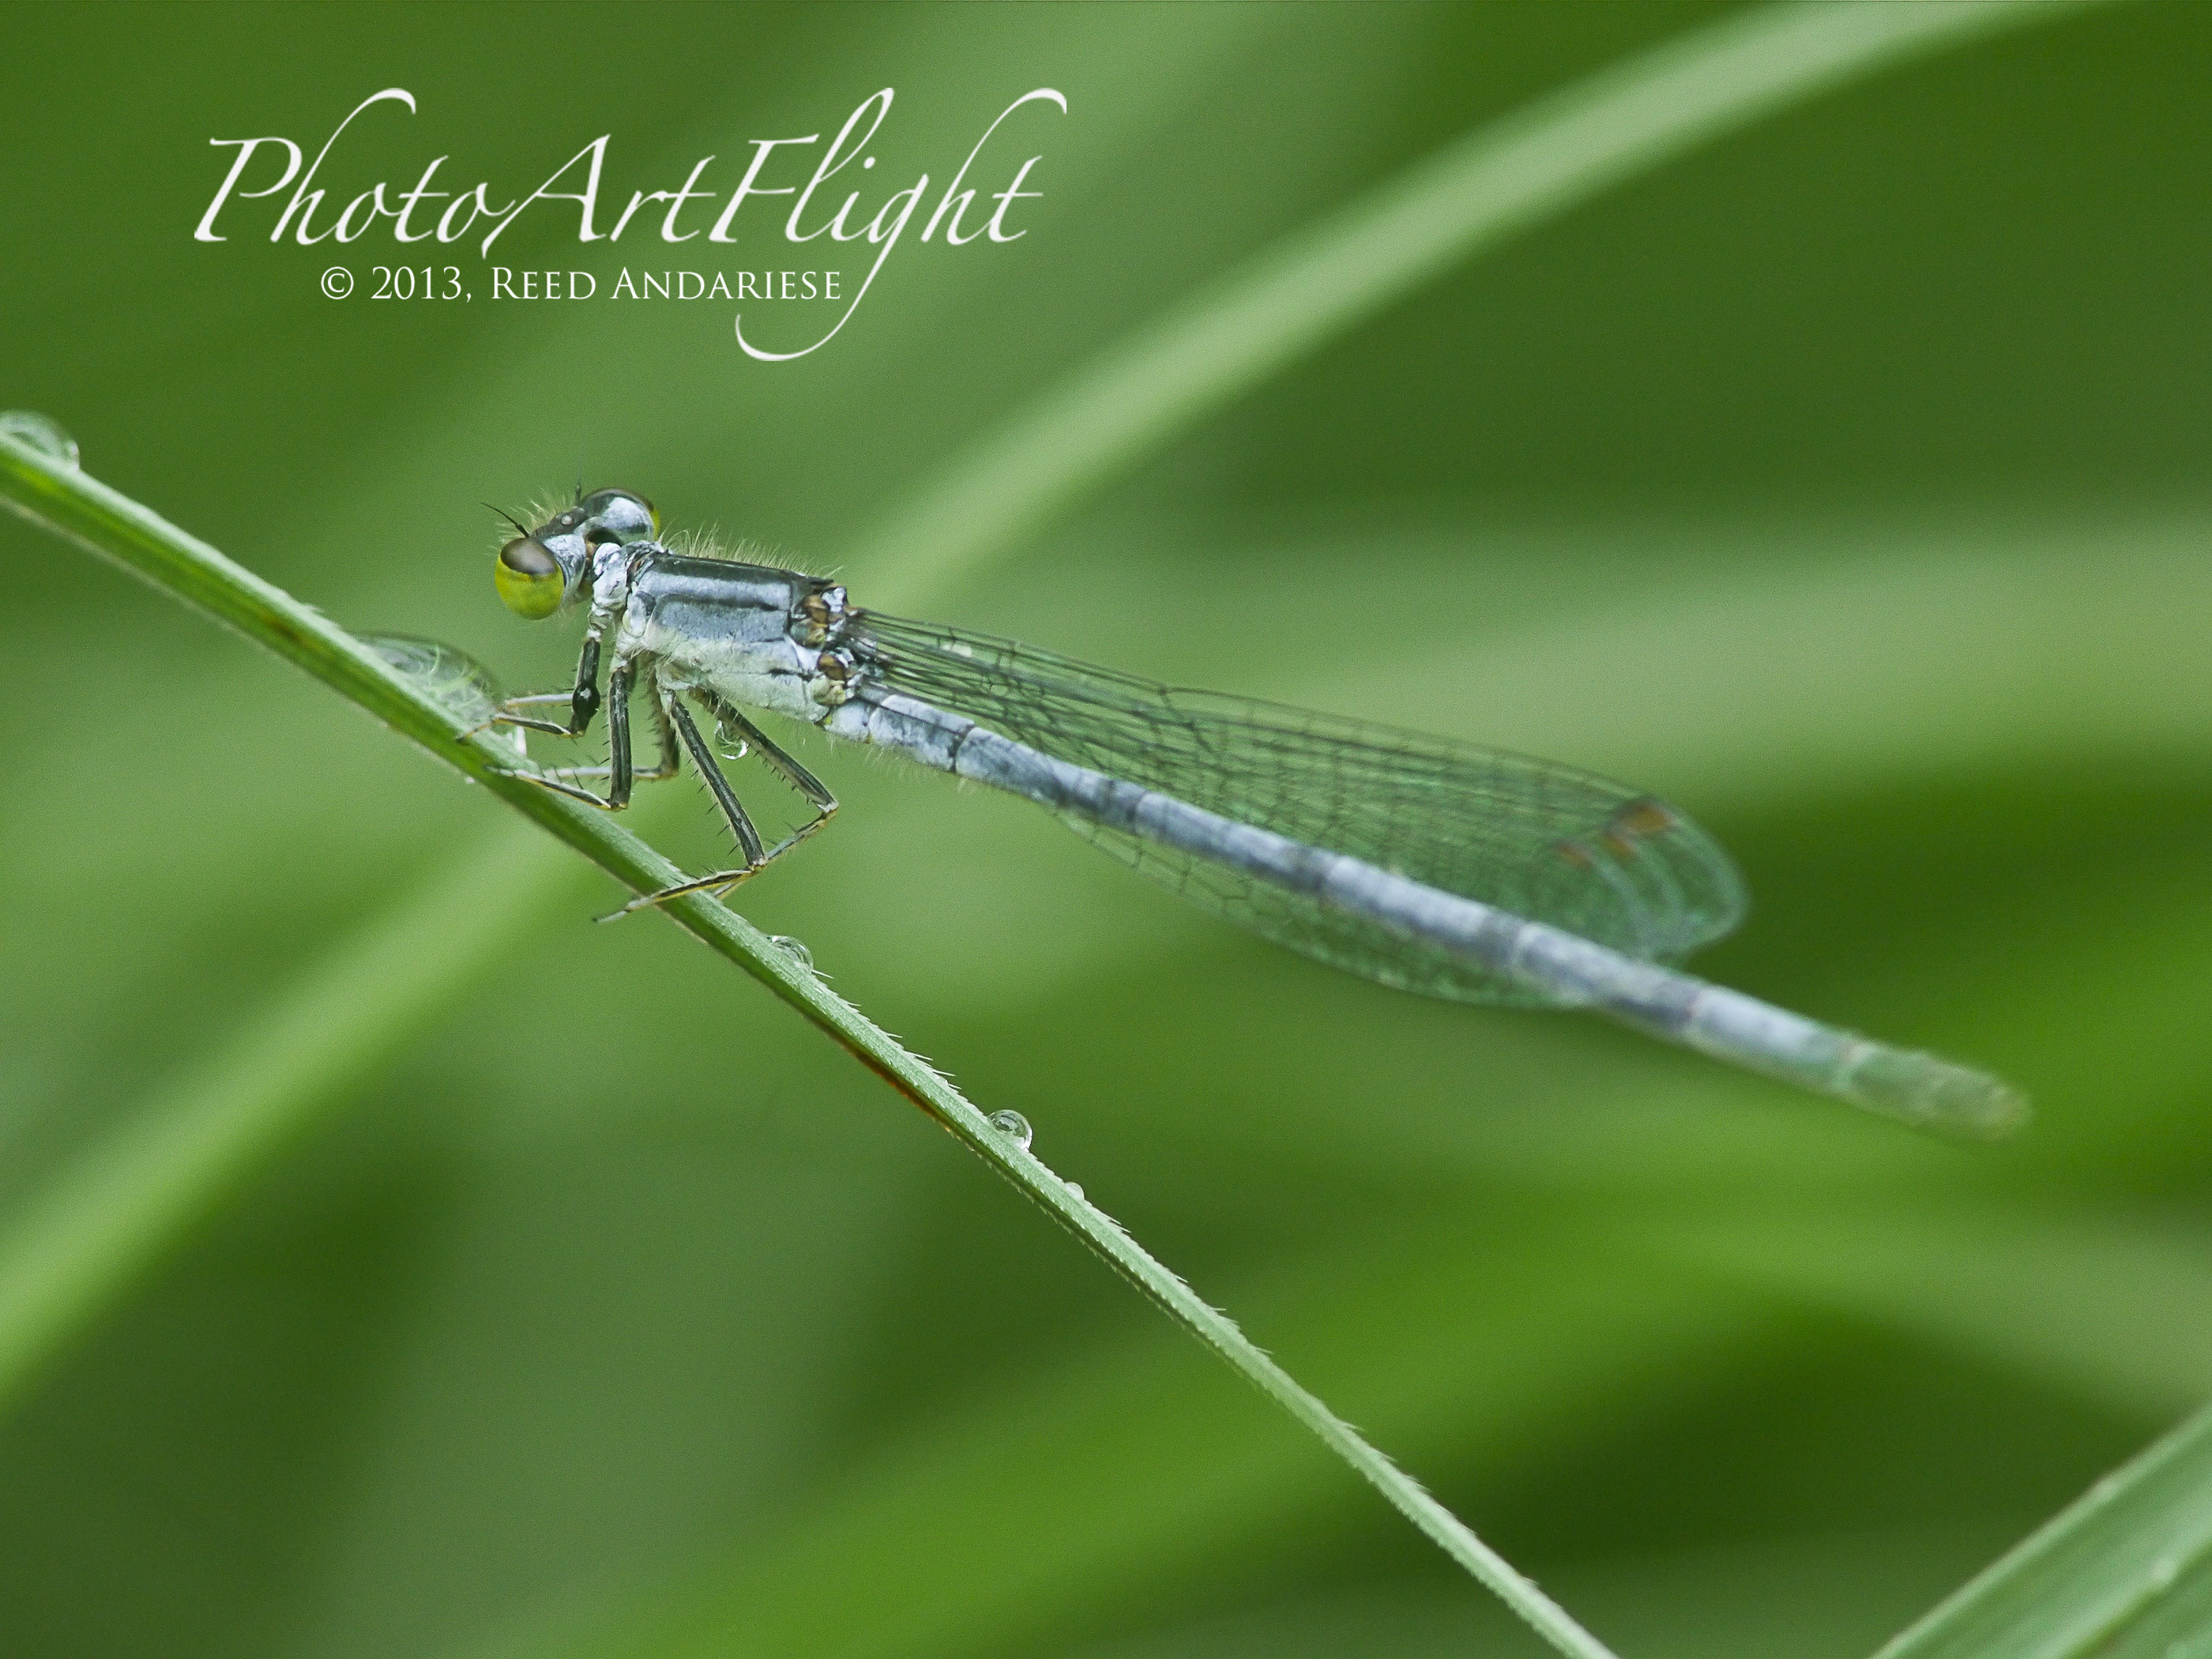


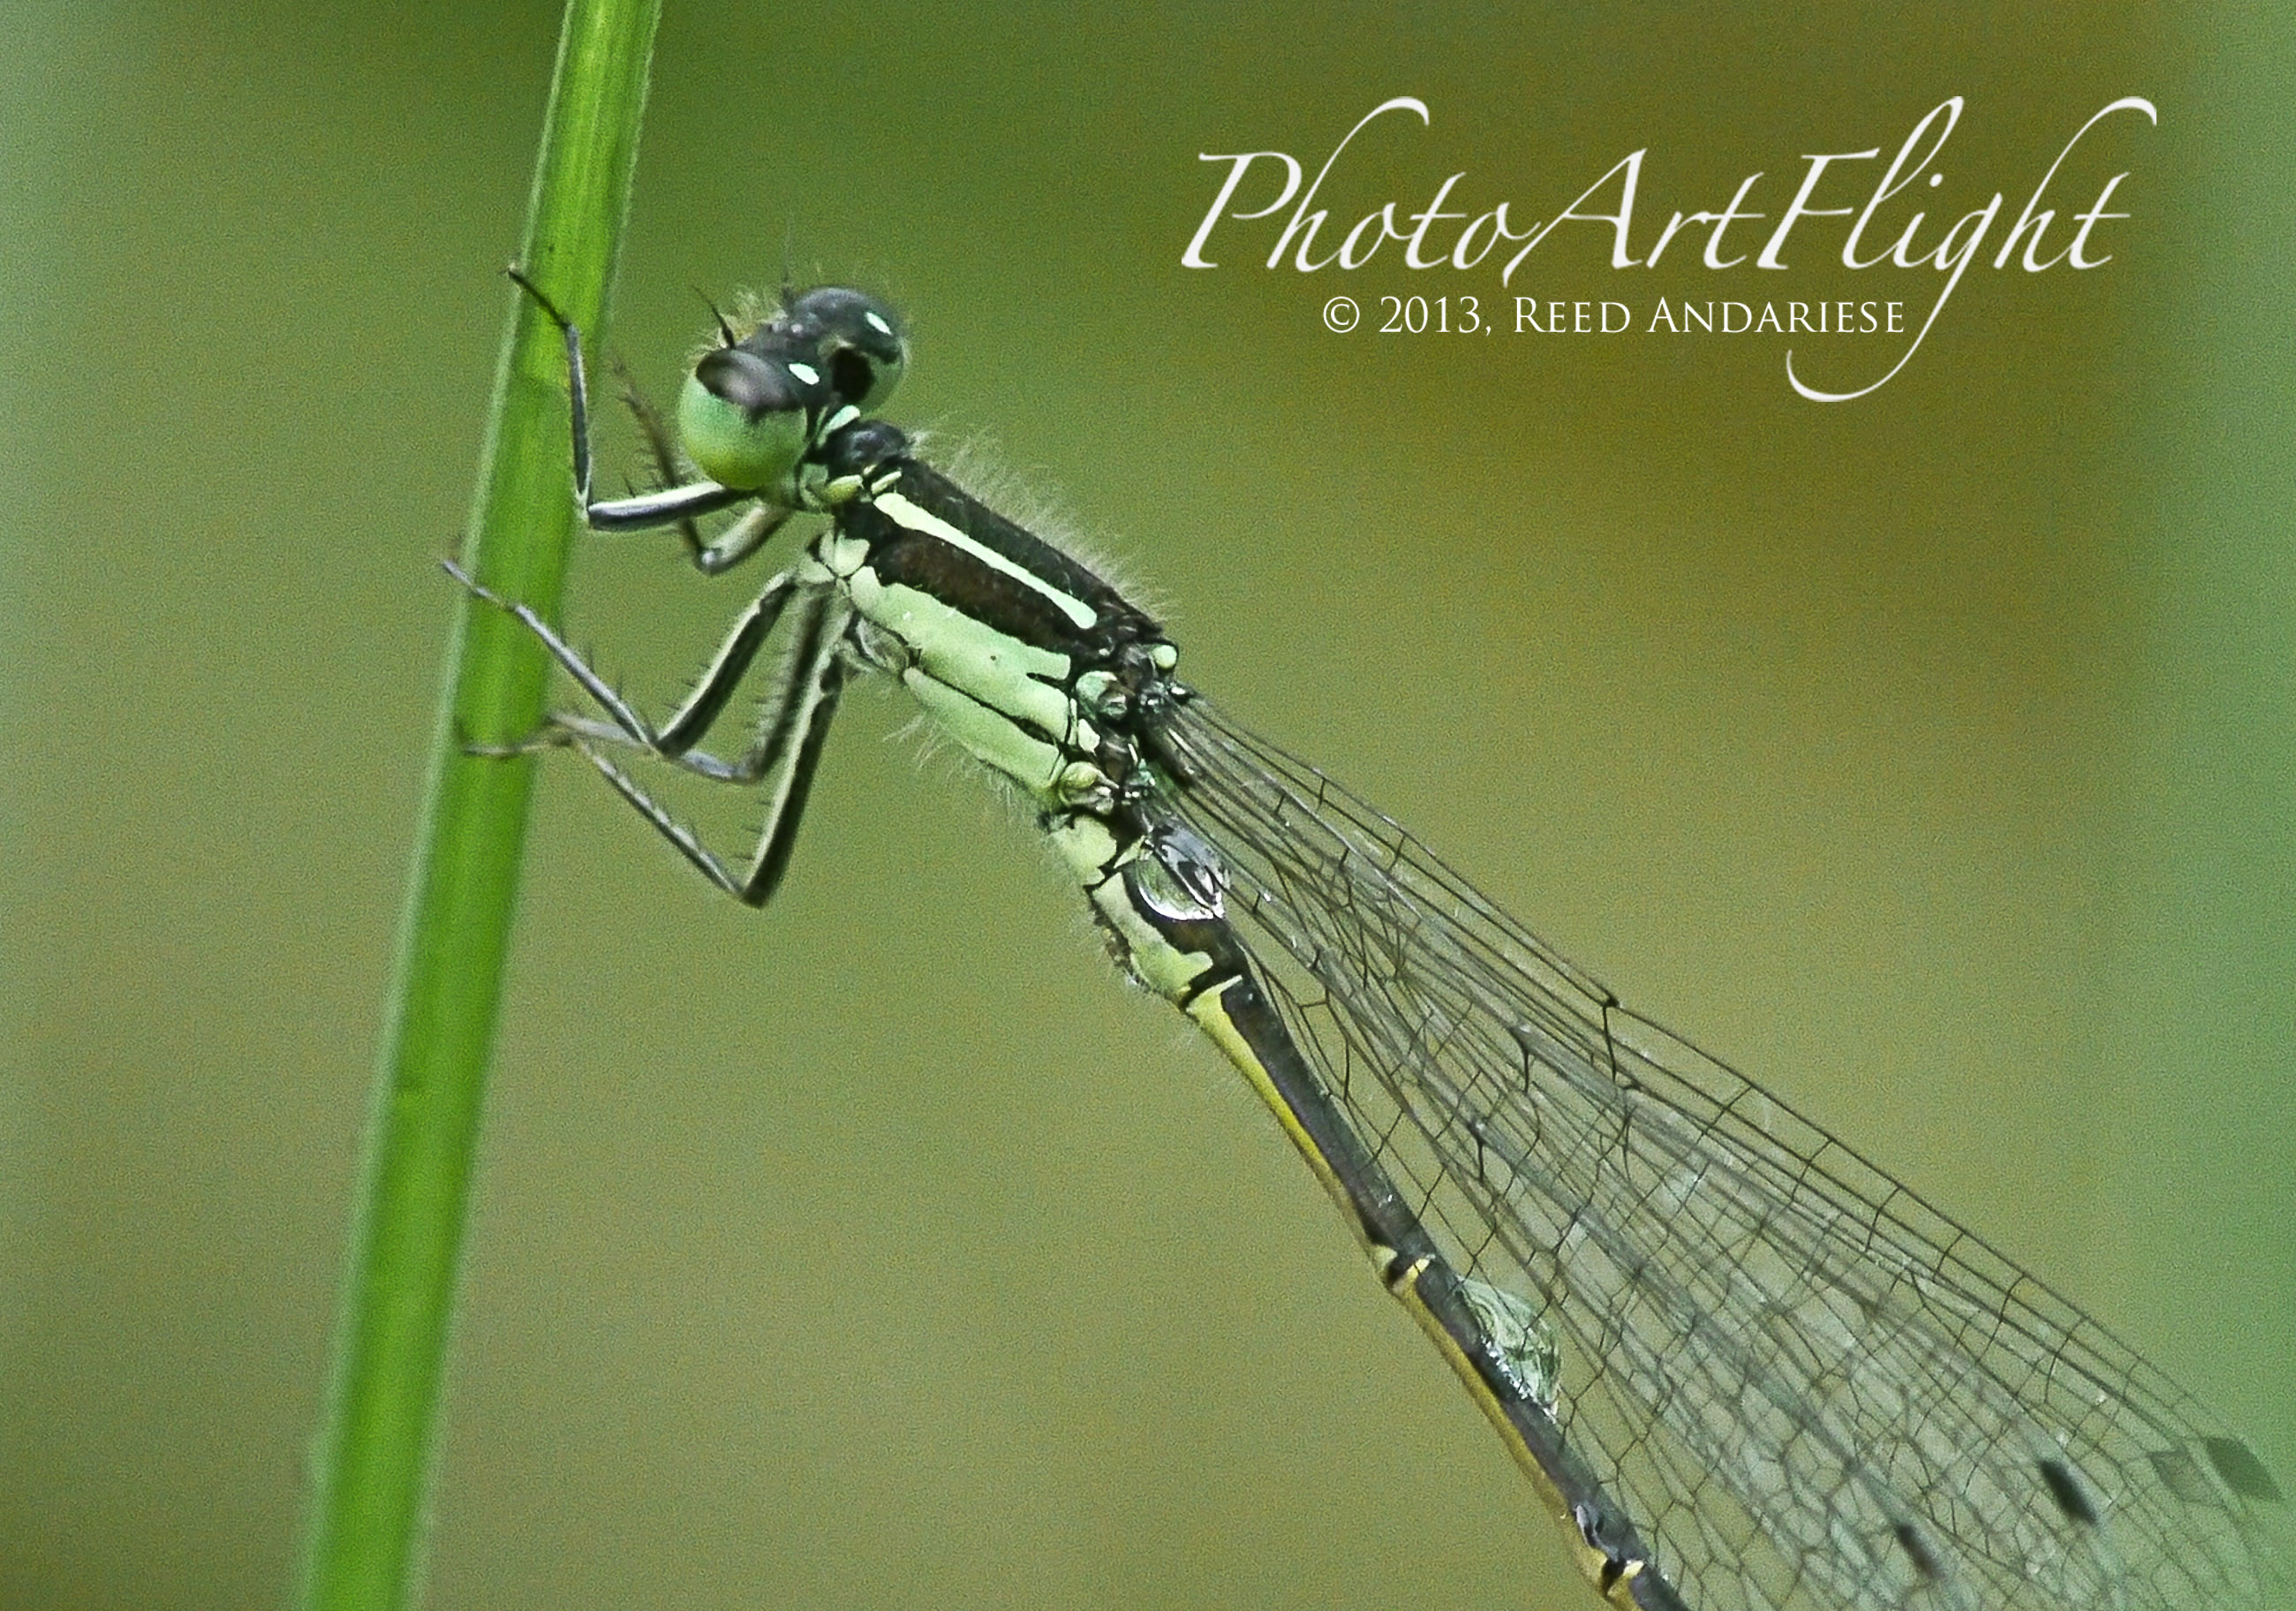

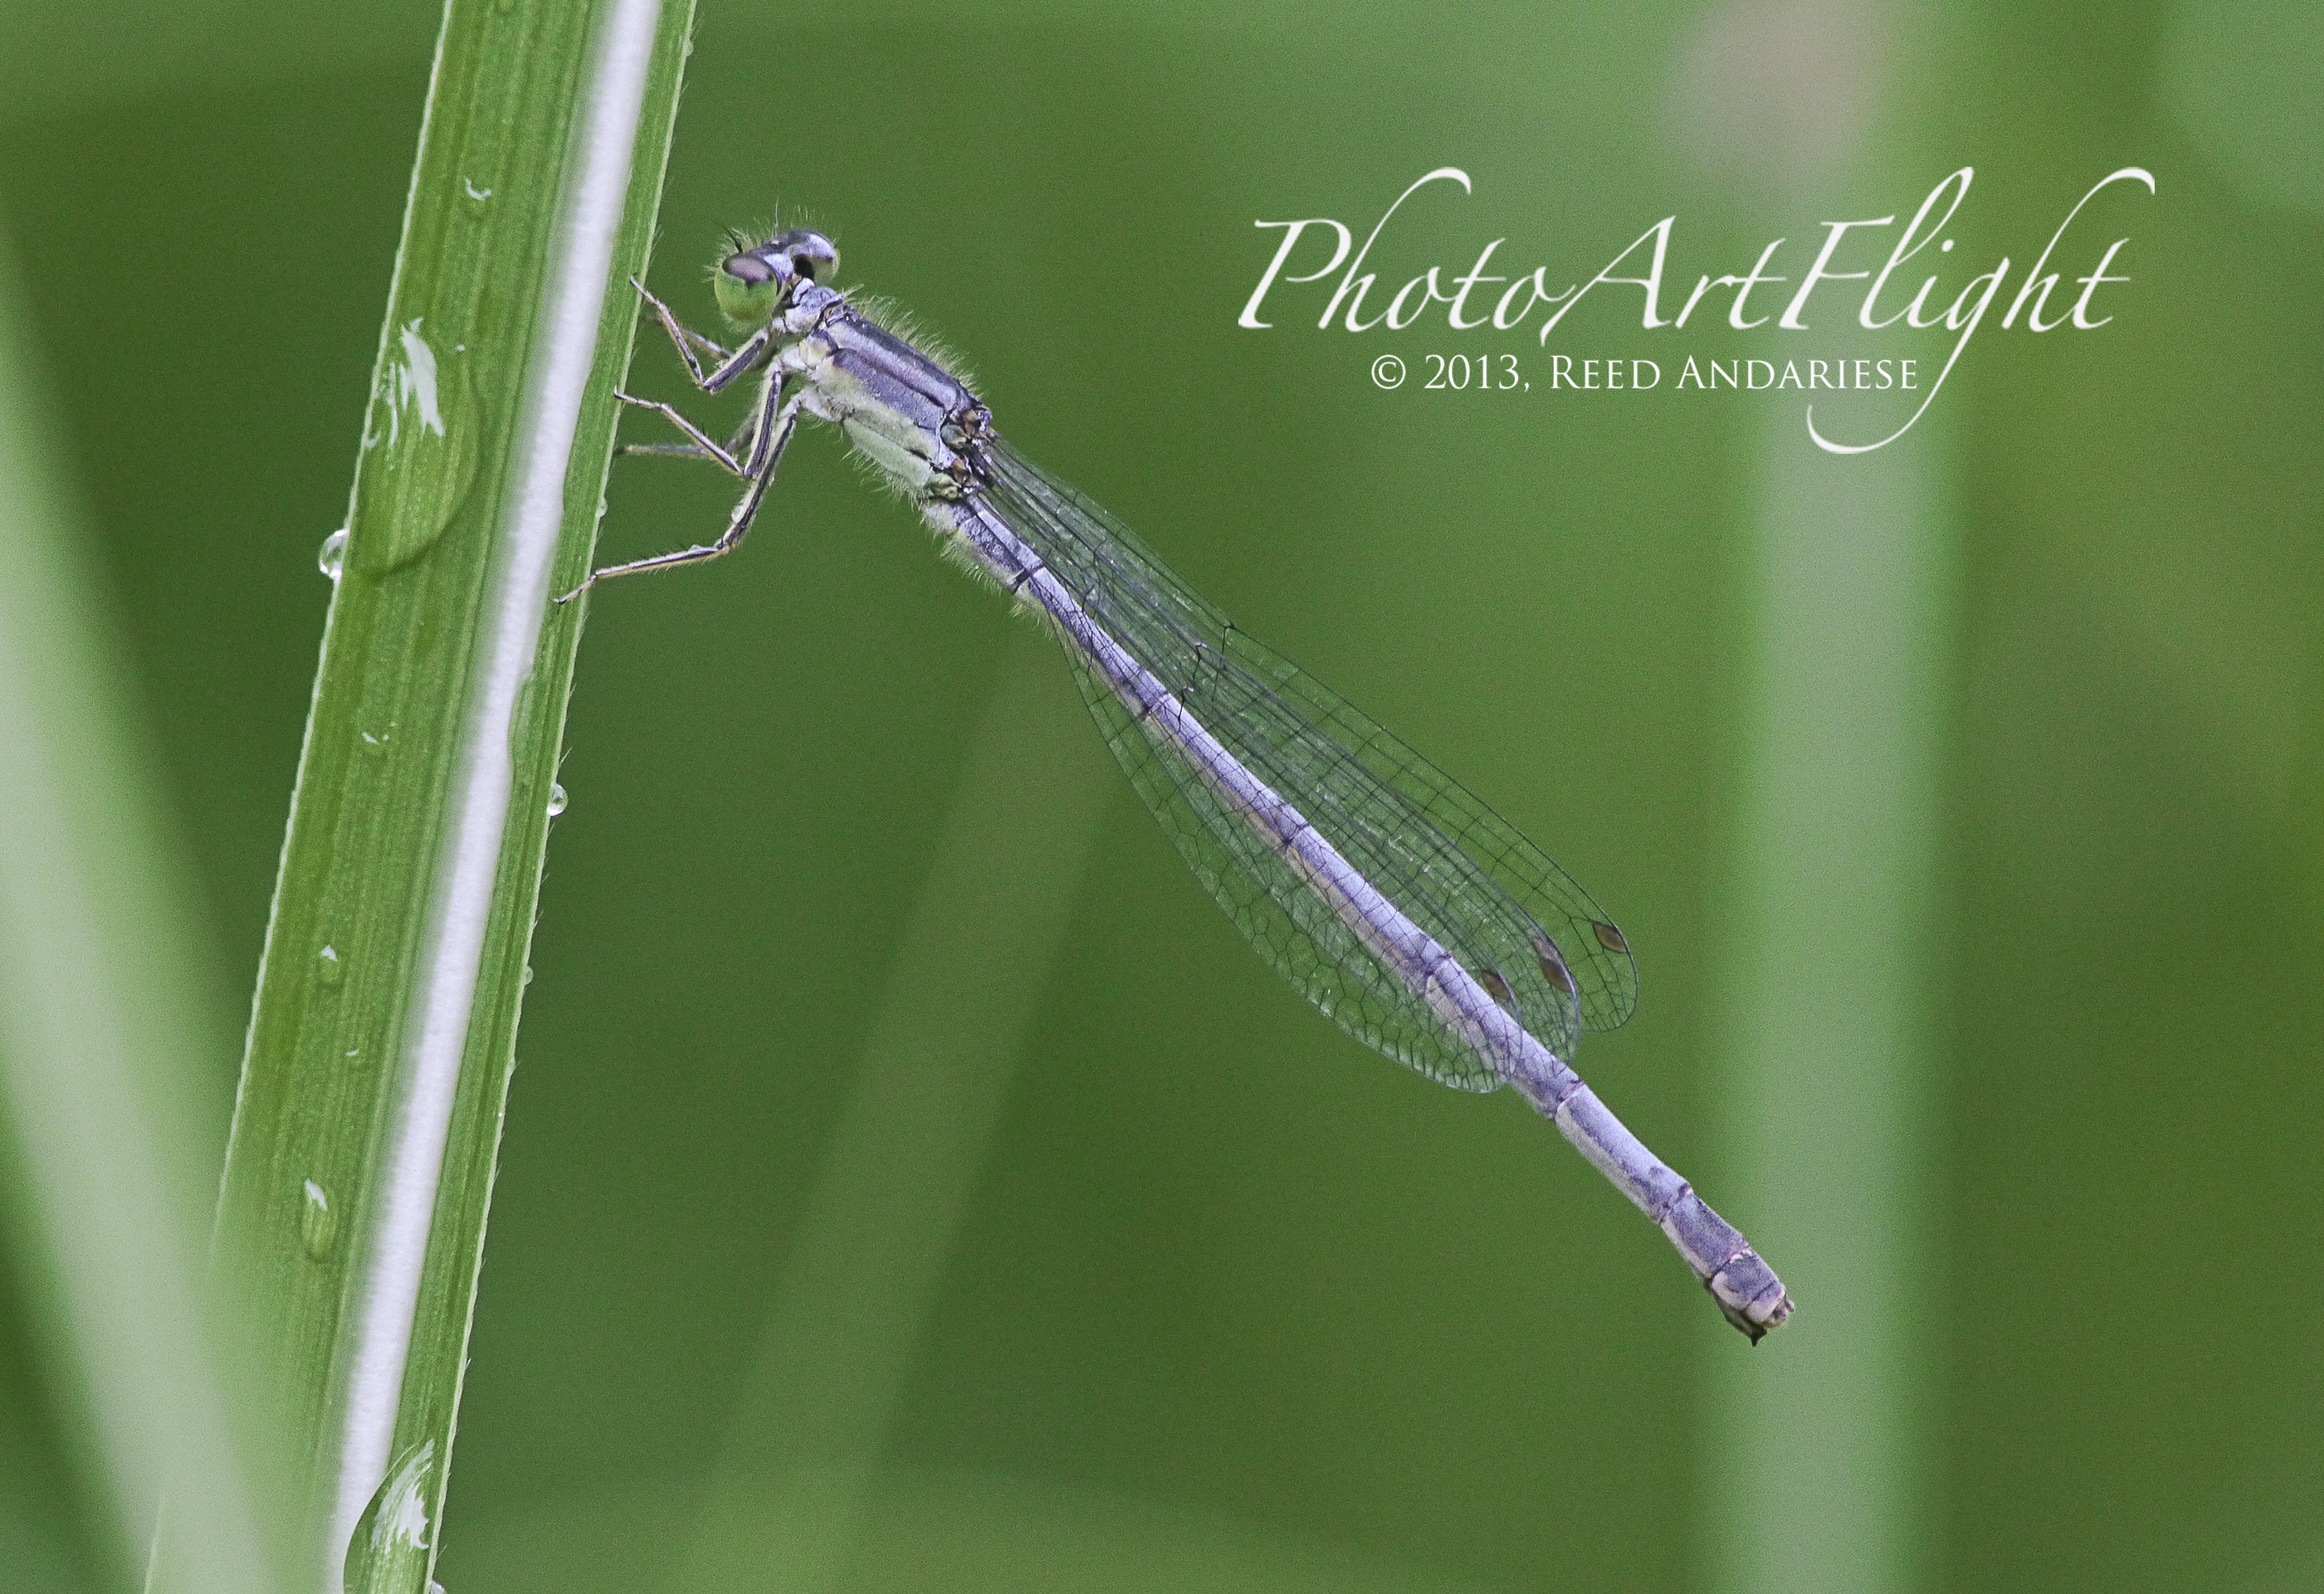


Green on Green
Posted on September 7, 2013

Sometimes when I am out enjoying nature, looking for birds or wildlife, I keep an eye open for alternate themes that I find interesting. This can fall into almost any photo category. Sometimes they work out well and are great additional images either for prints or for my ebooks. They also help tell a story if used with other images. This also helps sharpen your eye for what is going on around you as you are out in the field. Often it is also more rewarding and fun than finding the same Great Blue Heron in the same spot as last week. It gives you the chance to try different compositions, crops, depth of field, etc. There are unlimited themes you can work with and can help push your creativity. Here I am showing Green on Green, which is great in Spring & Summer, but tough in Winter in the Northeast. Use your imagination to come up with themes you like. White on Black, Red & Blue, Hard & Soft, Sharp & Soft, Dark & Light, you can come up with an endless list. Next time you are out in the field, and it is a slow day, look closely around you and you might be surprised at what you find. These images here were from local parks, my yard and National Wildlife Refuges. Images here were shot with everything from 400mm to macro lenses with Canon equipment to Panasonic GH2 with Canon EF and FD lenses. Thanks for looking and see what you can find.
Click on the image below to see a slideshow.


