 photoartflight
Gull Pond Panoramas
Posted on March 14, 2018
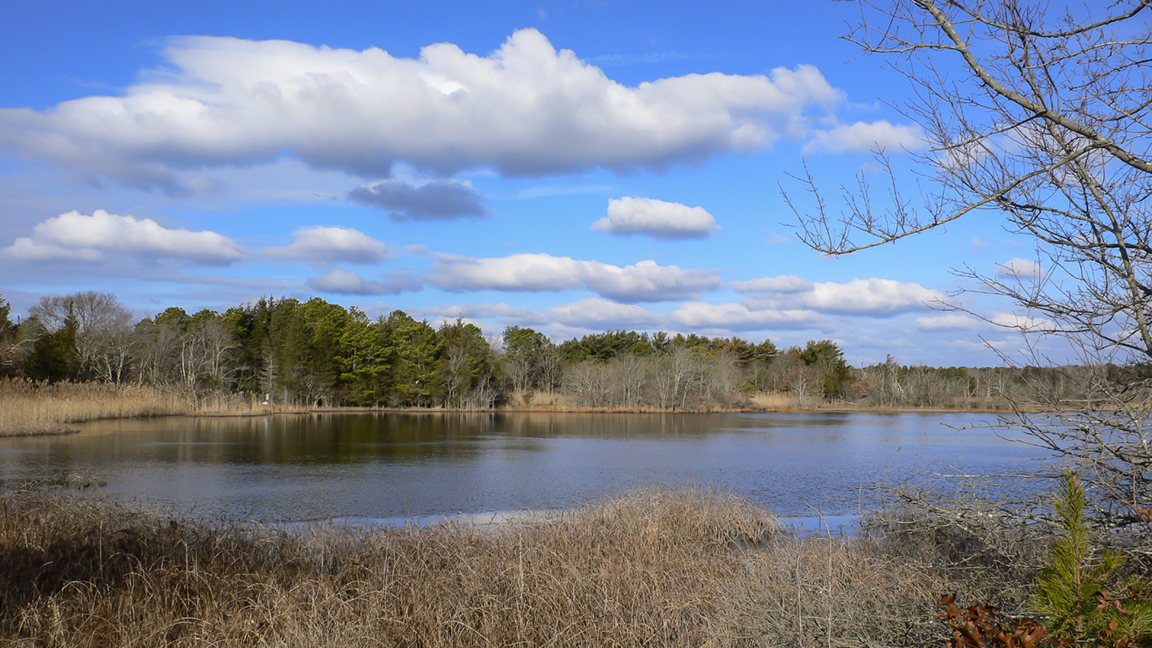
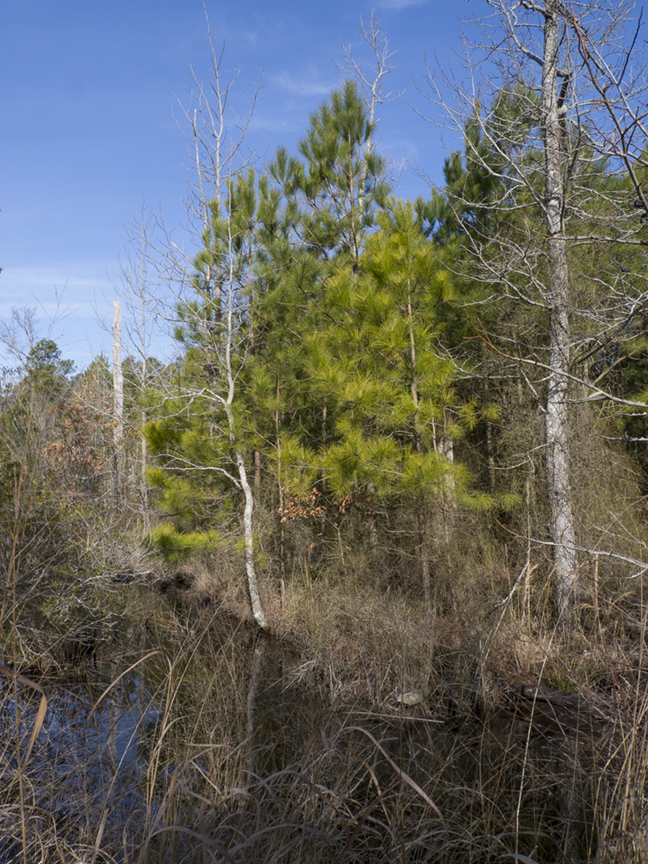
While at the Edwin B. Forsythe National Wildlife Refuge, I shot a few panoramas along the Wildlife Drive at Gull Pond. The featured image was a 2 shot panorama. Shot at 24mm, with 2 horizontal images, combined in Photoshop. With the featured image I purposely included the empty tree branches on the right to add some interest and some depth. I tried to position the larger branches where there was an open sky with few clouds.

3 horizontal stacked images, vertical panorama, @ 24mm
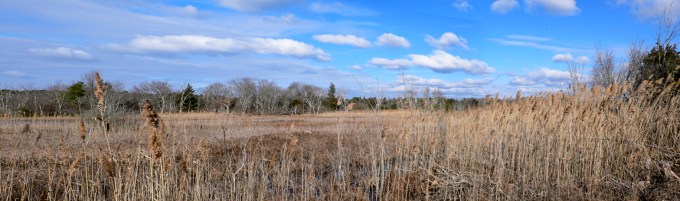
4 horizontal images, stacked horizontally, @ 24mm
Extreme Snow Geese Panorama
Posted on February 25, 2018

I know it is hard to see here on the featured image, but sometimes I try images just for the challenge! I really thought it would not work, but gave it a shot anyway. Sometimes it works, sometimes it does not. This series worked! This is 50 closely overlapping images, combined in Photoshop, for a final image that is 170 inches long. I shot this with a larger overlap than usual because the subjects were moving and gave me more choices for working on the final layered file to fix moving Snow Geese on the overlapping sections. Before flattening the layered file, on the overlapping areas I could erase small sections with the movement I wanted to erase. There is probably more than a thousand Snow Geese in this group and they made a lot of noise, even at the distance I was from them. I let Photoshop churn away overnight so I am not sure how long it took to assemble. I would guess more than 5 or 6 hours, since it was my home system. I was using a 400mm lens with a 1.4X teleconverter. When I started to shoot this panorama I had no idea how many images I would end up with to combine. This was taken last year at the Blackwater National Wildlife Refuge in Maryland.
Weathered Feather Panorama
Posted on February 16, 2018
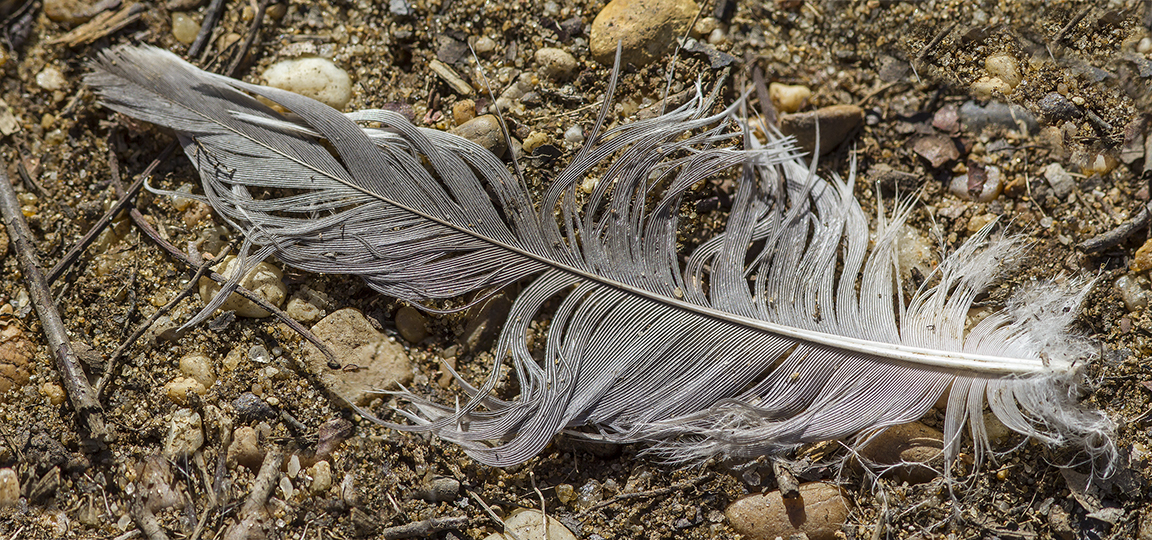
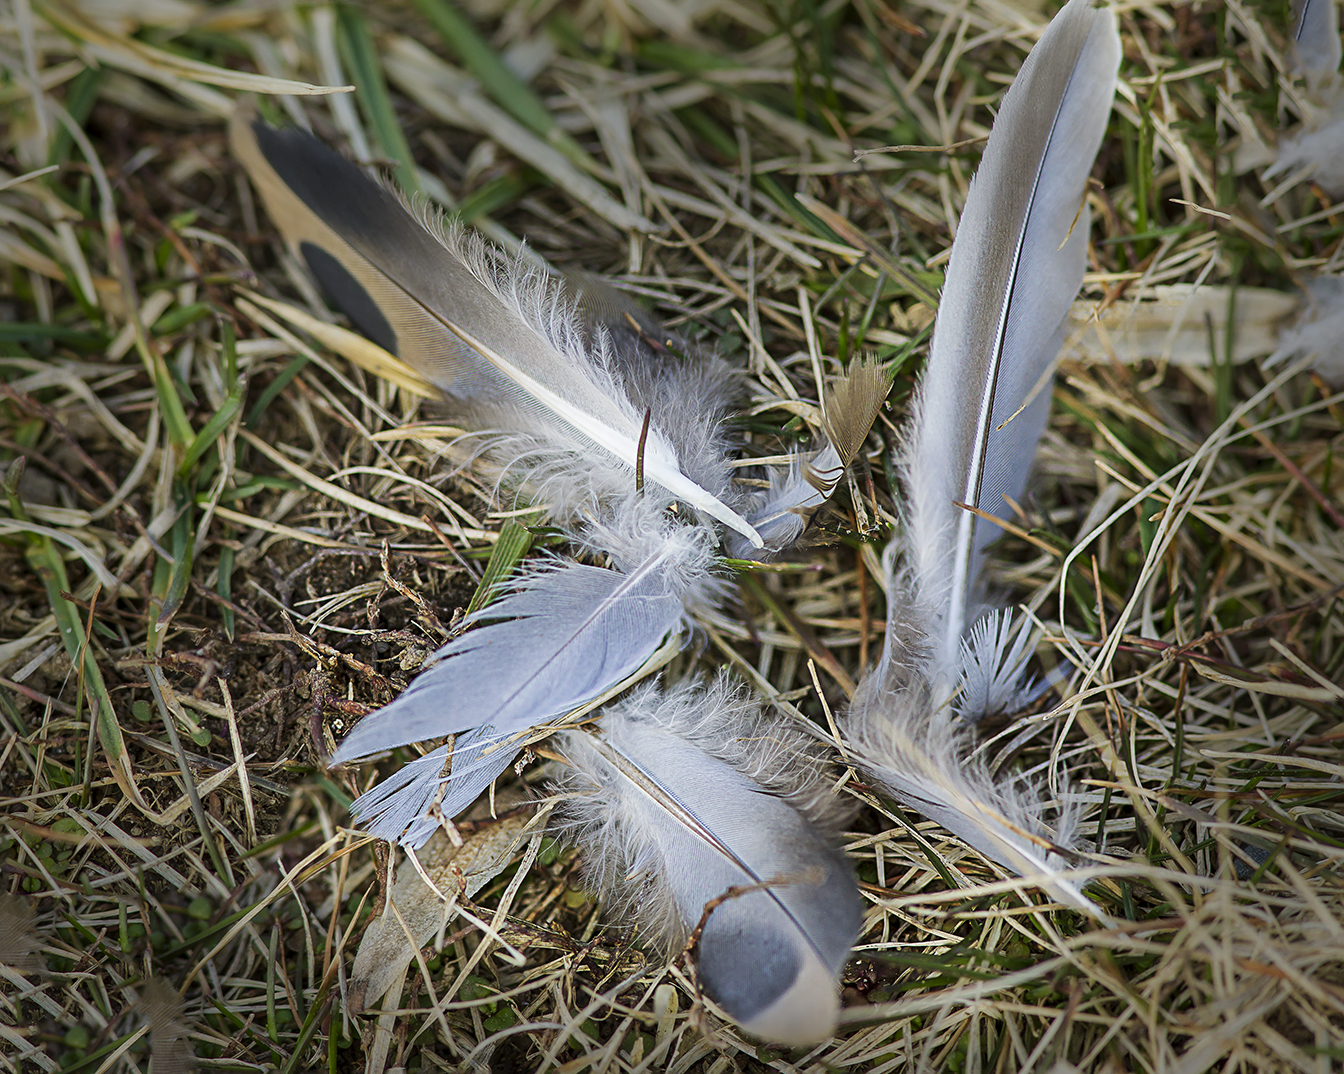
While taking a walk at the Audubon’s Plainsboro Preserve in NJ, I was looking for some photo opportunities. Plainsboro Preserve is almost 1,000 acres with a variety of trails and an almost 50 acre lake. Because it is a large area, most birds are distant, but you never know what you might find. It also seems to a have a lot of Beavers, so you see their handiwork (felled trees with their tooth marks) all around the areas near the water on the Preserve.
I found this weathered feather along the path and thought it looked interesting. I took 2 images, handheld with a 300mm f/4 IS lens with a 1.4X teleconverter. I like this Canon lens for an all purpose Walk Around lens. It is sharp, image stabilized, focuses fairly close on its own, very hand holdable, fairly lightweight and sharp. So I use this lens quite a bit for when I am just taking a walk with no idea of what I might photograph. If you carry extension tubes with you, you can even get closer for a very close, almost macro lens.
I used Photoshop to combine the two images, which most of the time works well! You just have to give enough of an overlap so it seems to be more accurate in lining the 2 images and automatically blending the final image. Every once in a while you might have to do a slight touch up.
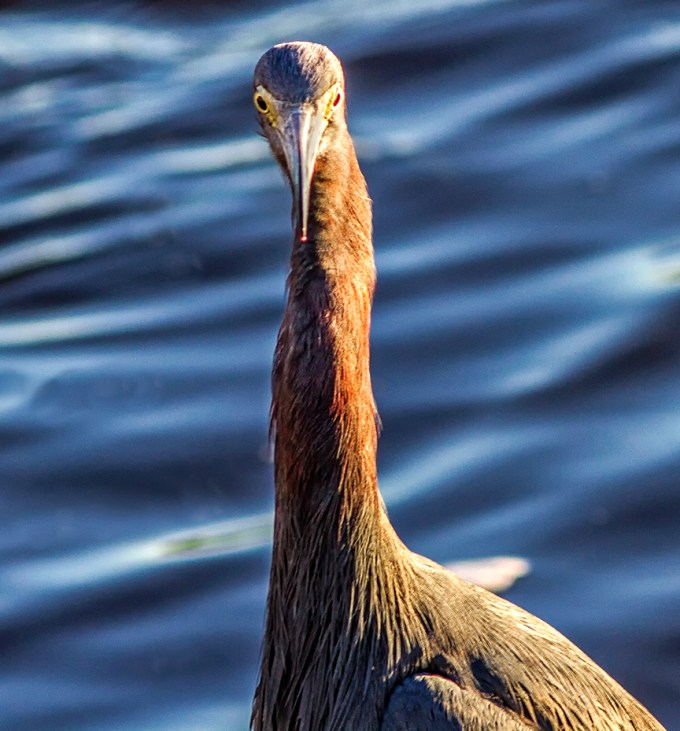
Reddish-Egret – 2 Shot Pano
Posted on February 10, 2018
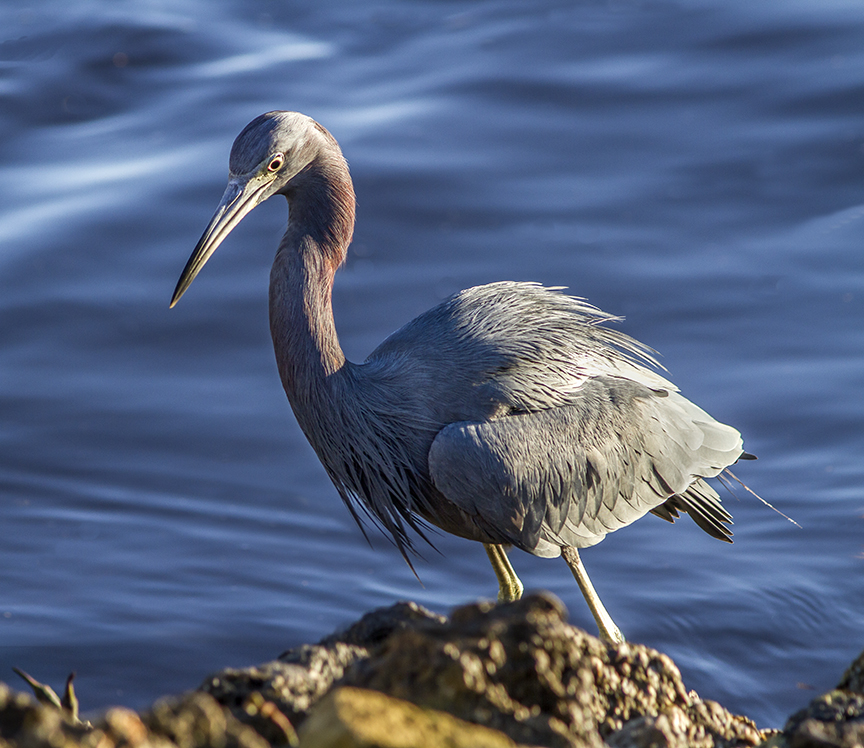
It is not often that while I am walking looking for photo subjects, that one comes so close I cannot fit it all in the viewfinder. So I try shooting my subject with 2 overlapping images. You have to take a few multiple images quickly, to try to avoid any movement of your subject. Usually a little movement, I can deal with. In Photoshop I try letting Photoshop automatically align and combine them. If that does not work I do it manually. So one way or another, it is a way to get the image.
The featured image is 2 horizontal images stacked vertically and combined.
Another 2 shot composite. 2 horizontal images stacked in Photoshop. 300mm f/4 lens

Example – showing top half of image before combining and adjusting colors, etc. in Photoshop.
Davidson’s Mill Pond Park HDR Vertical Panorama
Posted on January 20, 2018
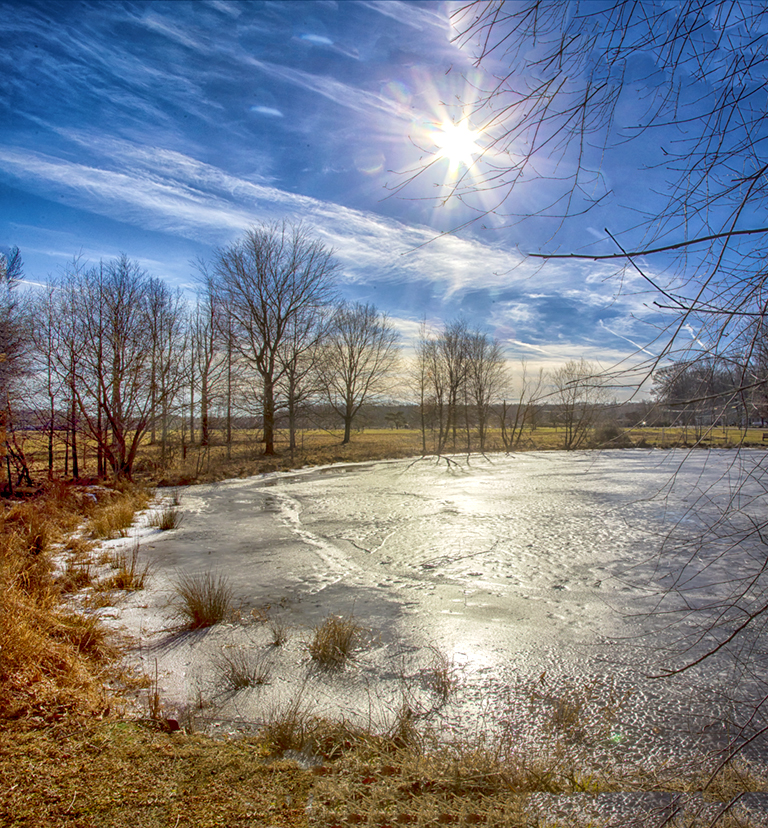
We were going to go to a National Wildlife Refuge today but were not sure if it would be open because of the Government Shutdown. So we went to a local County Park to take a walk. It got up to 55 degrees here in NJ after weeks of very very cold weather, sometimes in single digits.
I did not find a lot of photo subjects, but by a smaller pond, the sun was high in the sky reflecting in the ice covering the pond. I thought it would be fun to try an HDR bracketed series of both exposures and images for the pano. I liked the reflections on the ice in the pond and stopped down to f/16 to get a nice starburst on the sun. Shooting multiple images vertically and horizontally with overlaps for both the panorama and Shutter speeds for the HDR effect.
Images shot @ 24mm, f/16, bracketed series of different shutter speeds for the HDR effect and series of compositions for the panorama.
American White Pelican Panorama
Posted on January 10, 2018
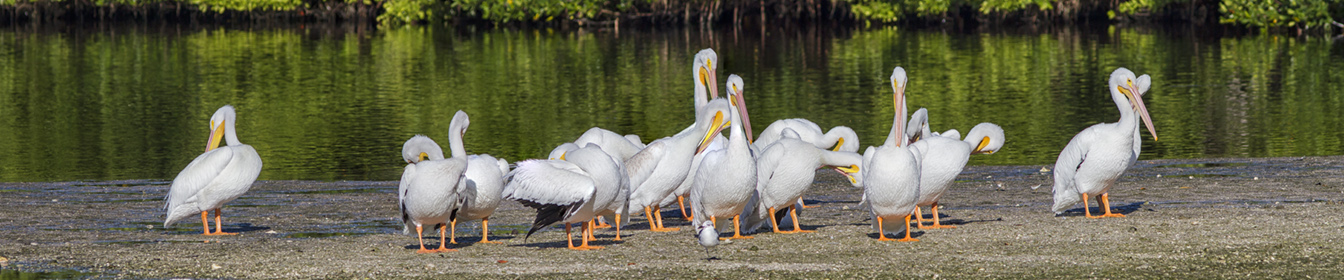
Another Group of American White Pelicans photographed along the Wildlife Drive at the J.N. Ding Darling NWR in Sanibel Florida. This was a 5 image panorama, handheld, shot with a 300mm f/4 lens, with a 1.4X teleconverter. When doing a pano like this, do not use auto exposure, especially with white subjects, because the exposures can vary, giving you different exposures which are harder to blend together. You then have to try to balance all the exposures before assembling the pano. Most people use a tripod for doing Panos, but I tend to do more handheld. The Pelicans are still moving, even slightly, so I still have to go in to the layered Photoshop file and erase some of the moving overlaps before the final “blending. The auto features usually works fairly well for the final “flattening” of the layers in your file. The hardest part is choosing which “mode” of auto align to use in Photoshop for the initial lining up of the layers. You might have to try a few of the choices and see which one works best for your subjects. It has a lot to do on the angle you are to your subject and also the focal length of the lens you are using. In Photoshop, under EDIT, go to auto-align. Then you have a few choices. It is a trial and error to see which method works best for your image. Auto align usually works fairly well, but sometimes “Cylindrical” works well for what I shoot also. It really depends on the focal length of the lens you are using and the angle you are to your subjects. Then go to Auto Blend to “blend” them together. The other choice here is “Stack” which is used for combing a set of images you shot for more depth of field, for a sharper image across a wider area, in simple terms. Under Auto Blend also check on the Box – content aware fill transparent areas of your merged files. This fills in empty areas with what Photoshop thinks is missing, and works fairly well. This happens more with wider angle lenses because of the changing angle of horizons, skies and foregrounds have different perspectives as you are shooting from left to right. This comes in handy especially if you are hand holding your camera or shooting with a wide angle lens. Also Once you flatten your image, I sometimes crop from the top and bottom to make a better “composed” image. Sometimes shooting panos, you are shooting “Taller or Wider” than you want your final image. So cropping in helps the composition. The above is just a simple overview of shooting panoramas, you can find lots of info online.
American White Pelicans @ Ding Darling NWR
Posted on January 9, 2018
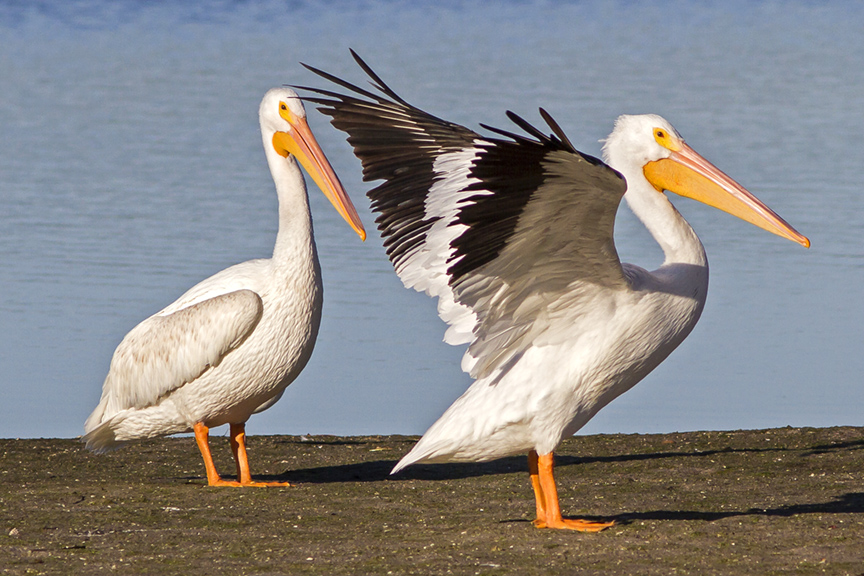
It is fun to watch and photograph American White Pelicans. Especially in groups. They seem almost comical the way they interact with each other. It is interesting to see how sometimes they are actually graceful and at other times just klutzy. But I guess I am the same way. Also they are a large subject, easier to photograph. You just have to watch so you do not overexpose the whites and keep the feather detail.
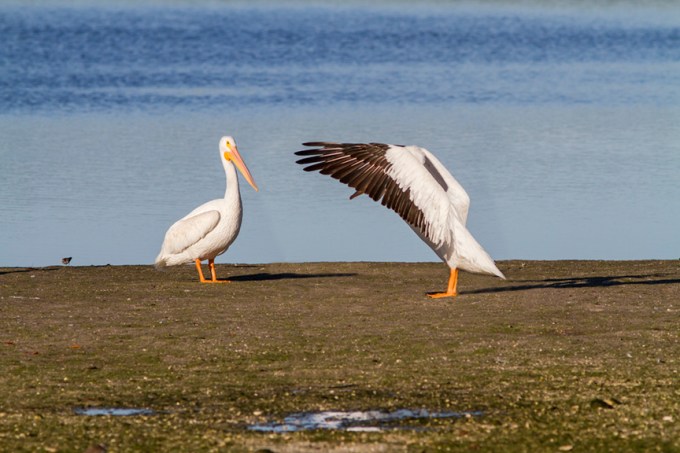
Peek a boo, I can still see you

One point landing
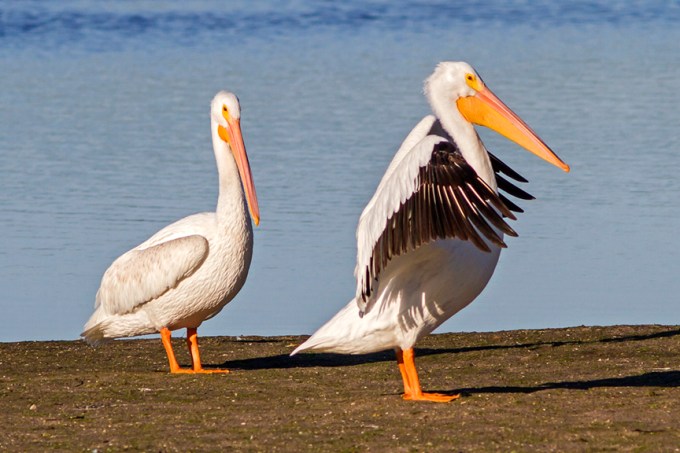
Stretching
A Walk At The Tubman Road Trail
Posted on March 19, 2017
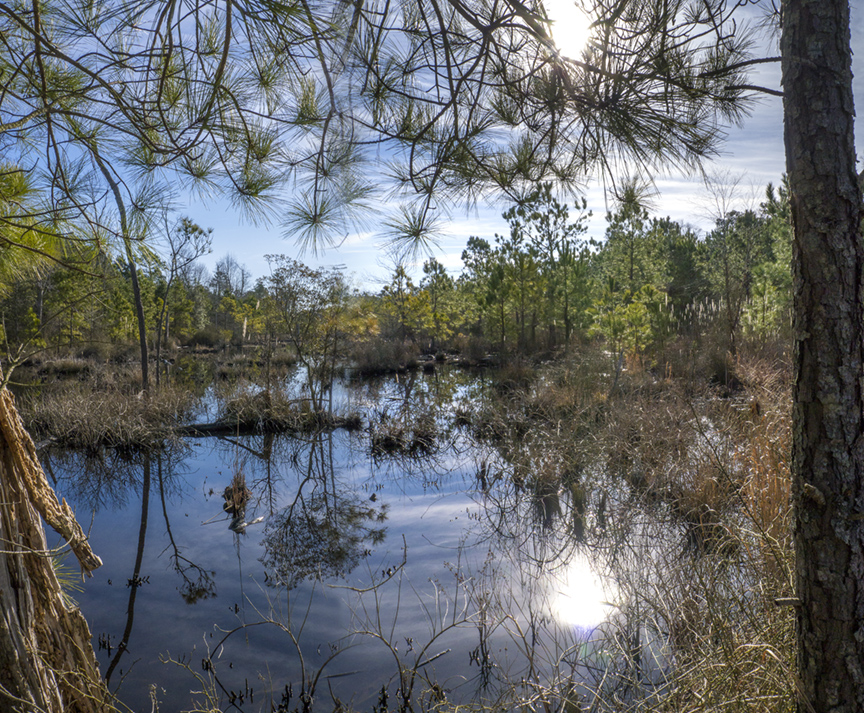
These are from a walk at the Tubman Road Trail at the Blackwater National Wildlife Refuge outside of Cambridge Maryland a few weeks ago. Many times when we go to Blackwater NWR, we stay on the main drive through the Refuge. Last time we went to see what was happening at the Tubman Road Trail. Our previous trip around Christmas, we were surprised to see how large the trees have grown from their reforestation program from a tornado years ago, but it was very quiet for wildlife. The trail is about 2 miles long and goes through fields, forests & marsh areas, giving a wide variety of photo subjects. From birds, animals, reptiles, butterflies (+bugs), landscapes and nature still life images.
It was late Winter so it was a little quite for wildlife, but on previous visits we photographed Eagles, hawks and a variety of other birds. It is also nice for just the walk to see what you can find. We only went down to the first series of ponds to check things out and then returned to the Wildlife Drive for the Snow Geese.
The featured image is one of the ponds a little into the walk. It is three vertical shots, handheld, assembled in Photoshop, 14mm with a m43 camera. The ponds are getting harder to photograph because the bushes are getting taller, obstructing part of the view.

Pond next to parking area, 3 shots, 14mm, m43 camera

Another pond on the other side of the path.
Many times you can see Woodpeckers & Flickers along this area. One tree here used to have a Flicker nest.
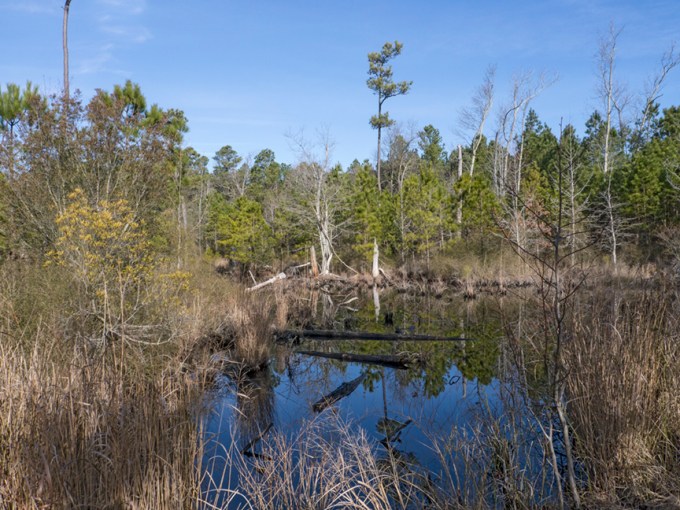
A wider view of the above pond
Another view of ponds

A view down the path near the entrance


Pinecones

You have to watch for exposed roots along the path, but they sometimes look interesting.

Pond from further down path

Tree Root Still Life

Pine Needle Still Life
Seven Feathers In A 5 Shot Panorama
Posted on March 13, 2017
Some more feathers I found at the Davidson Mill Pond Park in New Jersey. While taking a walk, we found a few bunches of feathers. I liked the colors, textures and position of the main group of feathers. The featured image was 5 shots, handheld, overlapped and assembled in Photoshop. Taken with a 300mm f/4 lens. Photoshop usually does a pretty good job assembling handheld image series, with maybe a few manual touch ups.

3 Image 400mm Weathered Tree Trunk
Posted on March 1, 2017
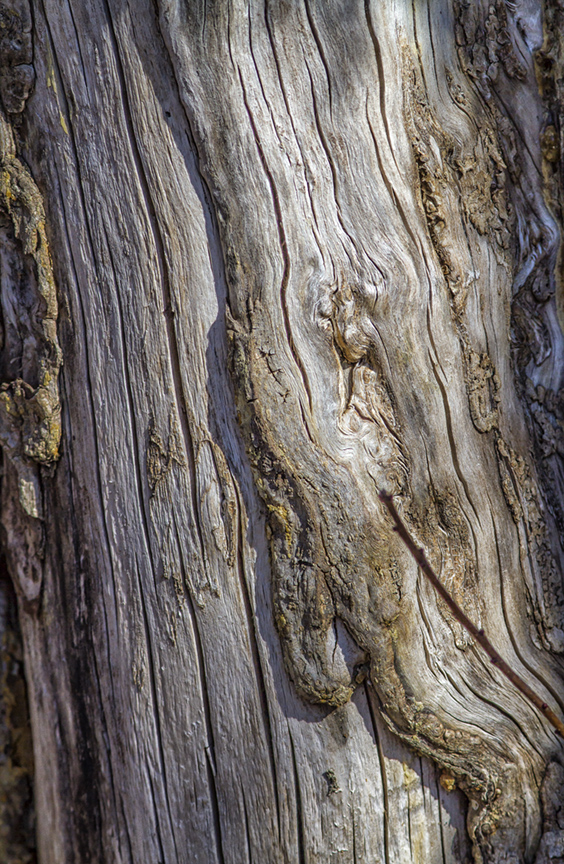
I liked the textures, lines, lighting and colors in this weathered tree trunk. We were walking on one of the trails at the Plainsboro Preserve in NJ and I was only carrying my camera with a 400mm lens. I shot 3 overlapping images to assemble when I got home. If you are careful when shooting the 3 image sequence they go together easily. I like these kind of images either for a background for other images in one of my ebook pages (full strength or slightly ghosted) or even wall art at home or in the studio.
