 photoartflight
Back In The Day Commercial Silicon Wafer Photoshoot
Posted on November 4, 2021
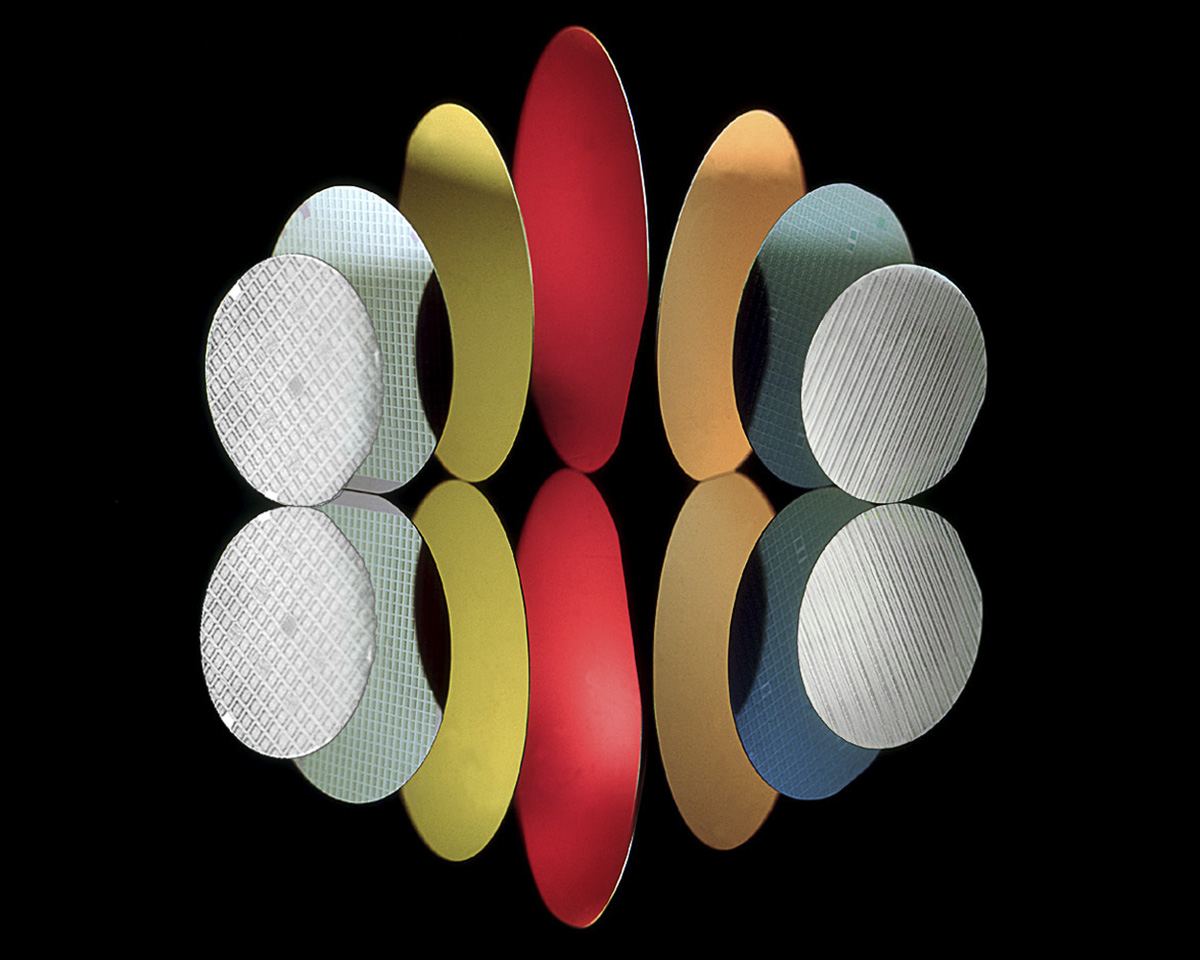
I was going through old backup drives and found this image of Silicon Computer Wafers I shot for a brochure cover for one of my Hi-Tech Commercial Clients . This was shot before Digital Cameras were around with a Sinar 4×5 View Camera with a Caltar 210mm lens with Kodak Ektachrome 64 Transparency film. Than we processed the film in-house & scanned the film @2400 dpi to deliver a 4×5 Transparency & a Digital file for the client. This was setup & shot on a Glossy 4×6 ft sheet of P95 Black Plexiglass. We taped a nail to the back of each Silicon Wafer and drilled a small hole in the Plexi to put the nail through to angle the Wafers where we wanted them for the setup & reflections. The colorful wafers then nicely reflected on the glossy black plexiglass sheet giving a mirrored Reflection of the wafers. The next step was to position a Speedotron Flash Head with a “snoot” attachment to light each wafer separately. On the ones I wanted a color added to the wafers I taped a colored “gel” (Plastic colored acetate to add color on that wafer). I have to say Digital Photography would have made this a Whole Lot Easier! But there again it made you solve problems & come up with ideas to get the Final Image that was needed for the Client!
4th of July Patriotic Picnic Photo Shoot – In Studio
Posted on July 3, 2020

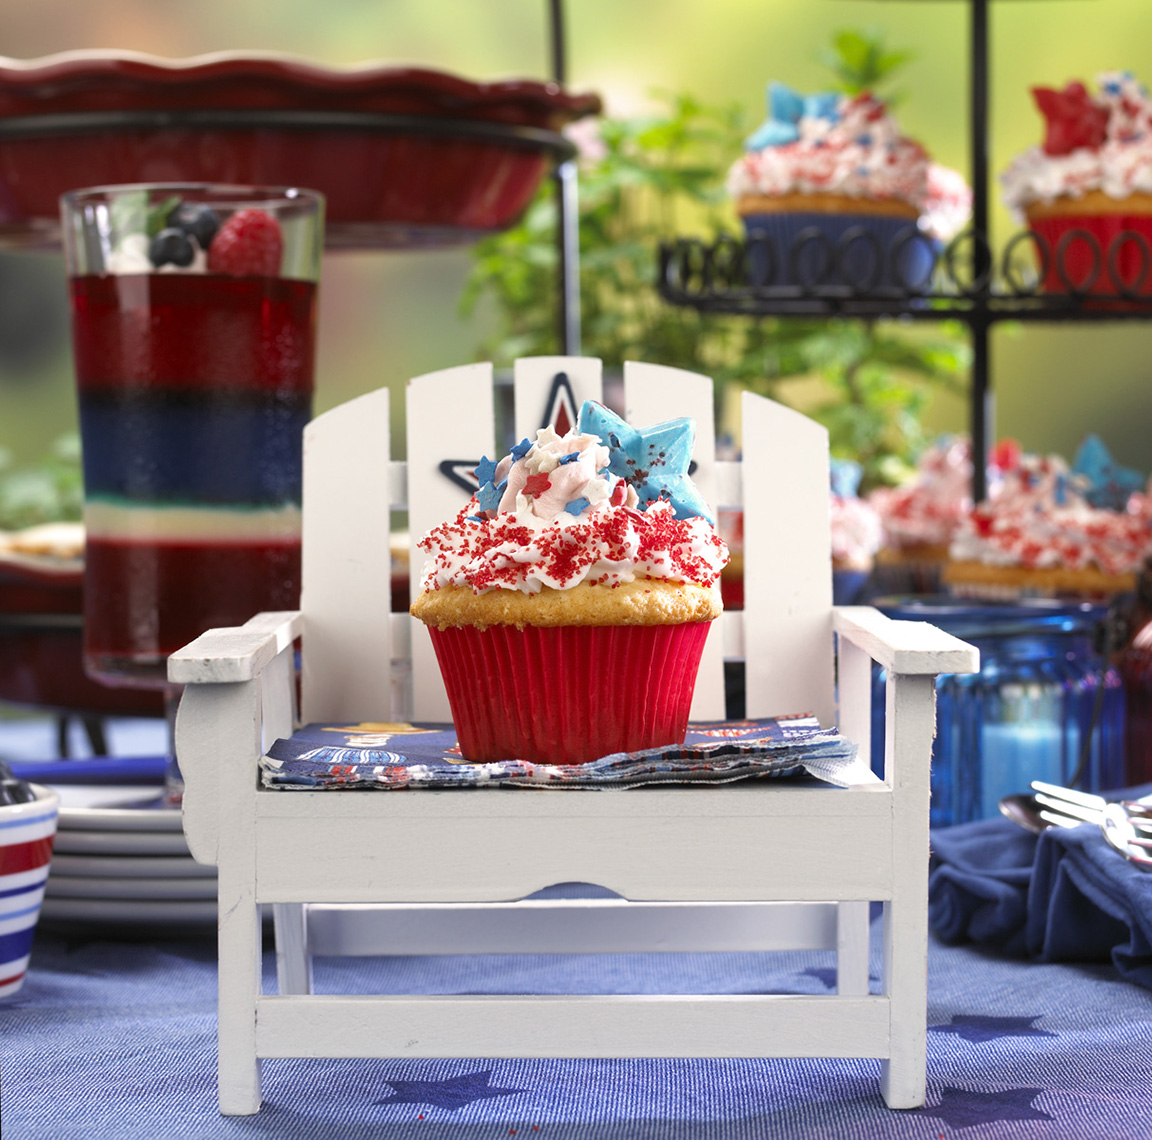
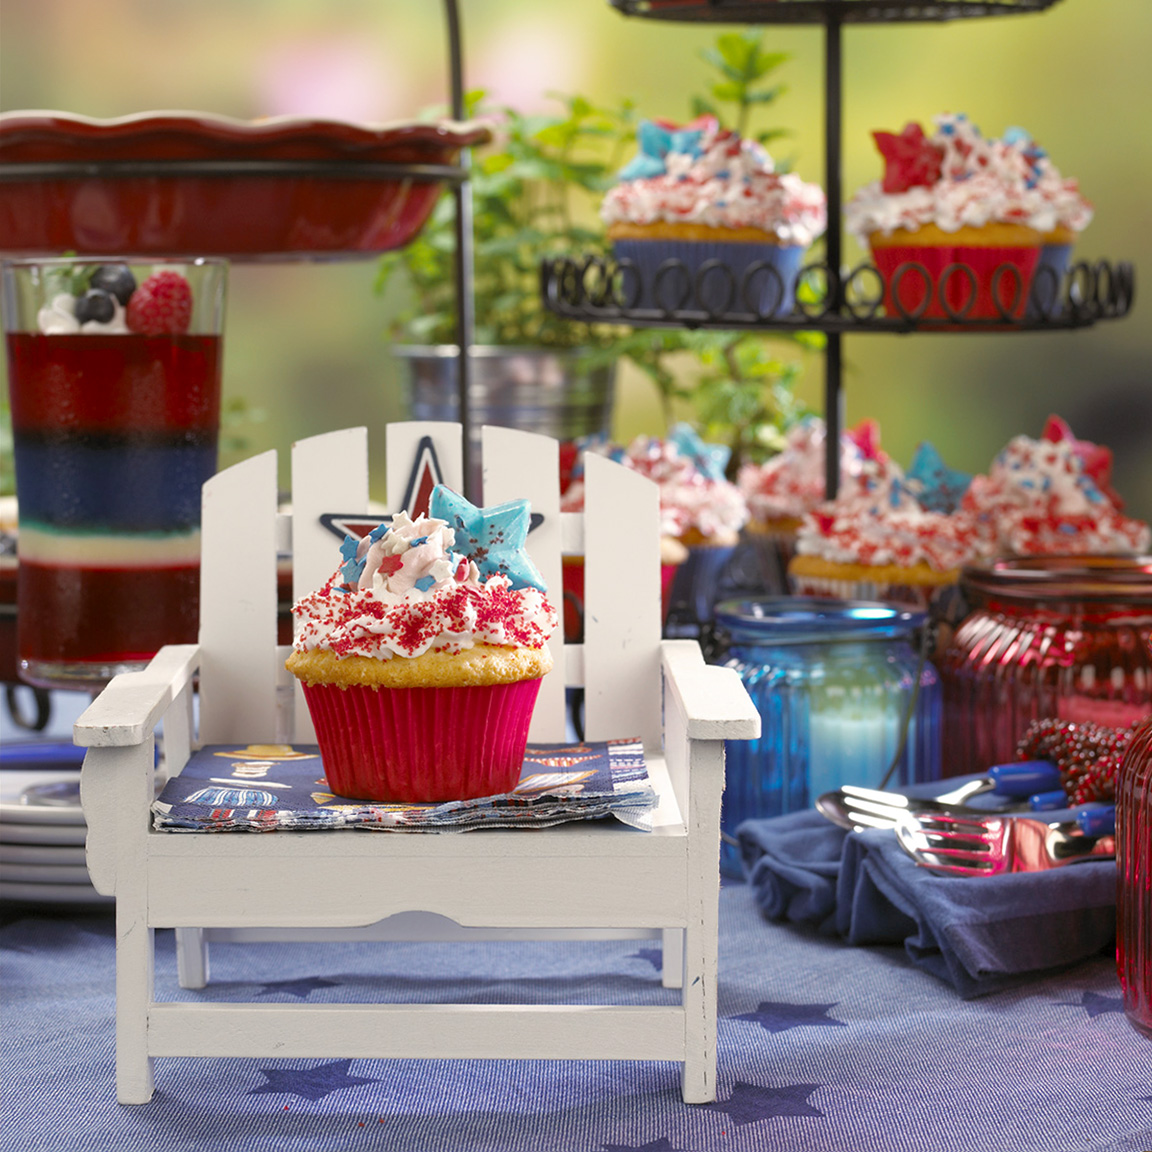
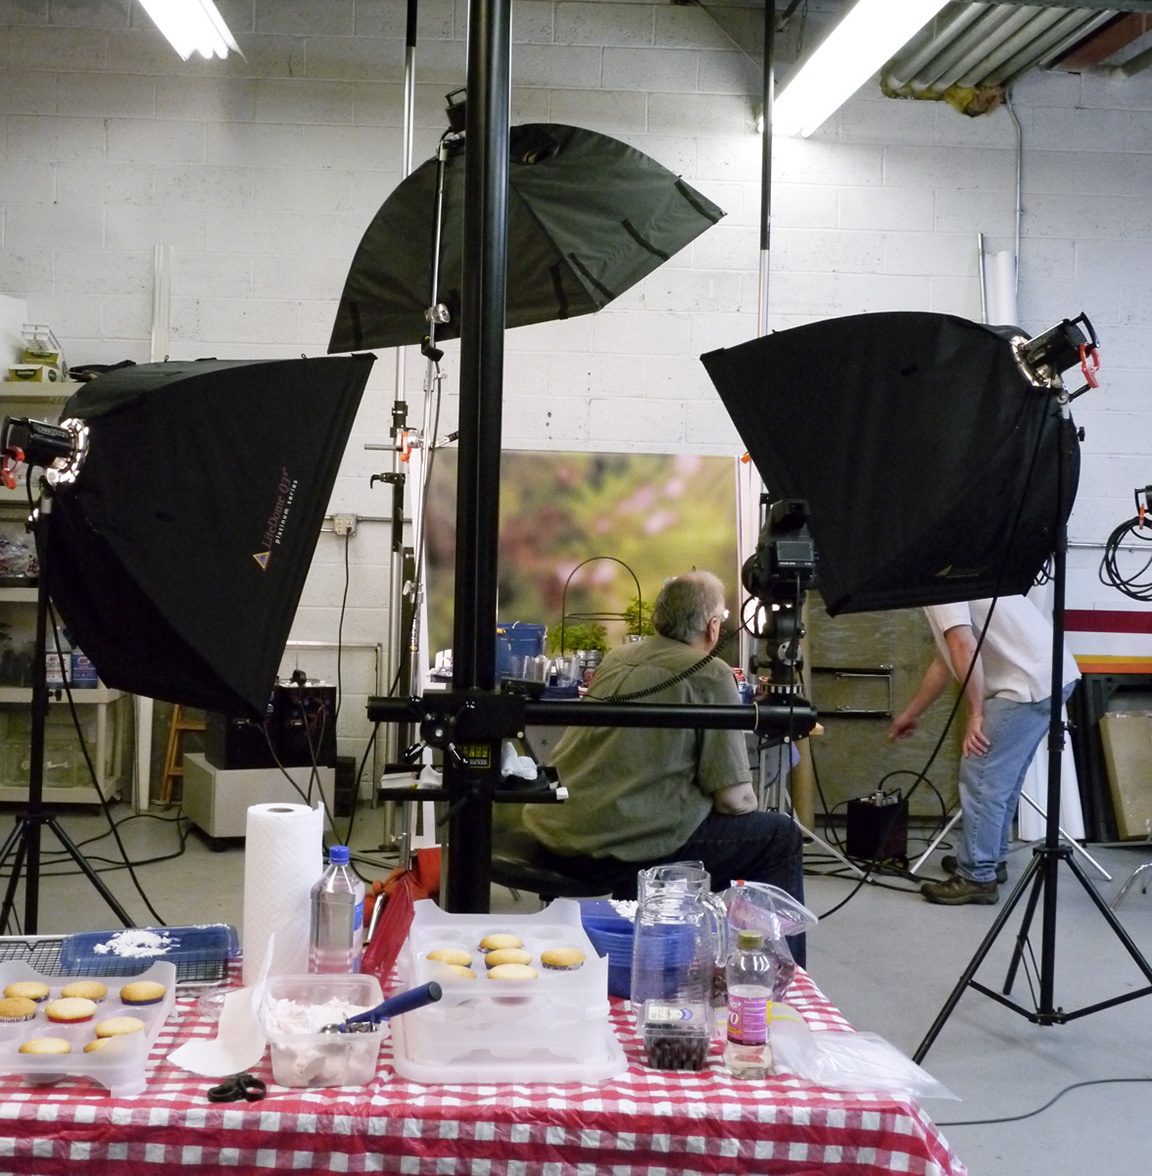
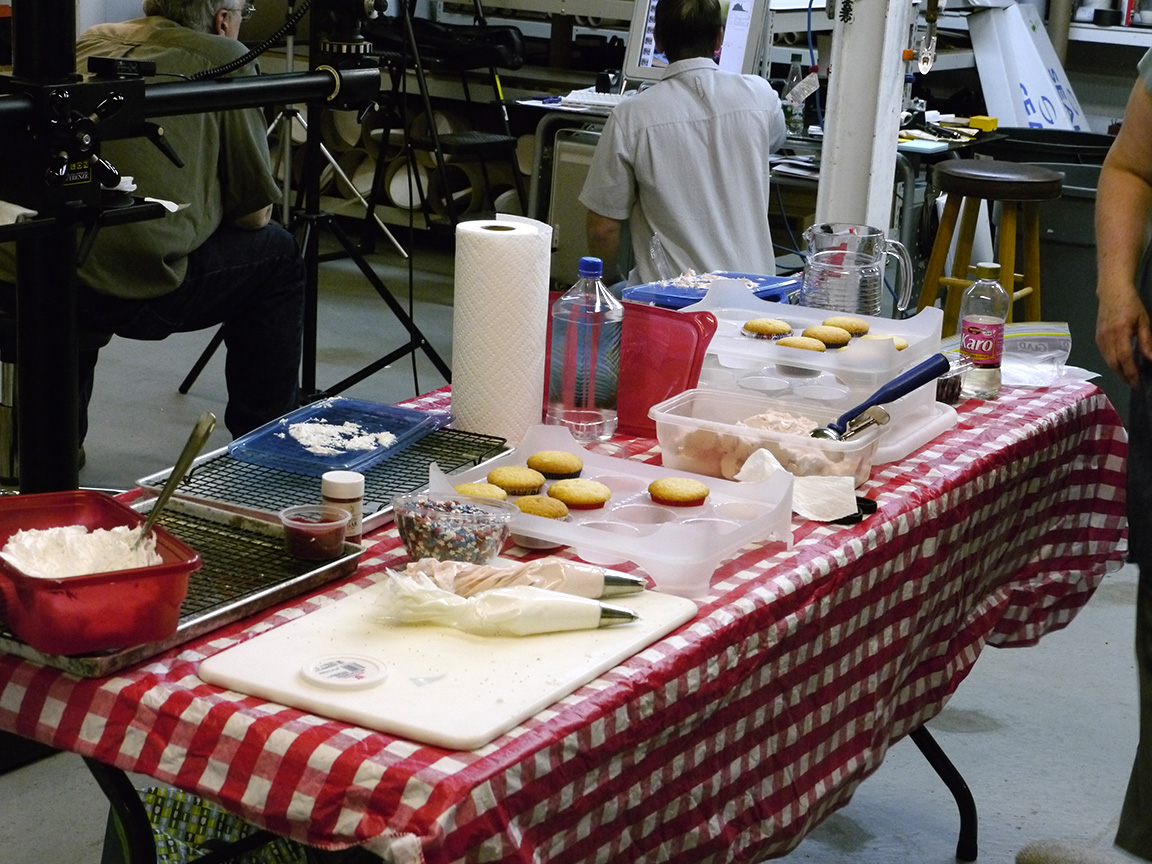
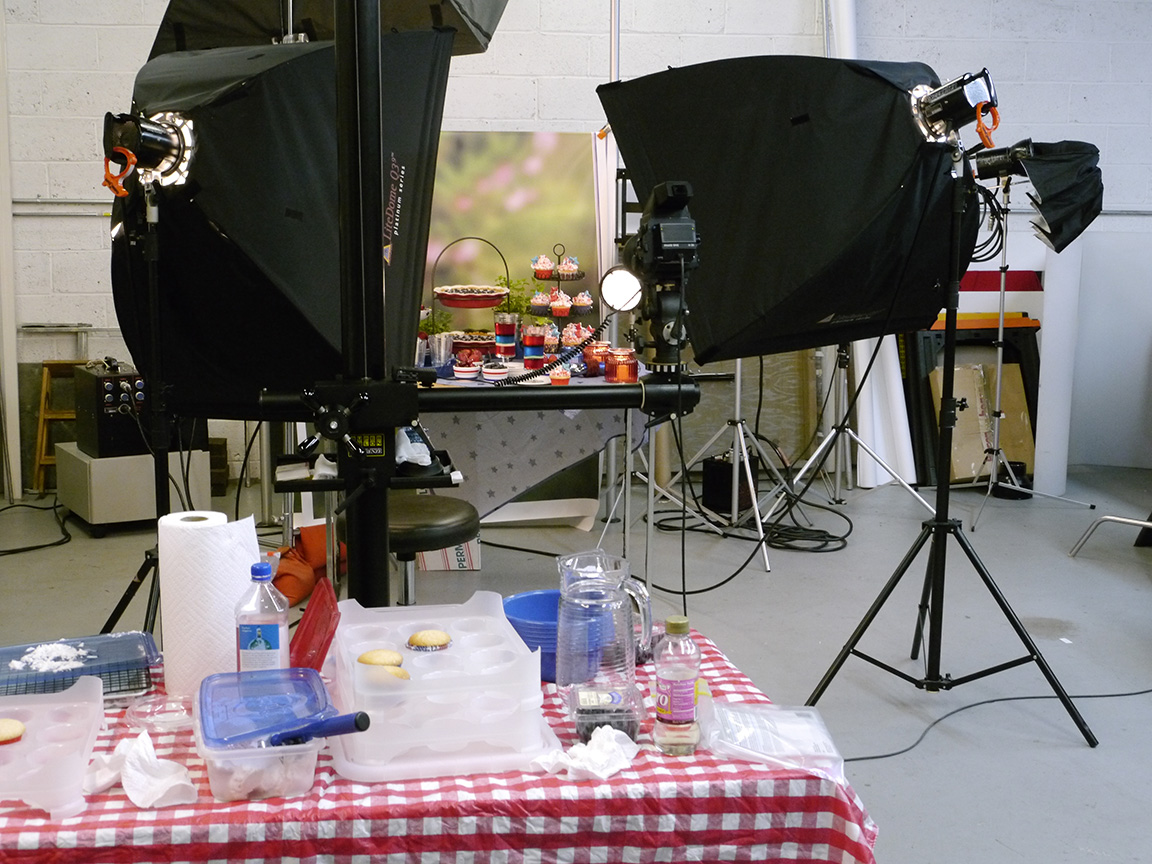
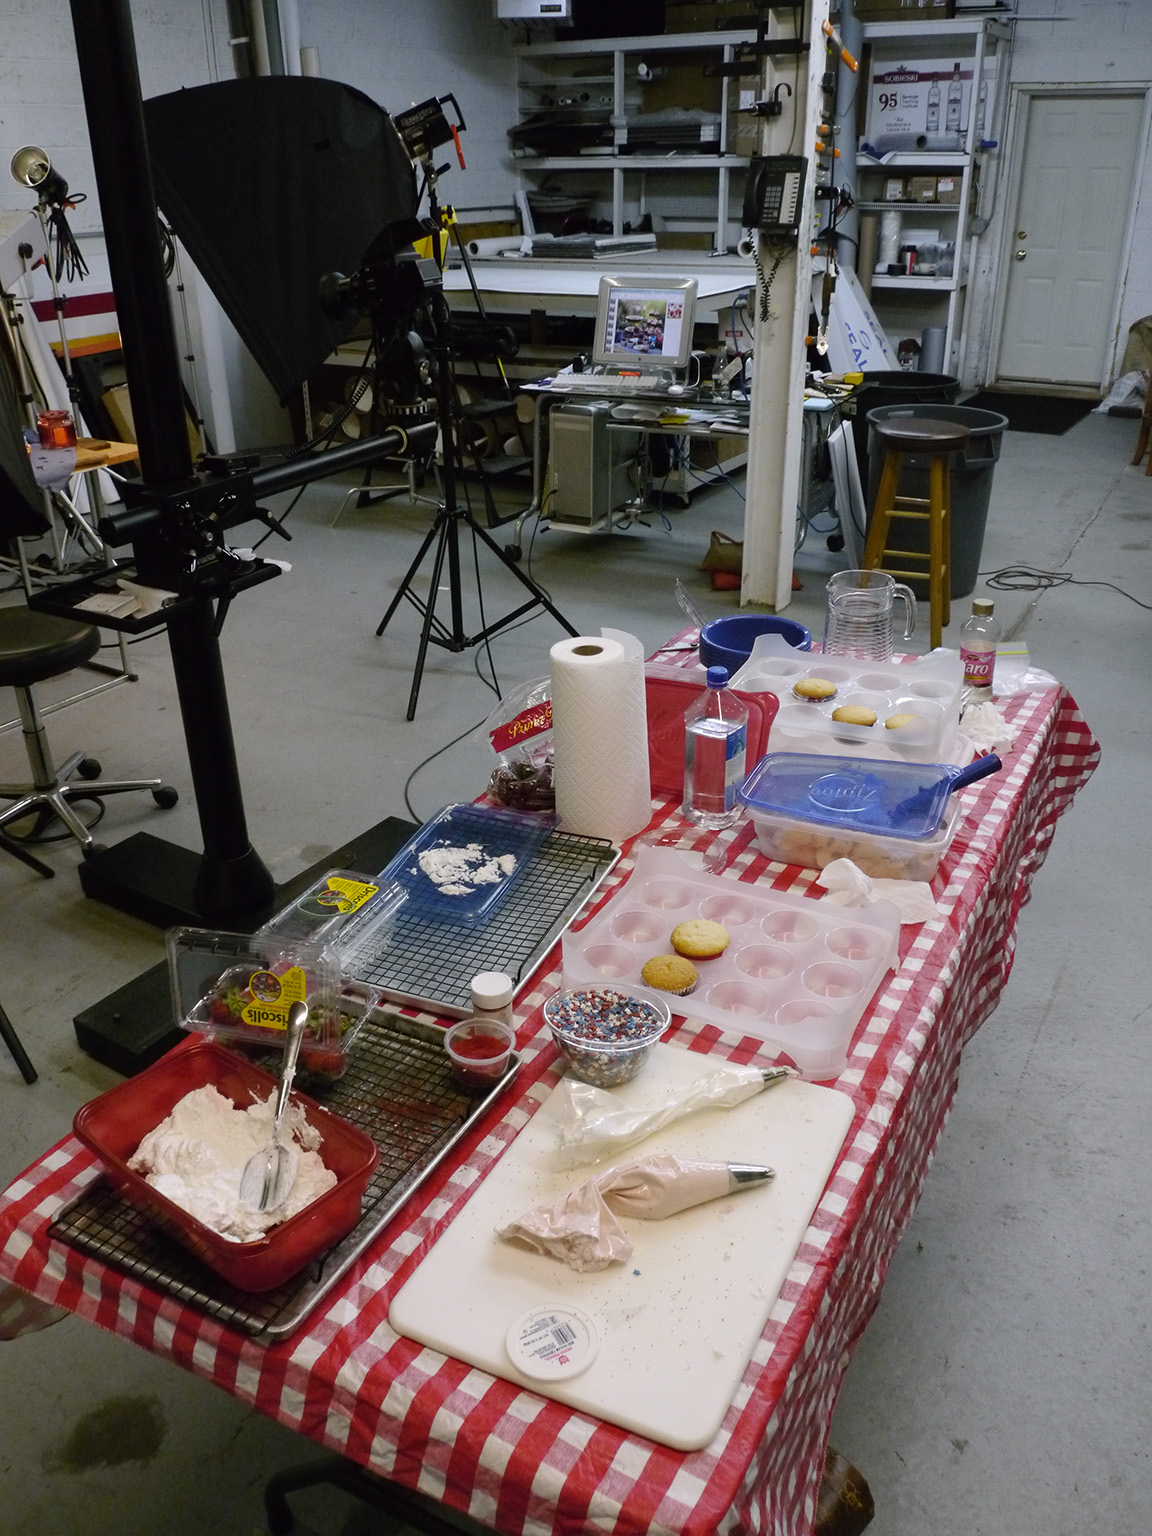
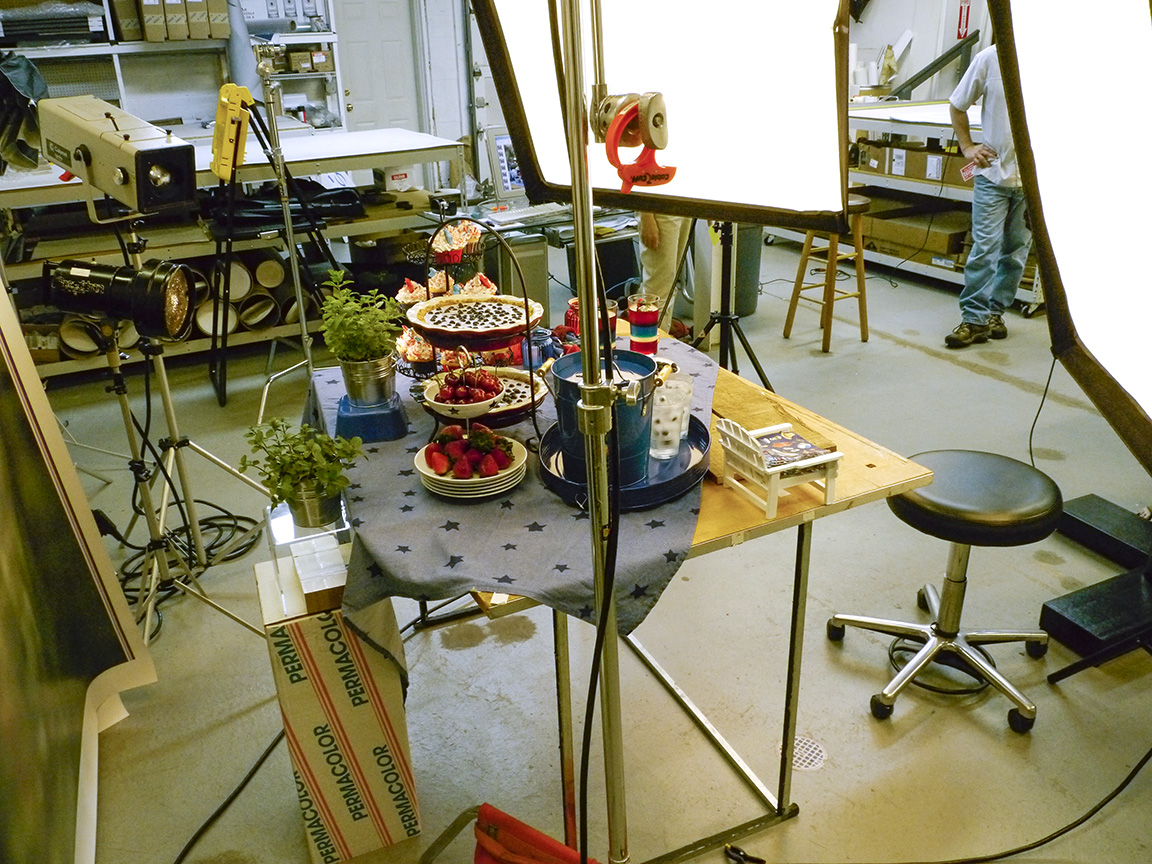
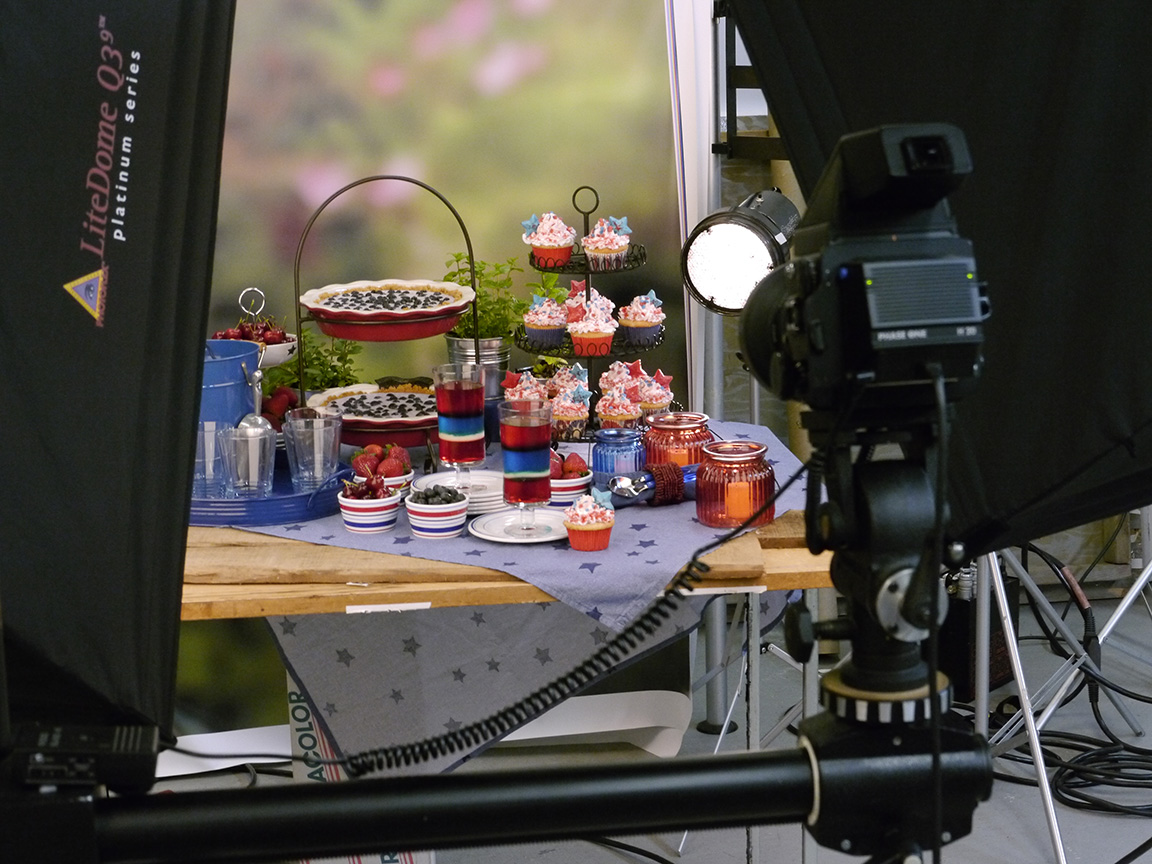
I came across these images from a photo shoot we did years ago for a 4th of July picnic themed blog for my commercial studio. We asked our favorite food stylist if she wanted to help and we would both have the images to use. So it was a fun day! Since we wanted a “picnic” looking theme, I photographed my pond at home, blurred the image and printed a large background for our “outdoor picnic” shoot in the studio. In my studio we printed or painted most of our backgrounds we used for our assignments giving a more personalized look for our commercial clients. Below are the setups for the shoot – the featured image is the main image, then we shot detailed closer images. It was a fun day plus we got to work with Marie, our food stylist!


behind the scenes –
 Above is original image, then blurred printed background.
Studio Stacked Images
Posted on November 26, 2013

With it getting colder outside I was looking for images in the archives. One cold Winter Day last December, a friend came over to the studio for shooting some macro setup studio shots. When shooting closeup subjects, it is hard to get everything in focus, even at f/22 or f/32. Here are a series of stacked macro images shot with two different camera systems to show the depth of field you can get with Stacking images. For Short Stacks, you can try handholding, but for best results or Large Stacks, use a tripod and lock it down as best as you can. We were looking around the studio for subjects and came upon this deceased Robber Fly in a window. We positioned it on a Pussy Willow branch and printed out a slight gradated print for the background. We used a Speedotron Black Line power pack and dialed down the power for the f/stop we wanted to use. I used a Canon EOS 1D MkIV with a Canon 100mm f/2.8L Macro IS USM, 1/125 sec @ f/8 ISO 200 for some images. The other system I used was a Panasonic GH2 m43 camera body with an older Canon 200mm f/4 FD Macro lens @ 1/80 sec @ f/8 for the 4 image Short Stack and f/4 for the 51 image Large Stack. For stacked images, you start with the lens focused to your closest point and then shift focus farther back, shooting a series with a very slight focus shift as you go. The best way is to use a focusing rail to move your Camera & Lens at the same time instead of shifting focus on the lens, but these were shot by changing focus on the lens, which also works. Then I aligned the images in Photoshop. After Aligning, I Stacked the images in Photoshop. Depending on the number of layers in the stack, this can take a while to process. The stacked images here are a series of a Short Stack of 4 images, then a stack of 20 images and then a large stack of 51 images. Give it a try, especially on a cold Winter day.
Canon 200mm f/4 FD Macro lens @ 1/80 sec @ f/8 ISO 200 – 51 Image Large Stack 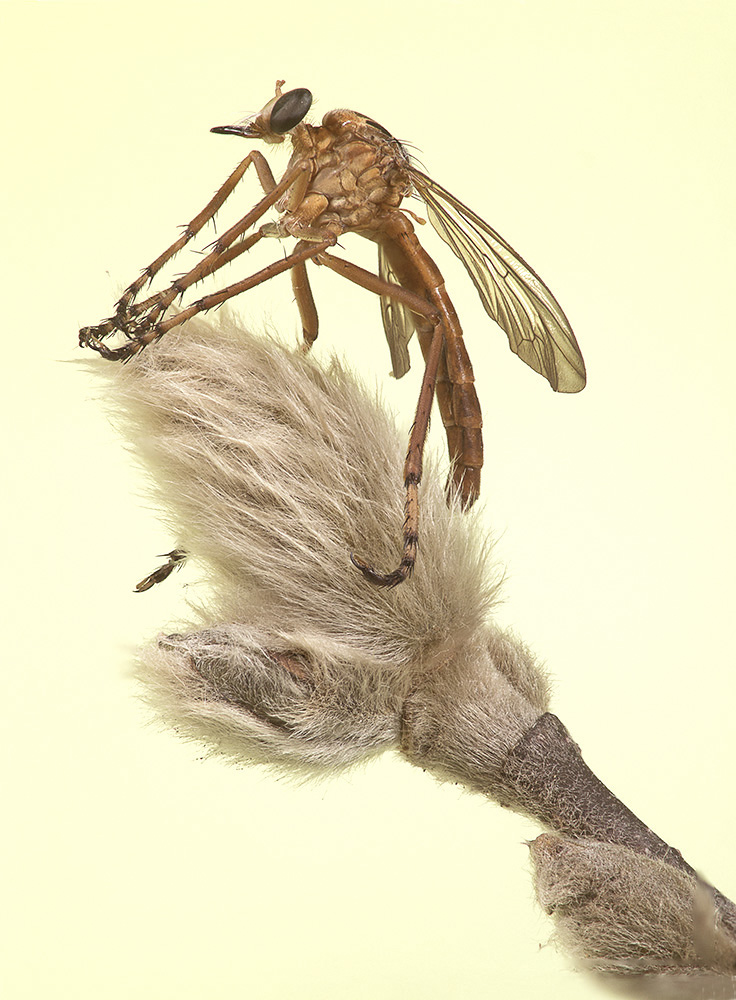
Canon 200mm f/4 FD Macro lens @ 1/80 sec @ f/8 ISO 200– 4 image Short Stack

Canon 400mm f/4 DO w/ 36mm extension tube @ 1/125 sec @ f/8 ISO 400 -Single Image, No Stack
